V-Ray 5 is a major update to our rendering software. Find out how its new features and improved workflow can give you more creative flexibility than ever before.
V-Ray 5 empowers you to create your best work even faster. The first thing you’ll notice about V-Ray 5 for 3ds Max and V-Ray 5 for Maya is that we aren’t measuring a rendering speed increase over V-Ray Next. We’ve been listening to users and we found that convenient workflows are more valuable. V-Ray Next dramatically improved speeds and introduced many default settings that simply work. Now, we’ve taken V-Ray 5 one step beyond . . .
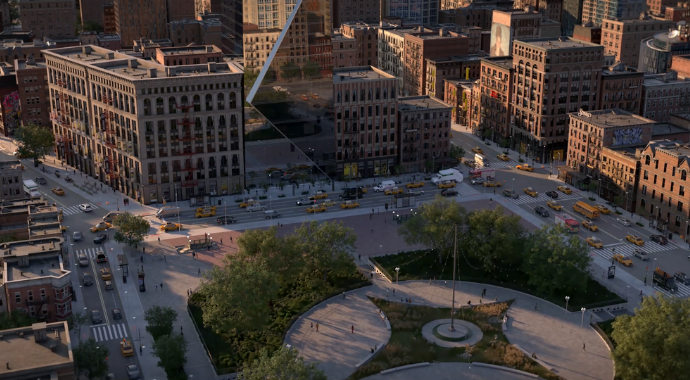
The new V-Ray 5 is focused on faster, simplified and more efficient workflows. From its new and uncomplicated user interface to the redesigned V-Ray Frame Buffer, the improvements and new features in V-Ray 5 will significantly boost workflows for users in every industry — from architecture to visual effects.
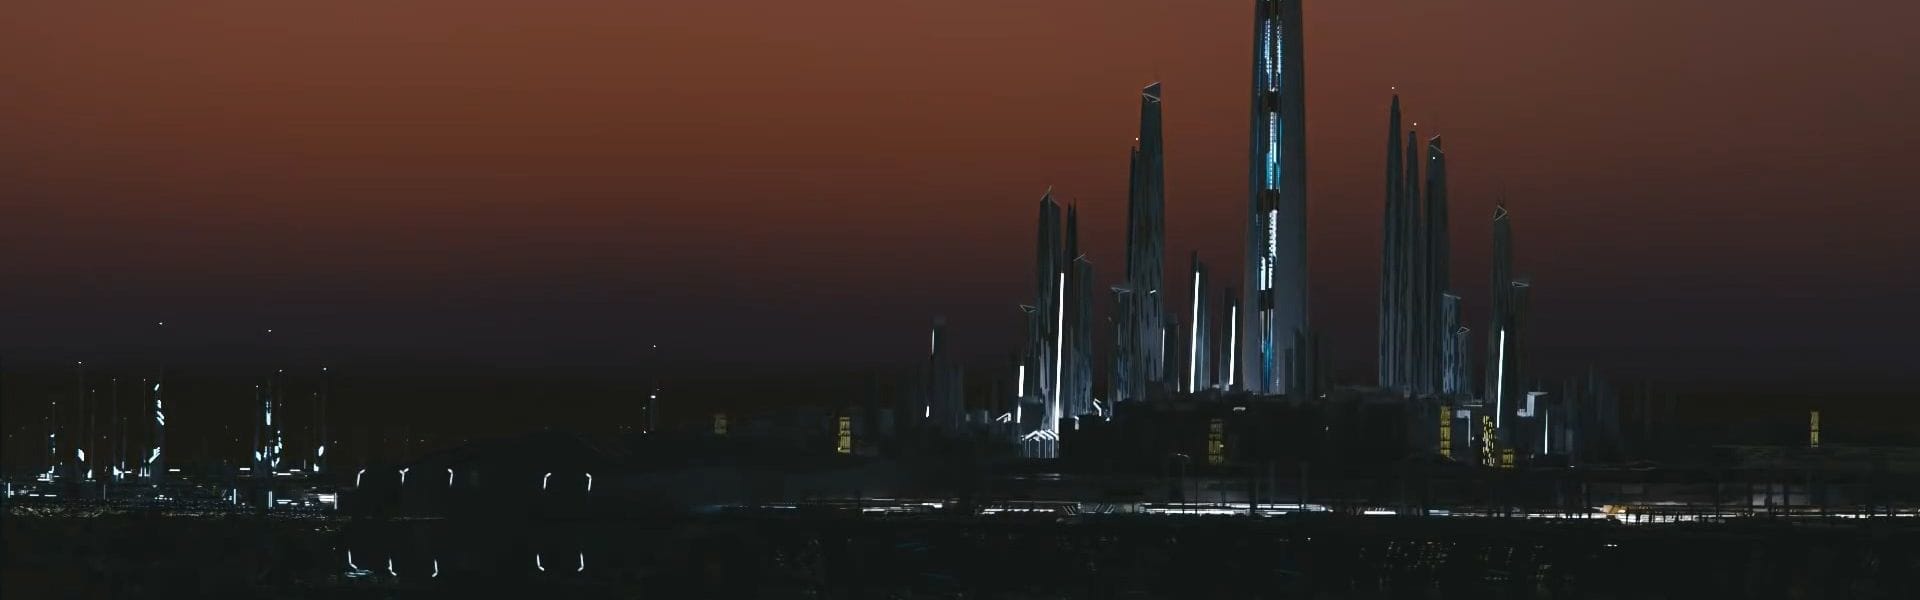
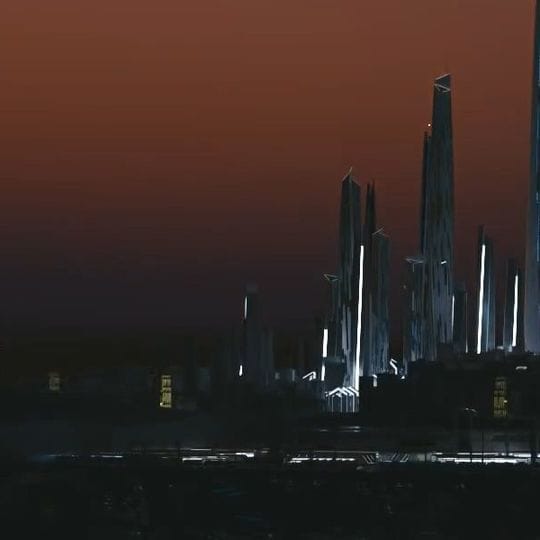
So how exactly will V-Ray 5 speed up workflow for artists working in visual effects?
Here are 5 new features and improvements in V-Ray 5 that are sure to speed up workflows for VFX artists:
A major improvement in V-Ray 5 — and something many users in the VFX industry have asked for — is Light Path Expressions. Previously, Render Elements in V-Ray gave you extra predefined image channels for compositing. With V-Ray 5’s Light Path Expressions, you can build your own custom image channels to suit your compositing workflow with unprecedented flexibility and granularity.
You might already be familiar with Light Path Expressions, but with V-Ray 5, we’ve added exclusive features to give you deeper control. We offer the ability to combine expressions and use built-in presets for specific scenarios. We’ve also created the world’s first visual LPE builder tool, accessible on the web, so you can roll your own expressions.
2. ACEScg color workflows
ACES is the industry-standard Academy Color Encoding System. And now, V-Ray 5 has it at the flick of a switch. ACES was created for production; movies are shot typically shot with multiple cameras — each with its own color and gamma, and its own look and feel. To use them all for one movie, before you color-grade and composite, you have to equalize all your footage — a time-consuming, complicated process.
As ACES is now implemented in most modern cameras, it’s easy to export this standard. ACEScg is specific to CG and VFX — and now, we have it. Artists can render anything in the CG colorspace standard, accessing a wider gamut of colors through ACEScg.
3. V-Ray Materials — Sheen & Coat
It’s easy to simulate fabrics like velvet, satin, silk and other smooth fabric surfaces in V-Ray 5. Until now, the typical pipeline in V-Ray Next to create sheen effects was complicated, with many and multiple nodes. We’ve removed all the complications and added the Sheen feature as an option in the V-Ray material. Now, it’s easier than ever to add a little luxury to your fabrics.
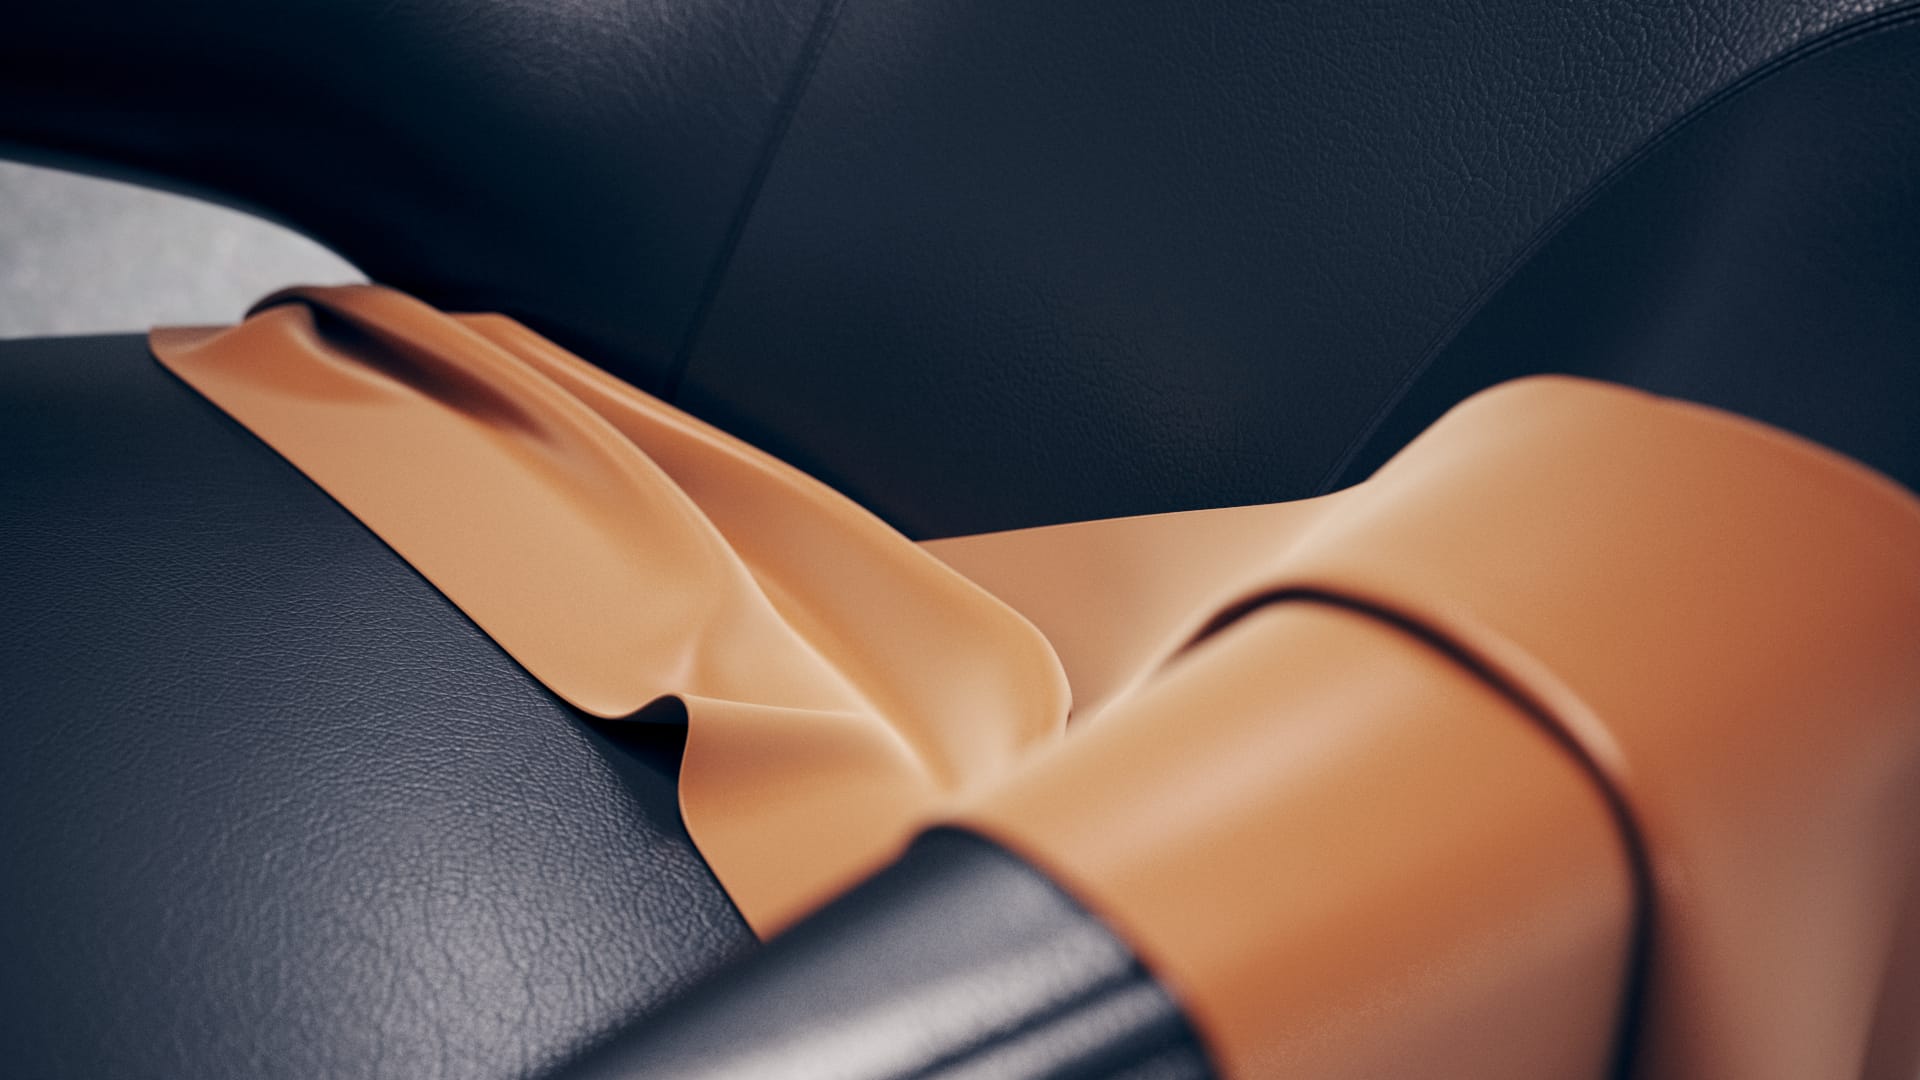
Usually, to make a solid shader such as lacquered wood, artists would have to blend two different shaders with different reflection properties. Now, we have simplified the entire workflow and an extra Coat is now available inside V-Ray materials. Shader creation is no longer complicated; V-Ray shaders are more powerful and more usable.
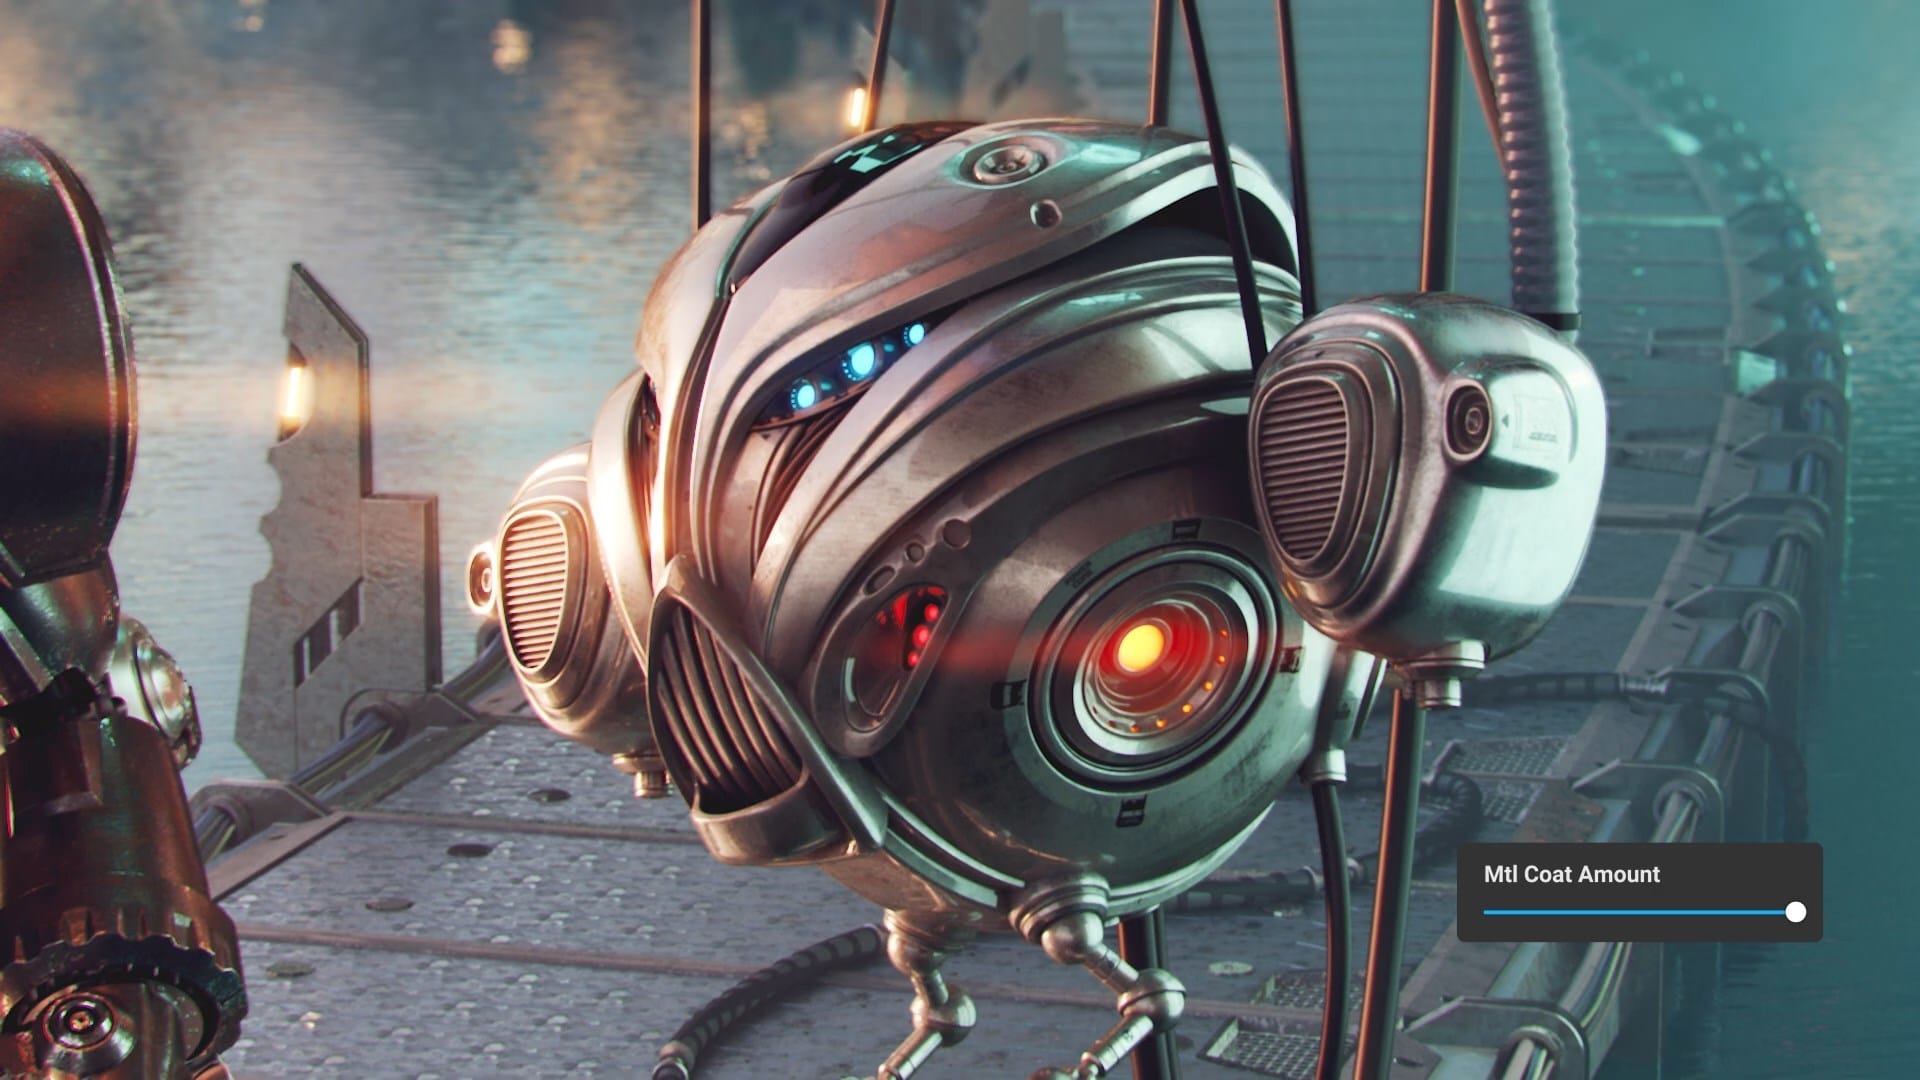
In V-Ray 5 for 3ds Max, we’ve also improved V-Ray Car Paint, which will be particularly exciting for those in visual effects, automotive and product design. Paint flakes look impressively better and it’s even faster when rendering. Achieving a great-looking car paint was previously complicated, requiring the combination of the flake material with a coat layer and base layer — but now, it’s all in one package.

4. Better randomization
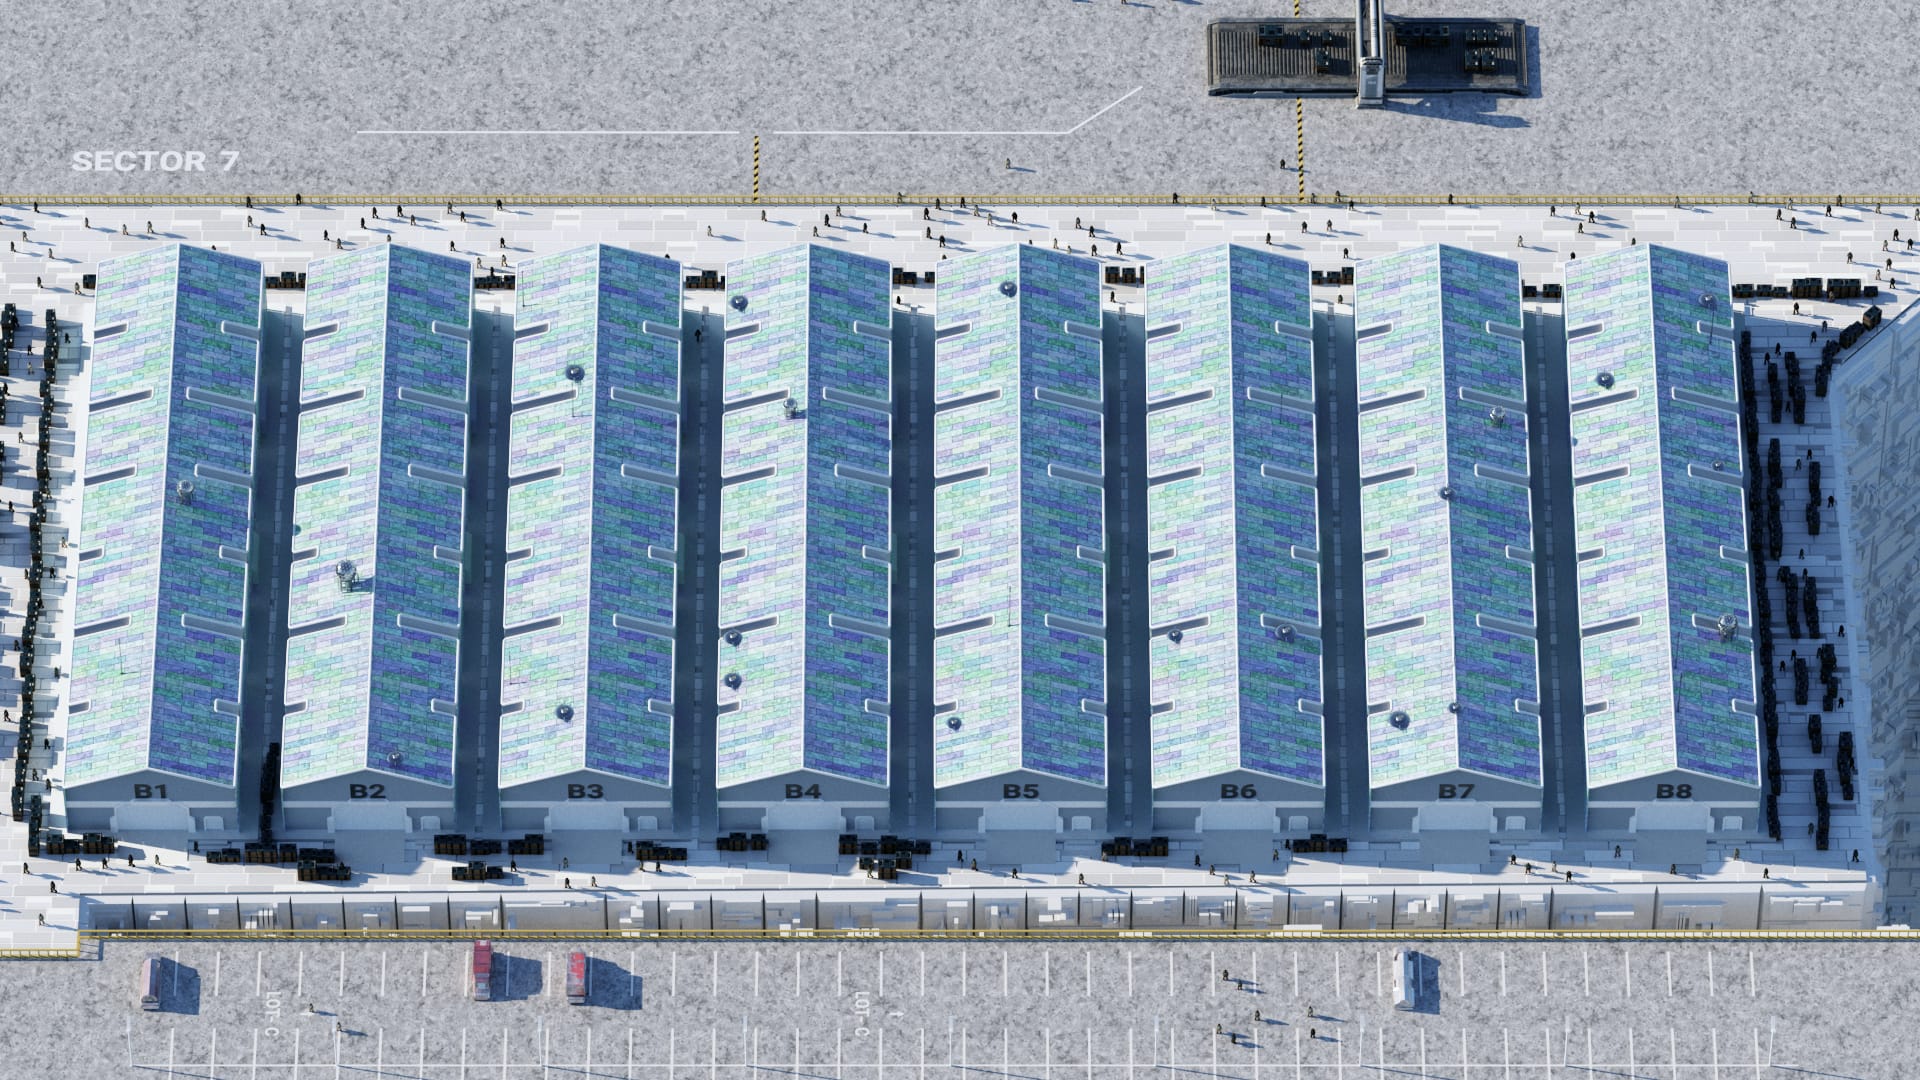
The V-Ray UVW Randomizer is useful for everyone, from VFX to architects. If you have similar objects, you can now use the VRayUVWRandomizer map to adjust the offset, rotation and scale of both textures and procedural materials to create randomization in the UVs. And for repeating textures, artists now also have Stochastic Texture Tiling, which automatically removes tiling artifacts.
V-Ray 5 also makes it easy to randomize variations such as the hue, saturation and gamma using VRayMultiSubTex. This simplified workflow greatly speeds up scene creation for artists in all industries. We’ve even added new controls for aging materials with procedural streaks to the VRayDirtMtl for even better-looking and more realistic dirt-with-streak effects.
5. Light Mix/Compositing layer editor/Filmic Tone Mapping
With V-Ray 5’s Light Mix, it’s possible to change a light’s intensity and even hue from within the V-Ray Frame Buffer. With this reimagined workflow, it’s possible to use white lights and then adjust settings to dramatically change the look and feel of your scene. And it’s not just for lighters — Light Mix makes it easy to explore look development options or quickly tweak final renders.
When you’re done lighting and relighting, you can apply final touches to your scene with the V-Ray Frame Buffer’s new compositor. This layer tree system makes it possible to do nuanced color corrections, set blending modes and combine render elements. Forget post-processing: Now, you can do it all in V-Ray.
Finally, HDR images can now mimic the properties of film to give images a cinematic look using the Filmic tonemap. And it can all be handled directly in the redesigned V-Ray Frame Buffer 2 in V-Ray 5. This ability to apply this filmic look is something we’ve received a lot of requests for, particularly from the VFX industry — and it’s now ready to use.
BONUS FEATURES
“5 essential V-Ray 5 features” made for a great title — but there are a couple more that we didn’t want to miss . . .
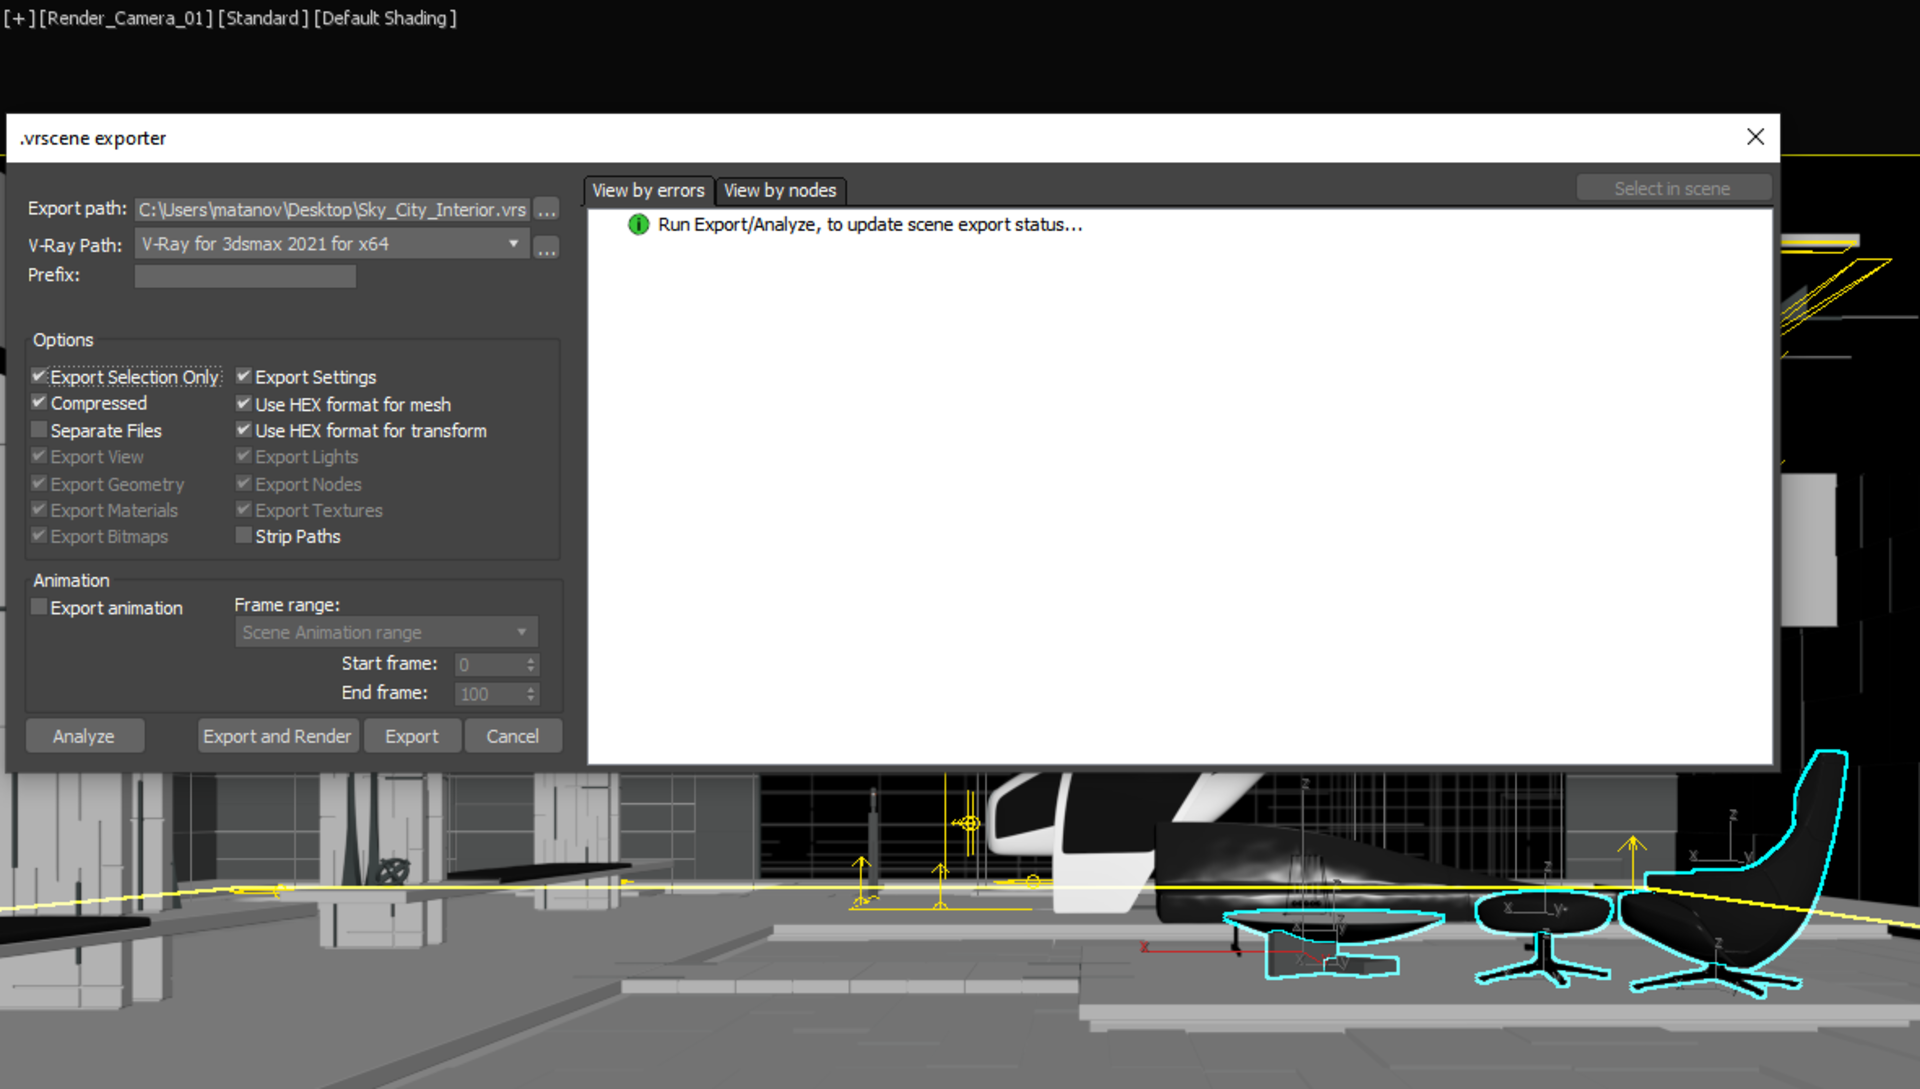
V-Ray 5 for 3ds Max: Advanced V-Ray Scene updates
This improvement is particularly interesting for visual effects artists working with V-Ray Scenes (.vrscene). It’s useful for selecting and exporting specific objects in or a portion of a V-Ray scene, including pivot points. Previously, the objects had to be proxies, but the updates to V-Ray Scenes in V-Ray 5 for 3ds Max now dramatically improve how elements are selected and exported with their settings. It’s super handy for those wishing to transform their scenes to visualize in Project Lavina or for making custom libraries for use across all Chaos products, including Project Lavina and every flavor of V-Ray.
V-Ray 5 for Maya: New V-Ray Proxy
The V-Ray Proxy has already taken Maya above and beyond its capabilities, making it easy to work with massive geometries. In V-Ray 5 for Maya, it’s even better. Proxies load in the background, so you can start working right away. And with the new hierarchy view, it’s simple to select, hide or assign materials to different objects within the proxies. You can even create rules to modify multiple objects at once.