


About Elvira “El” Trofimova
Elvira was born in Russia, where she studied traditional art and began her professional career as an artist for social and mobile games in Samara and Moscow. She relocated to New York to work as a concept artist for collectibles, and then studied digital production at Gnomon. Elvira is currently based in LA, working as a 3D character artist at arthouse game development studio Eyes Out on some cool unannounced stuff.


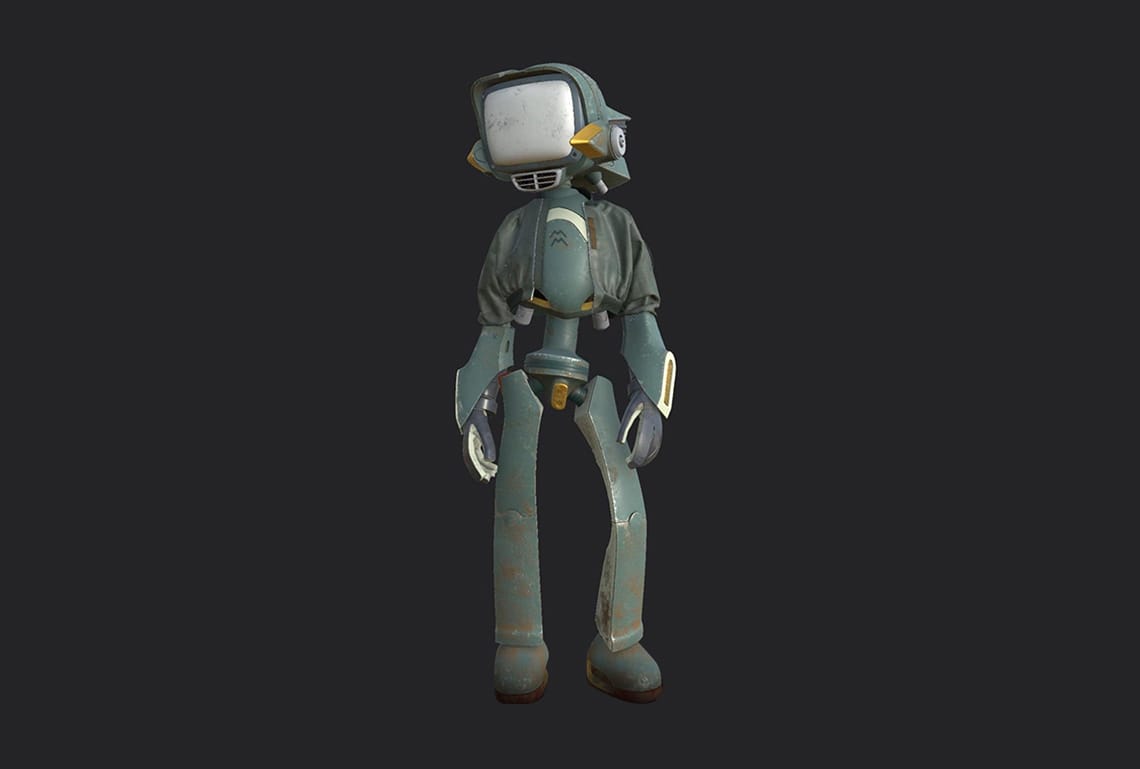
Render robots that spark fascination.
Try V-Ray for Maya free for 30 days.
Related articles
 © Think Tank
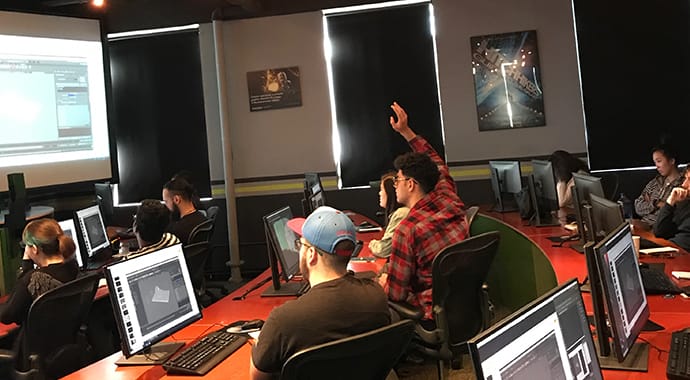
How V-Ray fuels creativity in Think Tank students
Think Tank is a world class training centre for feature film, video game, and television production.

Shannon Wiggins — Director of Placement & Alumni Relations, Gnomon School of Visual Effects
Gnomon doesn’t just teach students VFX — it also gets them jobs at illustrious studios. Meet Shannon Wiggins, the woman behind the school’s 97% placement rate.
V-Ray Next for Maya secrets revealed at Gnomon School
Agents of Chaos flew to California this summer to share with Gnomon students how an efficient V-Ray Next for Maya workflow can make them even better artists.
 © Škoda Design
Subscribe to our blog.
Get the latest news, artist spotlight stories, tips and tricks delivered to your inbox.
By submitting your information you are agreeing to receive marketing messages from Chaos. You can opt-out at any time. Privacy Policy.
