Unlock the many powerful features available in V-Ray Next for Maya in this comprehensive series of video tutorials packed with tips by VFX artist Rusty Hazelden.
In The Art of V-Ray Vol. 1 training by VFX artist Rusty Hazelden, you’ll discover an in-depth series of free video tutorials on just about every aspect of V-Ray Next for Maya. In the first, Rusty guides viewers through V-Ray’s frame buffer, real-time light and material adjustment via V-Ray IPR, and a comparison of progressive and bucket rendering modes.
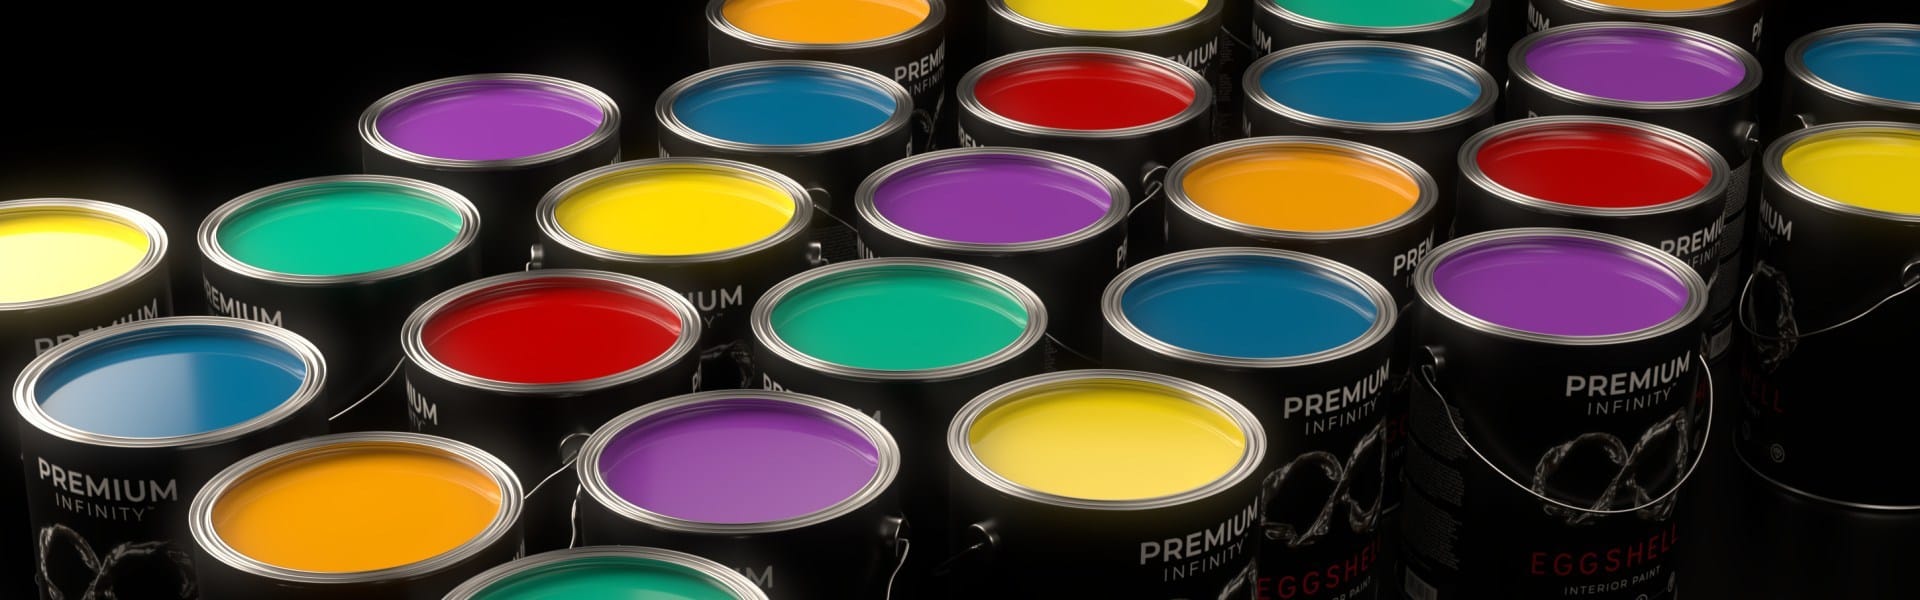
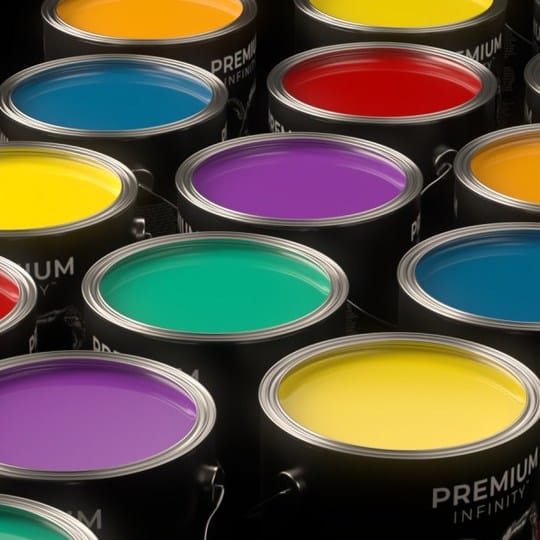
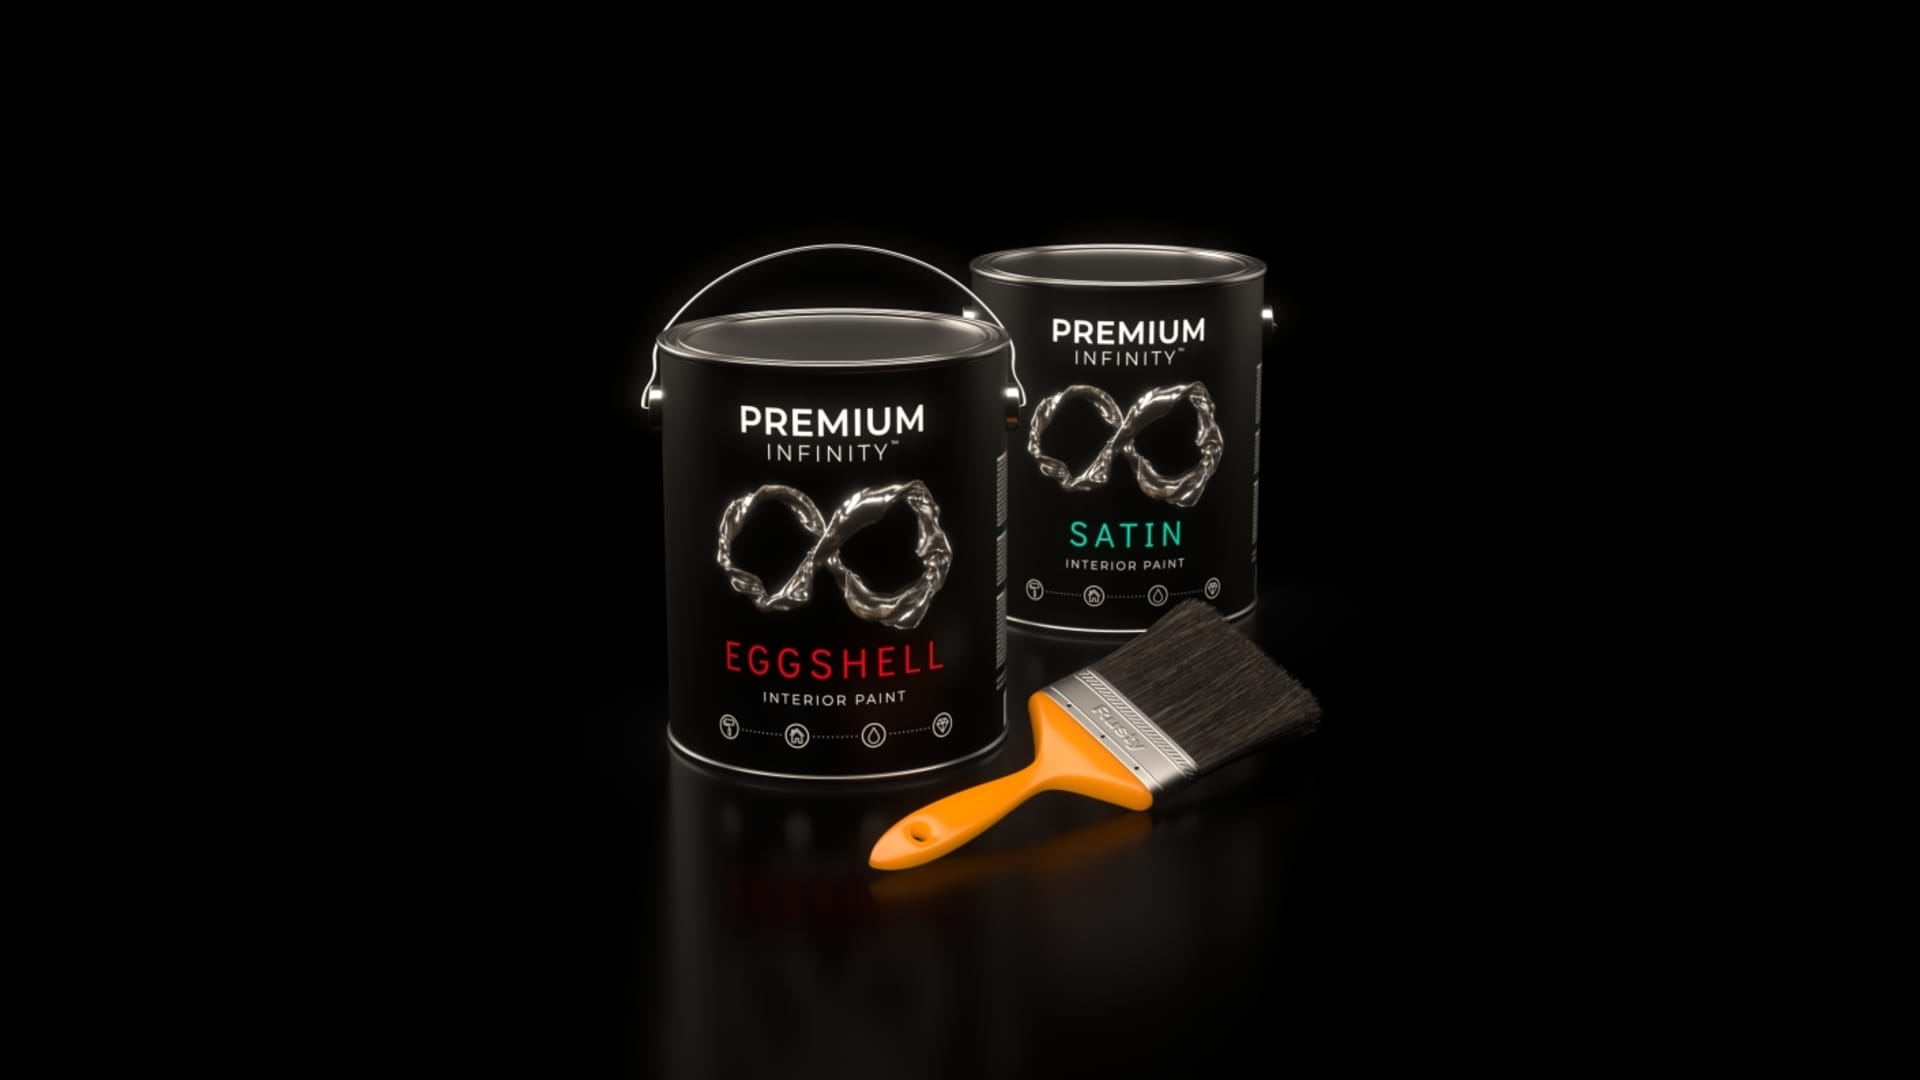
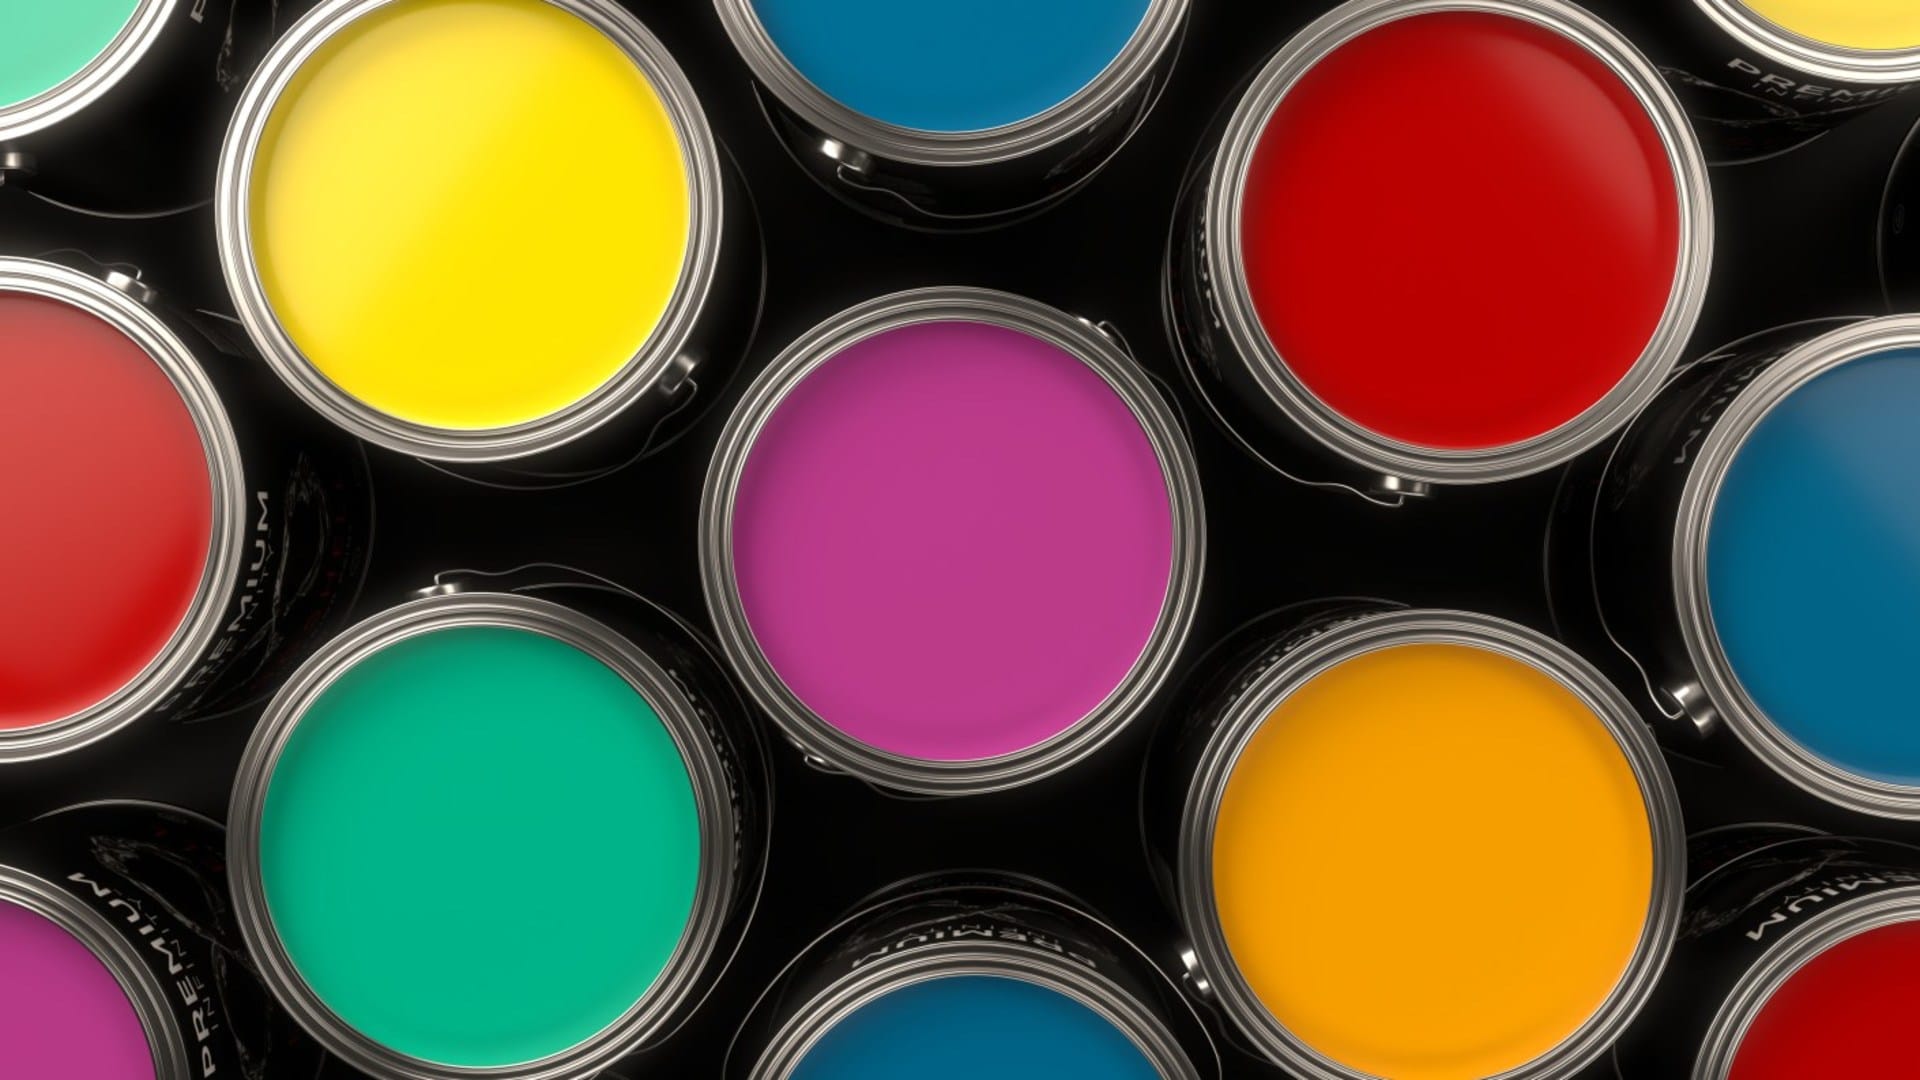
Rusty uses a paint commercial as the basis for the project, with animated colorful splashes created using Phoenix FD for Maya, Chaos Group’s fluid dynamics simulator.
Check out the first tutorial in this four-part practical guide and unlock the powerful features available in V-Ray Next for Maya. Plus, read more below about Rusty and the making of these essential guides.
Rusty’s paint splash is a great basis for this tutorial series with its interesting materials, including colorful paint, shiny metal, and a paintbrush with a plastic handle and bristles rendered with the V-Ray Next Hair shader.
Could you tell us a little about yourself and how you got into VFX?
I'm a visual effects artist based in Halifax, Nova Scotia. My interest in 3D graphics and VFX began in 1995 when I was using a color Macintosh with a 33MHz processor and 8MB of RAM!
It's amazing what you can do today on a common desktop computer. It sure has come a long way since the days when VFX artists required high-end (and crazy expensive!) Silicon Graphics workstations.
I love movies and the late 90s was an exciting time to learn 3D. Each year, new blockbuster movies came out filled with all kinds of never-before-seen VFX. I remember watching the dinosaurs in Jurassic Park. It was the first time I had ever seen such life-like creatures rendered in 3D and I was hooked on VFX from that point onward. Twister and Armageddon are still some of my favorite VFX-driven movies from that era — and they still look amazing even by today's standards.
I began working in the VFX industry in 2000. I still find it hard to believe that was over 19 years ago. Time flies when you're having fun!
V-Ray Next for Maya has brought a whole new level of photorealism to my training videos. When I look back at my early 3D rendered images, it's amazing to see how far rendering technologies have progressed.
Rusty Hazelden, Visual Effects Artist
What inspired you to create this series of V-Ray for Maya tutorials?
I started learning Maya in the late 90s just after it was developed by Alias Wavefront. In those days, Maya shipped with a user manual the size of a phone book and it took me several years to master the skills required to model and render 3D images that looked photorealistic.
I already had experience as a video editor, so I figured I’d try to make the learning process a little simpler for others by taking all of my notes and making them into video tutorials.
I made my first Maya training DVD in December 2003 and artists around the world started ordering it. Before long, I was busy putting DVDs in mailers and sending them across the globe. That was an exciting time, but the downside to learning from DVDs was the shipping time. I still remember stories from customers in far corners of the world that had to wait weeks for DVDs to arrive. Back then, learning Maya still required a lot of patience!
Fast forward to today and now I'm releasing V-Ray for Maya tutorials on YouTube. I love the fact that anyone in the world can now learn with the click of a button, instantly.
V-Ray Next for Maya has brought a whole new level of photorealism to my training videos. When I look back at my early 3D-rendered images, it's amazing to see how far rendering technologies have progressed.
How was the paint for these tutorials created?
I used the Phoenix FD plug-in to simulate the dynamic splashes of paint in Maya. This was my first time using Phoenix FD and it was a joy to use!
I was able to figure out the nuts and bolts of fluid simulation very quickly, thanks to the many shelf tools included with Phoenix FD and the great Chaos help documentation. After that, I was able to focus on refining the artistic aspects of my fluid simulations, such as the fluid motion and the formation of fine details including droplets and tendrils.
I wanted to create paint splashes that evolved as they flowed along curves. Phoenix FD includes a series of tools called forces that can be used to sculpt the motion of the fluid. The Follow Path force was used extensively to influence the fluid's motion and guide the particles over a variety of curves, ranging from simple arcs and waves to more complex shapes like the infinity logo.
Being able to simulate the paint splashes in Maya and then render them directly with V-Ray Next was a major time saver. While doing fluid simulations, I was able to pause the sim at any time and do test renders to see how the shots looked with surface materials and studio lighting.
Using V-Ray to create photorealistic renders has never been easier. Artists getting started today can create amazing images right out of the box without having to spend hours tweaking settings.
Rusty Hazelden, Visual Effects Artist
What are the key skills/takeaways that you're aiming for watchers to learn from your tutorials?
In this tutorial series, my objective is to give new artists a solid understanding of the many powerful features available in V-Ray Next for Maya.
Using V-Ray Next to create photorealistic renders has never been easier. Artists getting started today can create amazing images right out of the box without having to spend hours tweaking settings.
I chose to use the paint splash project as the basis for the tutorial as it involves lots of interesting materials including colorful paint splashes, shiny metal paint cans, and a paintbrush featuring a plastic handle with a sub-surface shader and bristles rendered with the V-Ray Next Hair shader.
By the end of the project, artists will have a good understanding of the basic workflow used to light and render a television commercial using V-Ray Next for Maya. Along the way, they will also learn numerous tips and tricks that will come in handy when they start using V-Ray on their next project.
How has V-Ray's distributed rendering improved your workflow, and what hardware do you use it with?
In this tutorial, I wanted to see what was possible with distributed rendering in V-Ray Next. This mode is built right into the V-Ray core and can be used to accelerate IPR rendering in both the Maya viewport and the VFB.
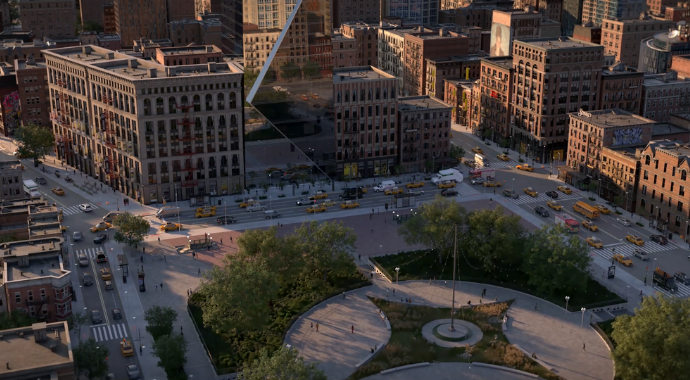
The V-Ray distributed rendering feature truly shines when it's time to produce a final render in the VFB. If the render time on my workstation will be over an hour, I simply power up a few Linux render nodes in my studio, enable the distributed rendering feature and click render. With distributed rendering active, I see hundreds of buckets come to life in the VFB and most renders only take a few minutes!
My main workstation is Linux-based with 64 cores. I use it to model assets and develop animations in Maya. When I start the lighting and rendering phase on a project, I power up a few Linux render nodes via DR and that allows me to harness an extra 704 cores.This makes my workstation feel like it has 1.83 THz (1830 GHz) of combined rendering capacity by tapping into all those extra V-Ray render nodes.
Now that I have used DR on this project I just can't imagine life without it!
Rusty's superfast distributed rendering in action.
Which topics will you cover next?
I recently started a YouTube Channel with a focus on visual effects techniques using Maya and V-Ray.
Right now I have several exciting tutorials on modeling and rendering skills. In the next few months, I will be adding new tutorials that explore more advanced lighting and rendering concepts.