Chaos
Architecture
Limited-time offer: Get an extra three months of free V-Ray with an annual license. Buy now and save

Industry solutions

Explore our ecosystem

Products

Media & Entertainment

Industry solutions

Explore our ecosystem

Products

Product & E-Commerce

Industry solutions

Explore our ecosystem

Products

Education & CommunityHelp

Chaos Help Center


What are you looking for?

Lead_image_01.jpg
Lead_image_01.jpg

V-Ray Next: Denoising in Production


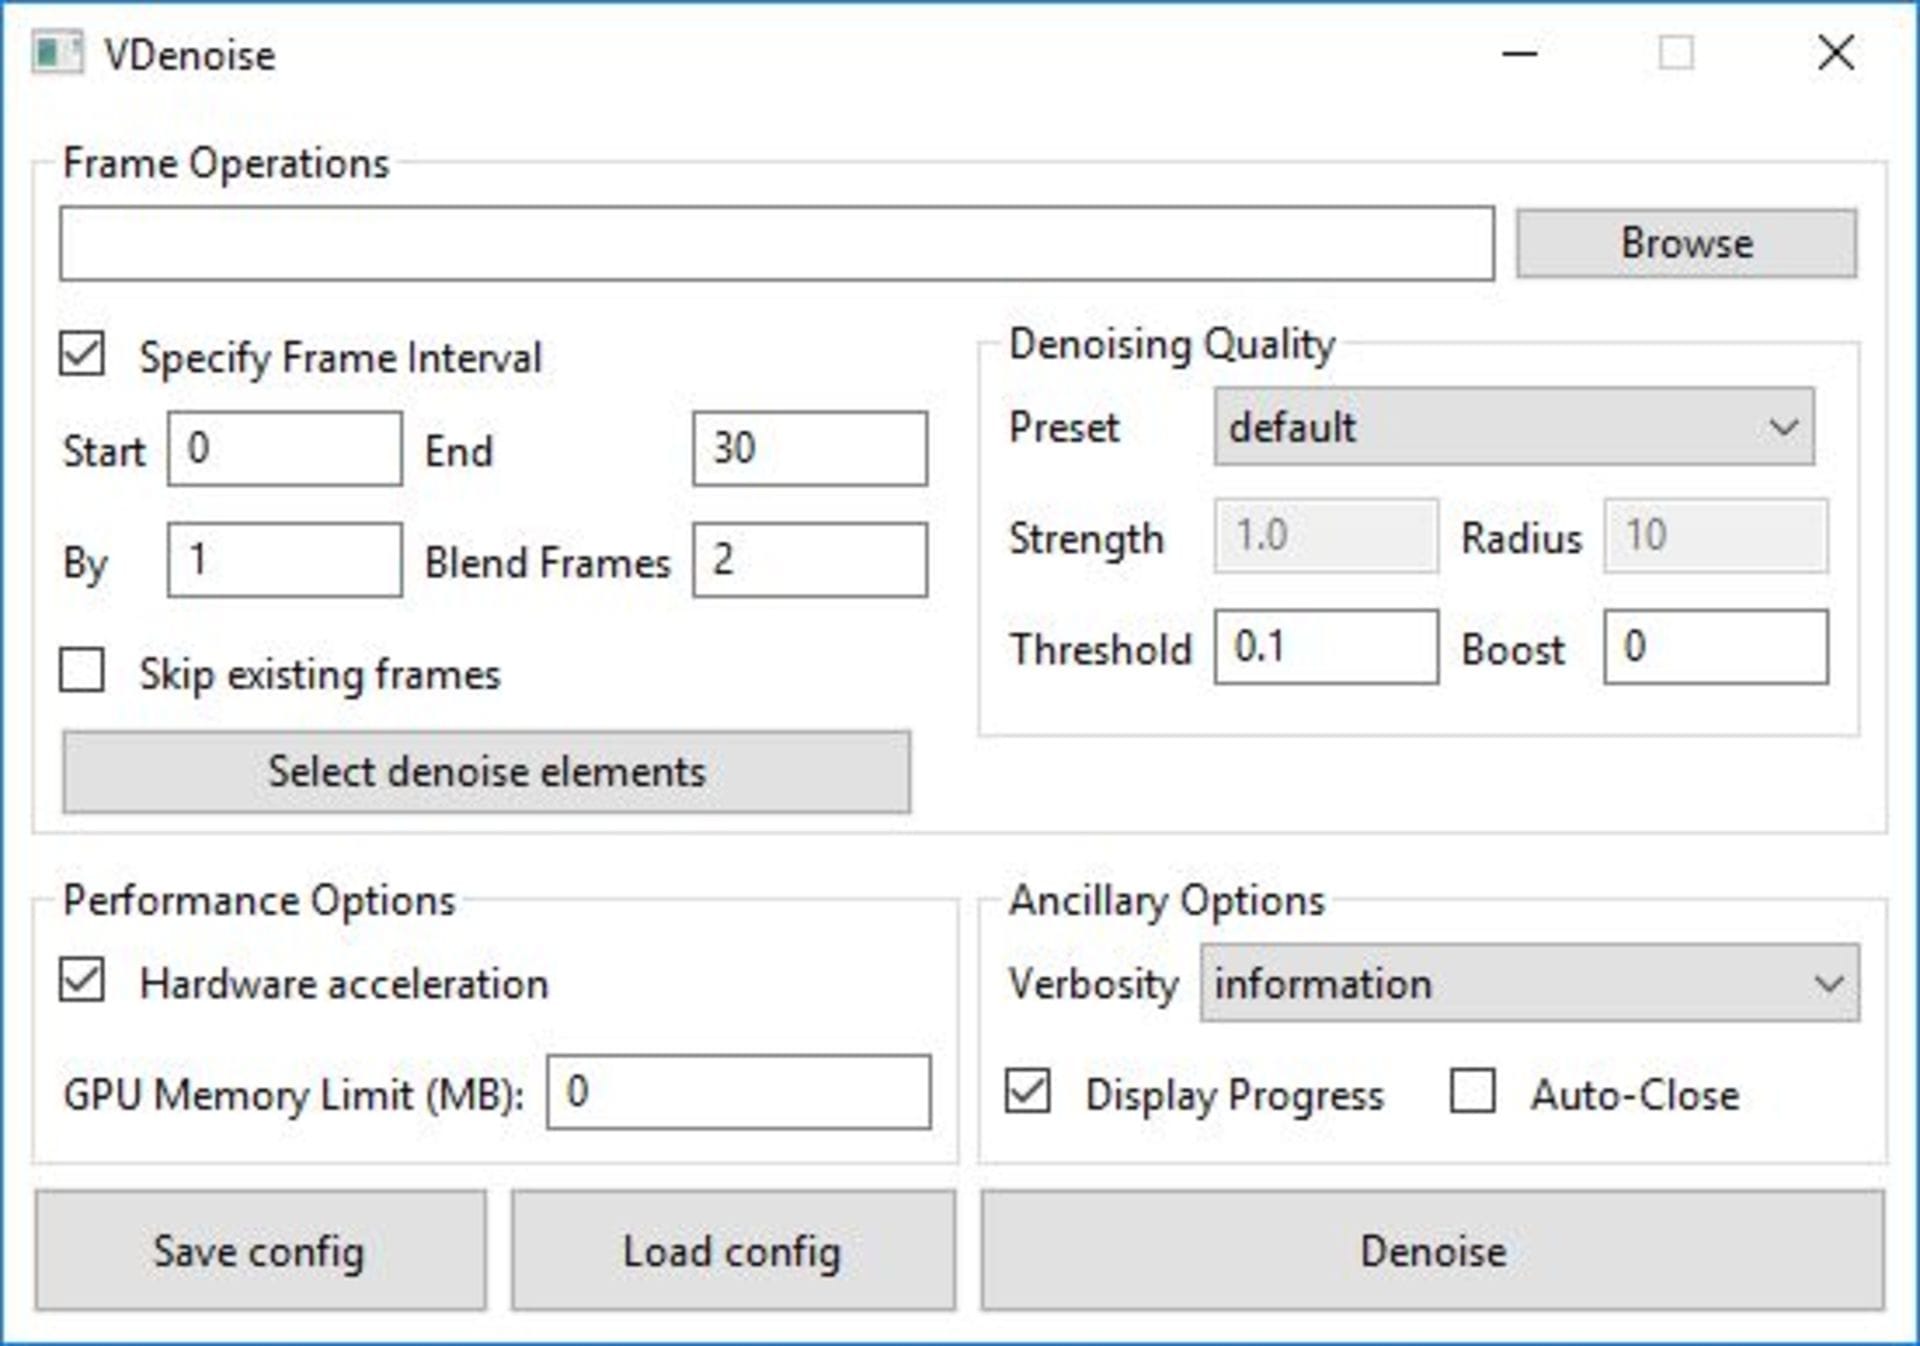
Understanding the denoising problem

Denoising is a relatively complex problem. And rarely does one solution fit all cases. In an earlier blog post, we explained the pros and cons of the new NVIDIA AI Denoiser that’s in V-Ray Next. Because it gives users a near real-time denoised solution, it’s a great option for lighting and scene composition. But it does have some limitations that keep it from being the best solution for final renderings.


Denoising and compositing

In the visual effects world, artists will output a large number of render elements to allow for adjustments in compositing. It’s common to split out many aspects of the render into different parts like specular, reflection, reflection filter, diffuse filter, lighting, and global illumination. The challenge then becomes to recomposite the beauty image using the individual elements. One issue that can come up is that each render element has to represent an exact contribution of the original beauty image or artifacts can appear, especially near edges.

Now imagine that you want to use the denoised image as the beauty. That would mean that all the render elements would also need to be denoised. If each render element is denoised on its own, then your recomposite back to a beauty image could have a lot of artifacts.

Let me explain how the new render element denoiser in V-Ray Next eliminates this problem by maintaining the correct contribution of the complete denoised image for each render element.


Temporal denoising

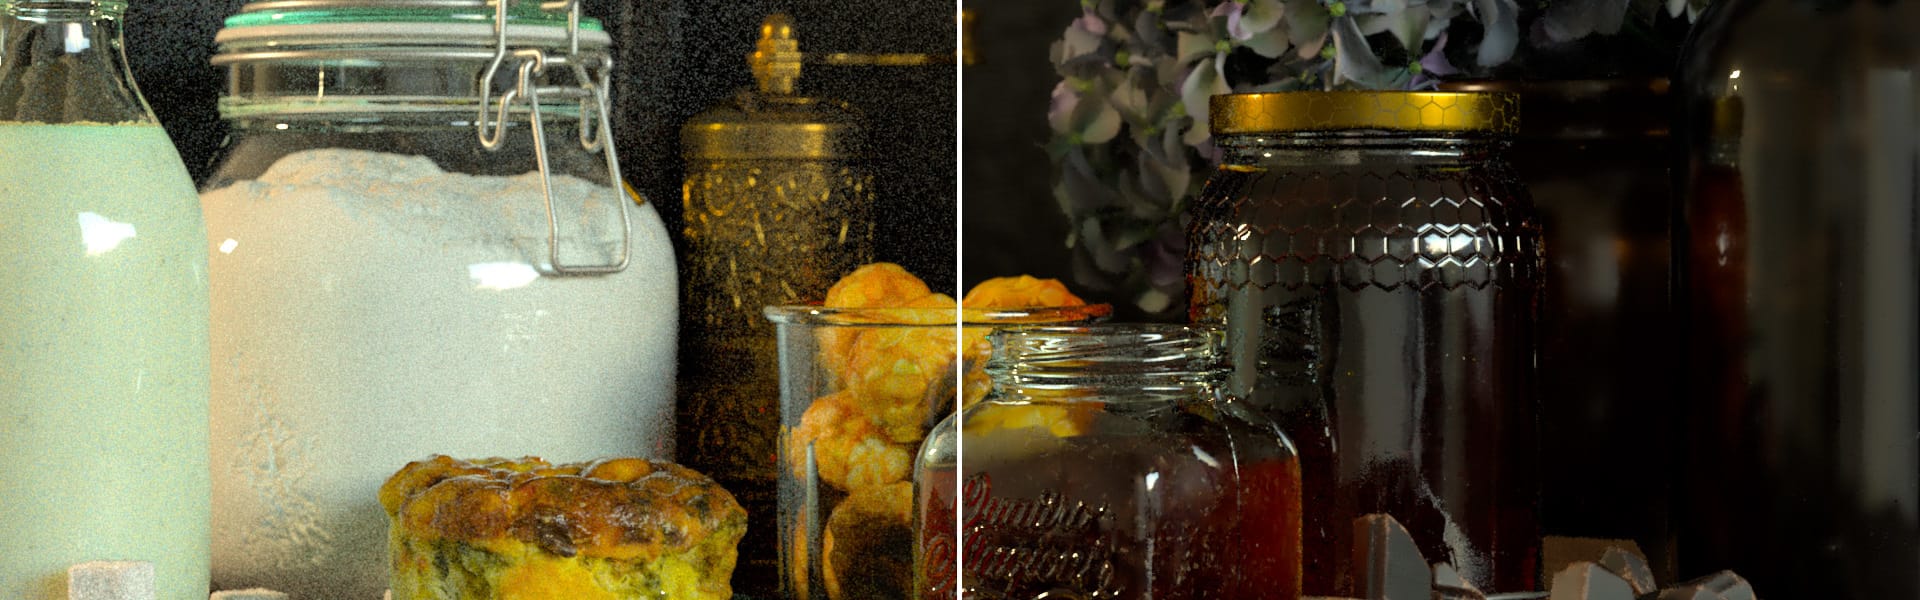
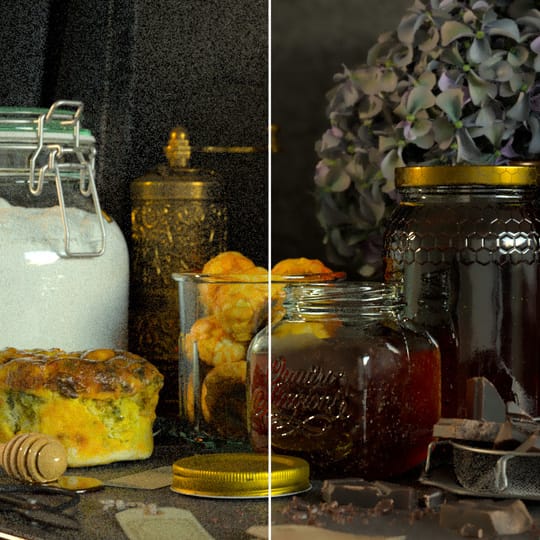
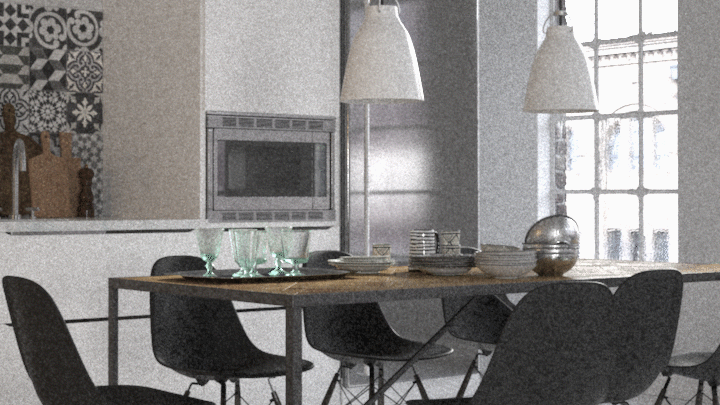
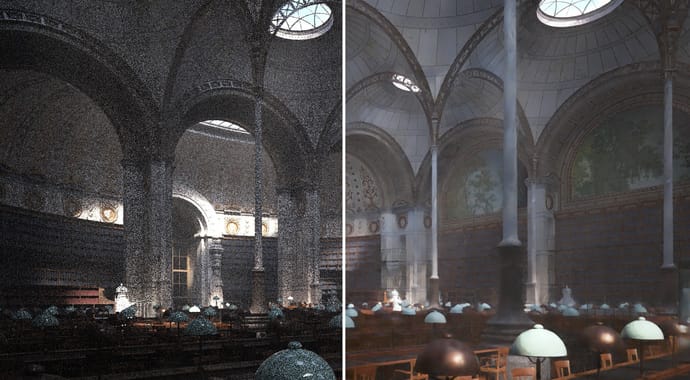
When you denoise an image, the algorithm tries to detect noise and smooth out part of that image through filtering and blurring, while still preserving edge integrity. If you are rendering an animation, this means that every image will be denoised separately. As each image is different, the denoising of each image will also be different. Those differences can result in swimming patterns as you go from frame to frame.
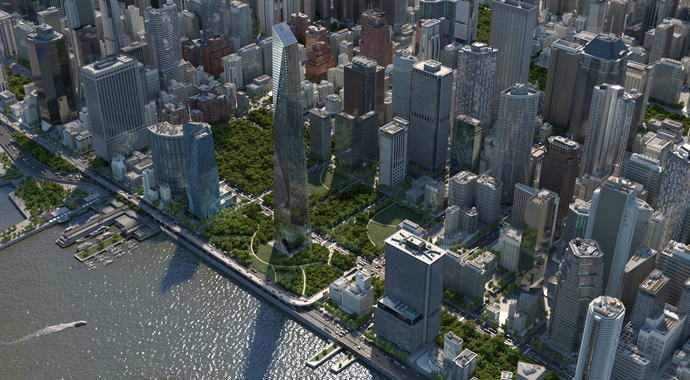
Original noisy animation

Denoised animation with artifact

In order to deal with this, we will explain how V-Ray Next uses a standalone version of the denoiser to solve this temporally.

Denoising all the render elements

In V-Ray Next, users will notice that nearly every render element has an option called denoise. What this means is that if you select the VRayDenoiser render element, each of the other render elements that have the denoiser option chosen will also be denoised. What's interesting is that V-Ray does not denoise each render element separately. V-Ray considers all the render elements when denoising and each render element only represents its portion of the denoised image. You may still see some level of noise in each render element, but when you recomposite the image back to beauty, the image integrity is preserved. And you don’t get artifacts such as edge issues.

In this example, we show a complex scene with a large number of render elements, including all the standard passes as well as several light selects. In V-Ray, you can actually output hundreds of render elements, each with denoise selected, and they will all represent their proper contribution of the denoised image. 

Left: Original beauty image | Right: Recomposited image

Render elements

A few things to consider

Being conscious of reflections and refractions

One thing to consider is that V-Ray uses helper elements to identify areas of detail to preserve, including elements such as diffuse filter and word normals. By default, these elements ignore the detail that may be visible through reflections and refractions. So detail may be lost in these areas.

Original noisy image
Normals render elements
Denoised render elements

Luckily we can regain this detail by going into the settings of the shader of the object and making sure that in the Affect channels section, we select all channels. By doing this, the helper elements will see areas the objects present in the reflections and refractions. However, in doing this, you can increase your render time, so this option should be used judiciously. Try to only affect the refraction, and only when needed.

Original noisy image
Normals render elements with affect all channels
Denoised render elements with affect all channels

Progressive rendering vs. buckets

As we stated before, the V-Ray denoiser is better designed for production final frame rendering compared to the NVIDIA AI denoiser. As such, you may want to consider using bucket rendering for your final frames. One reason is that when in progressive mode, the denoiser is calculated with every pass. While the V-Ray denoiser is fairly fast, it can take a second or less to calculate and when your image has thousands of passes, those seconds quickly add up. When using bucket rendering, the denoiser is only done once in the image which can significantly speed up your final frame.


Solving the temporal problem

To solve the denoising problem in animation, the denoiser needs to consider adjacent frames when denoising. As V-Ray may not know about the adjacent frames until after they are rendered, we are offering a separate tool that denoises a series of images.

Denoiser tool

This tool allows you to select the frame range and specify how much of the adjacent frames to consider when denoising to create a smooth denoised animation with no artifacts. Also, since this is a post process, you can try different settings that best match your scene. You can also select which render elements to denoise as well.

Original noisy animation

Denoising each frame independently

Doing a temporal denoise, blending the results of adjacent frames

V-Ray’s denoiser is built for production compositing

The NVIDIA AI denoiser is an excellent tool for lighters as they explore lookdev, lighting and composition. The V-Ray denoiser is better suited for production rendering and proper compositing. As such, you can continue to use your production workflows that include all your render elements and be confident that your passes will be recomposited with their proper contribution. Additionally, for an animated sequence, you can use the standalone denoiser app on the rendered sequence to properly consider before and after frames and achieve a desirable denoised sequence that is temporally balanced.

IMG_h96auu.jpg
About the author

Christopher Nichols

Chris is a CG industry veteran and Director of Chaos Labs. He can also be heard regularly as the host of the CG Garage podcast which attracts 20,000 weekly listeners. With a background in both VFX and Design, Chris has worked for Gensler, Digital Domain, Imageworks and Method Studios. His credits include Maleficent, Oblivion and Tron: Legacy.

Originally published: June 19, 2018.
© Škoda Design

Subscribe to our blog.

Get the latest news, artist spotlight stories, tips and tricks delivered to your inbox.

By submitting your information you are agreeing to receive marketing messages from Chaos. You can opt-out at any time. Privacy Policy.

Chaos
© 2024 Chaos Software EOOD. All Rights reserved. Chaos®, V-Ray® and Phoenix FD® are registered trademarks of Chaos Software EOOD in Bulgaria and/or other countries.