We take a look at how you can quickly make believable materials using the new Asset Browser and material presets in V-Ray 5 with new simplified options.
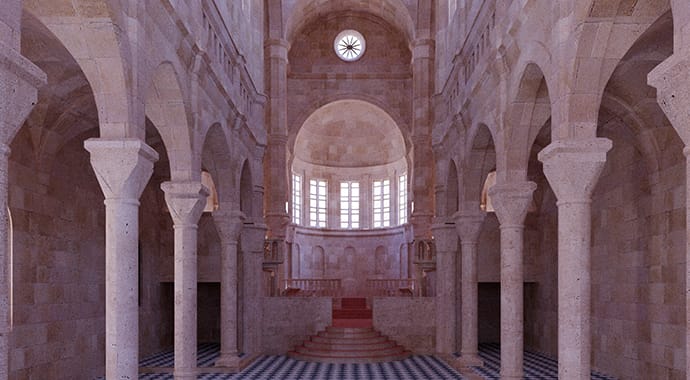
Great renderings need four components: geometry, lights, a camera, and materials. One of the most complicated parts of rendering is almost always your materials. Making a good and believable material can be a challenge if you don’t know what you’re doing — and even if you do know, it can still take time to do it right.
A single VrayMtl can create many different materials and looks; however, this has always required tweaking many parameters. Now, in V-Ray 5, you can get a head start on your material creation with two new additions:
- V-Ray Asset Browser — in V-Ray 5, this gives you a complete material along with textures that can be loaded and added to your scene.
- V-Ray Material presets — you can quickly pick a material type and, in V-Ray 5, the parameters of the material itself will change.
What is perhaps the most interesting about these additions is that, not only do they help novices get great-looking materials quickly, but they also offer a great advantage to seasoned V-Ray users.
Let’s explore both the V-Ray Asset Browser and the presets to discover some of the advantages.
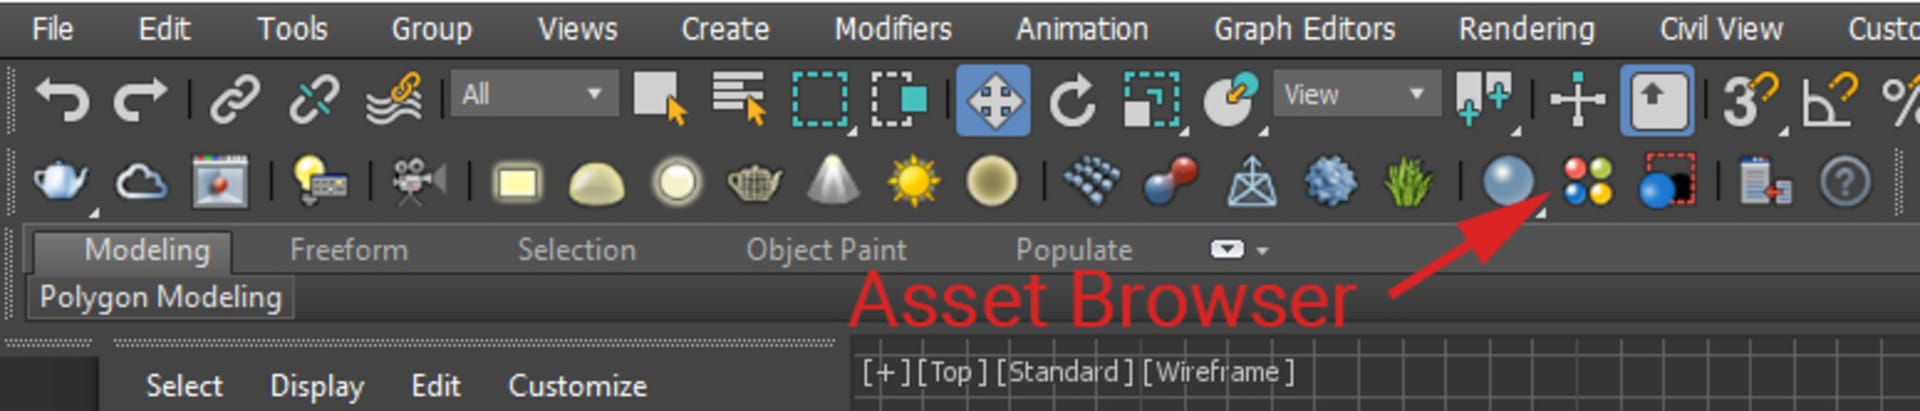
Exploring the V-Ray Asset Browser
When you first install V-Ray 5 for 3ds Max, you will notice an additional download — this is the download of your Asset Browser. (The assets will download to your Documents folder, in case you are looking for it.) However, we recommend that the best way to load the Asset Browser is directly from the V-Ray toolbar in 3ds Max.
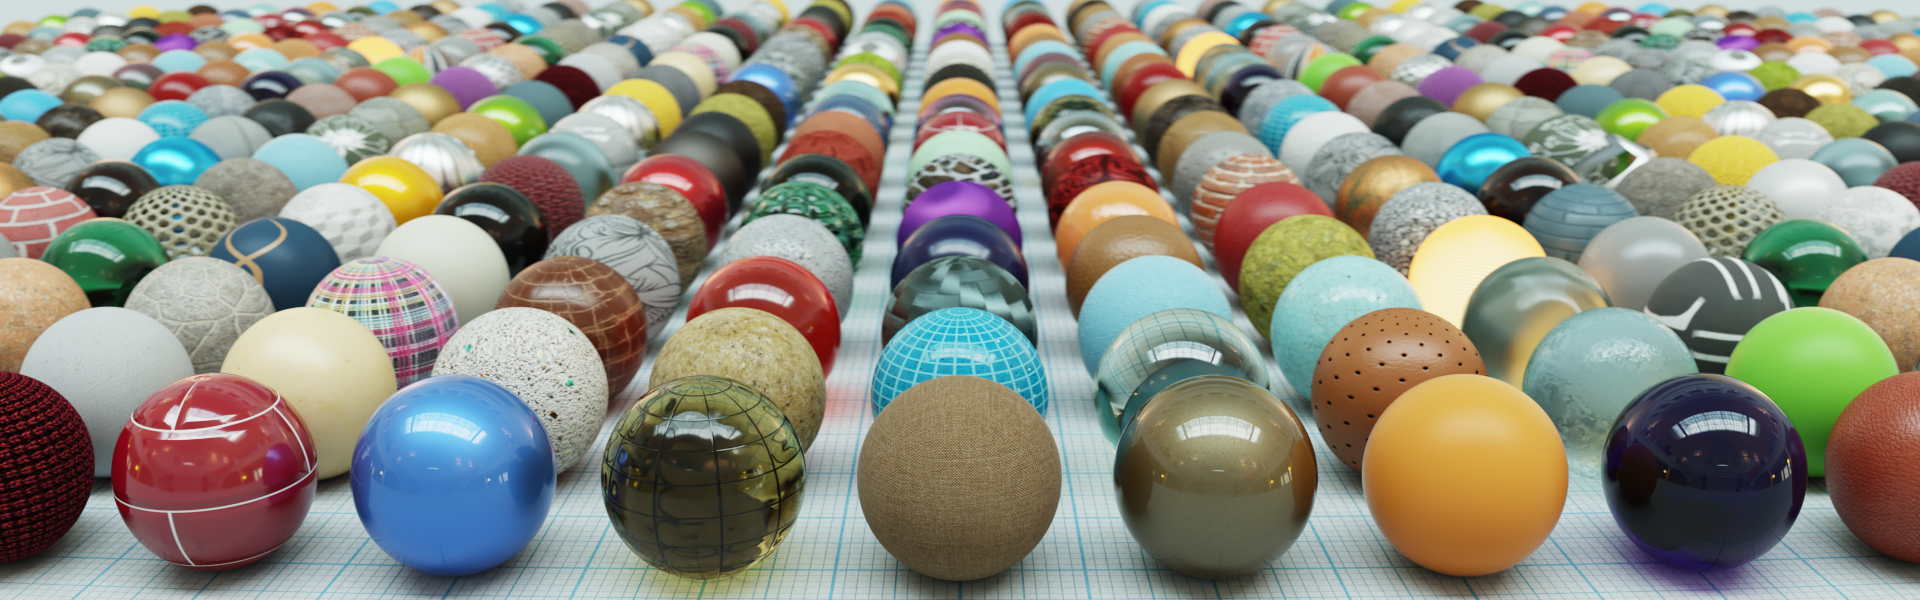
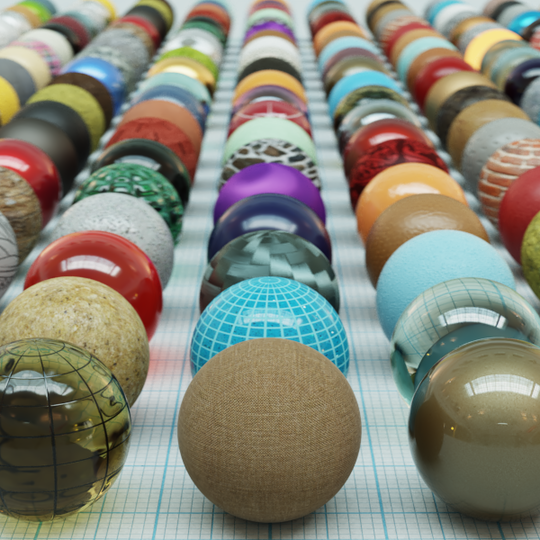
Once loaded, the browser is pre-sorted into categories. You’ll notice that the interface is very intuitive:
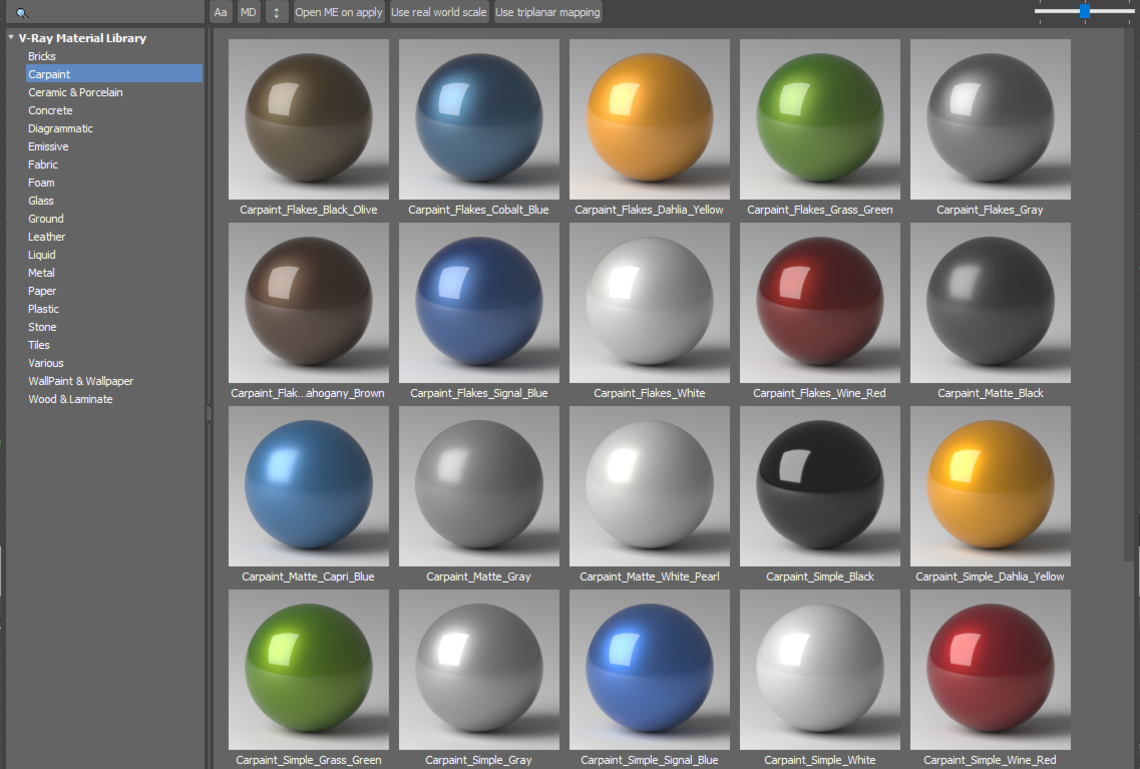
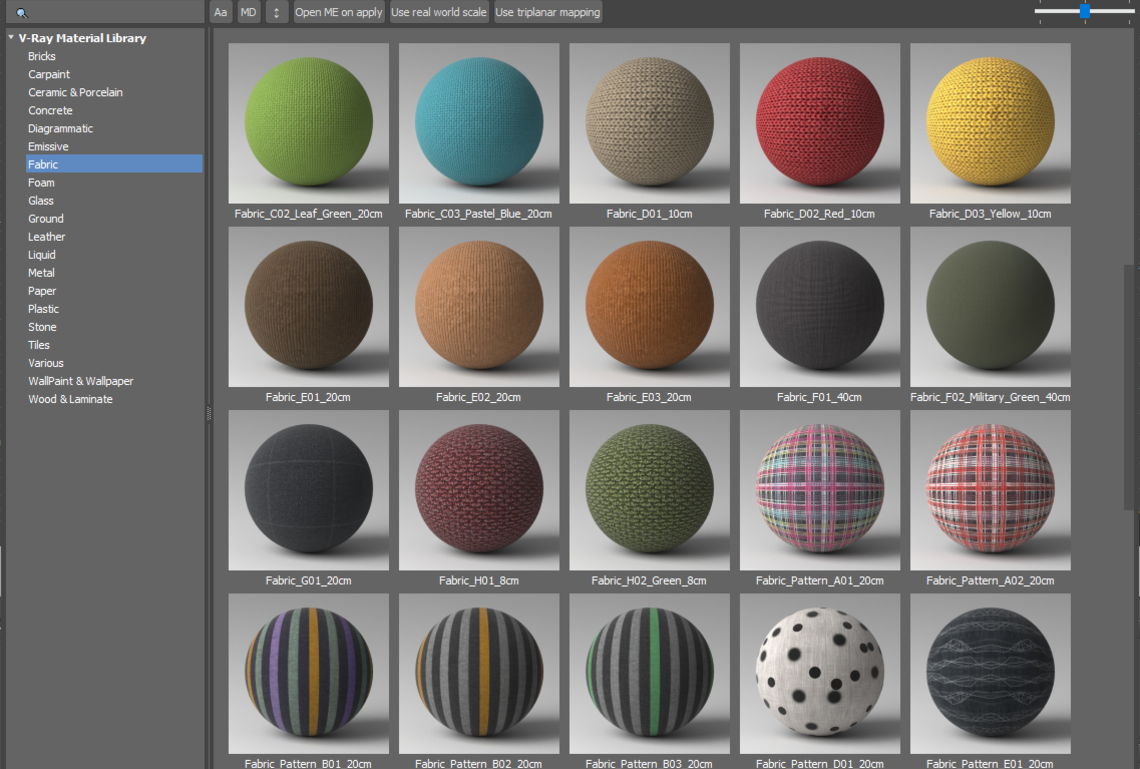
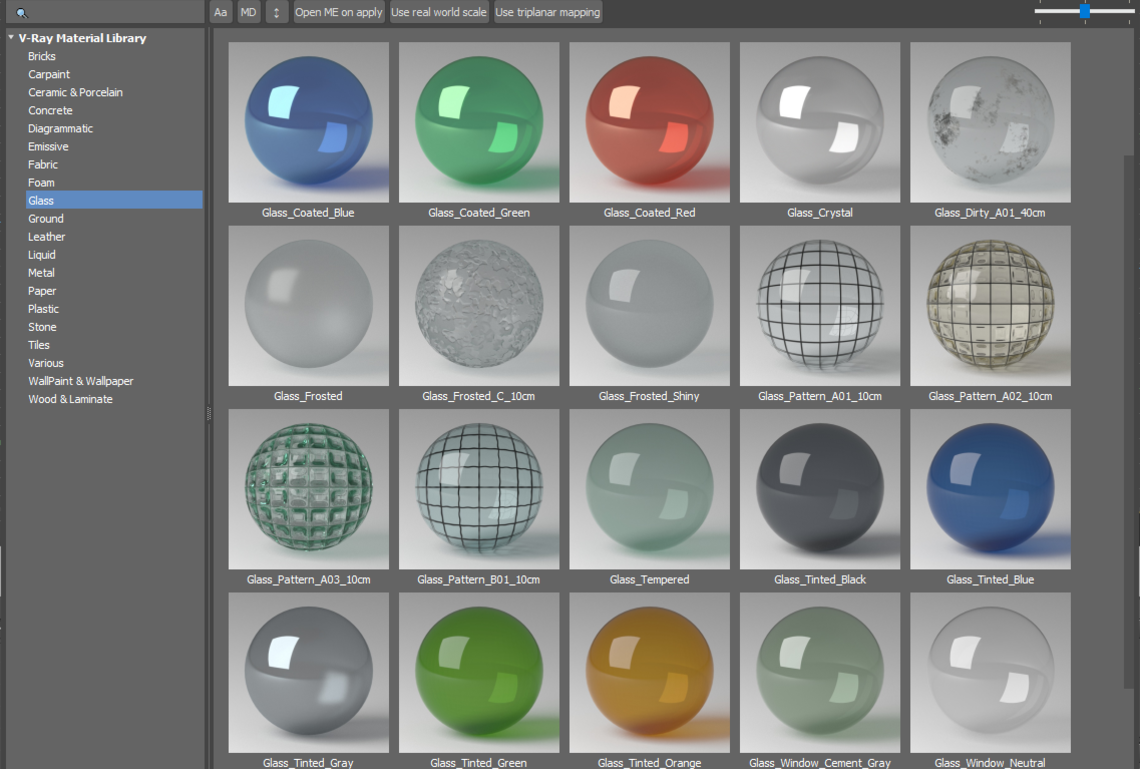
Here, you will see a variety of different categories of materials that you can use. These are, of course, great for a beginner who isn’t sure about how to start creating a good glass material, for example.
But there are some other key benefits here as well. V-Ray — and the world of rendering — has changed radically over the last several years. As such, some of our more seasoned users may still be carrying some ideas about shading that no longer apply today; this has been especially true since V-Ray Next. As such, we’ve adapted the materials in the Asset Browser for a more modern workflow — one that takes advantage of features released in V-Ray Next with the addition of new workflow improvements in V-Ray 5.
Here are some of the advantages that these materials offer — that even seasoned users will find value in:
- All materials use the proper PBR materials and apply metalness to all metal materials.
- When it makes sense, rather than using a blend material for reflective top coats, we use the Coat settings that are available in V-Ray 5; this makes the material faster.
- Materials that have tiling issues, such as grass and bricks, use the new stochastic tiling to remove repetitive tiling issues.
- We simplify the material as much as possible to make sure that it is as fast as possible.
- All the textures are optimized mipmaps using .tx files*.
*For those wondering what the .tx file format is: It is a tiff file that is optimized for rendering. The image is mipmapped, which means that multiple resolutions are stored in a single file. V-Ray loads the appropriate resolution according to how far the texture is from the camera.
Even if you don’t want to use the materials as they come, you will be able to follow them as guidelines to take advantage of the new V-Ray 5 settings.
Applying the material to your scene
While it is relatively simple to apply your material to your scene, there are a few things that you might find useful.
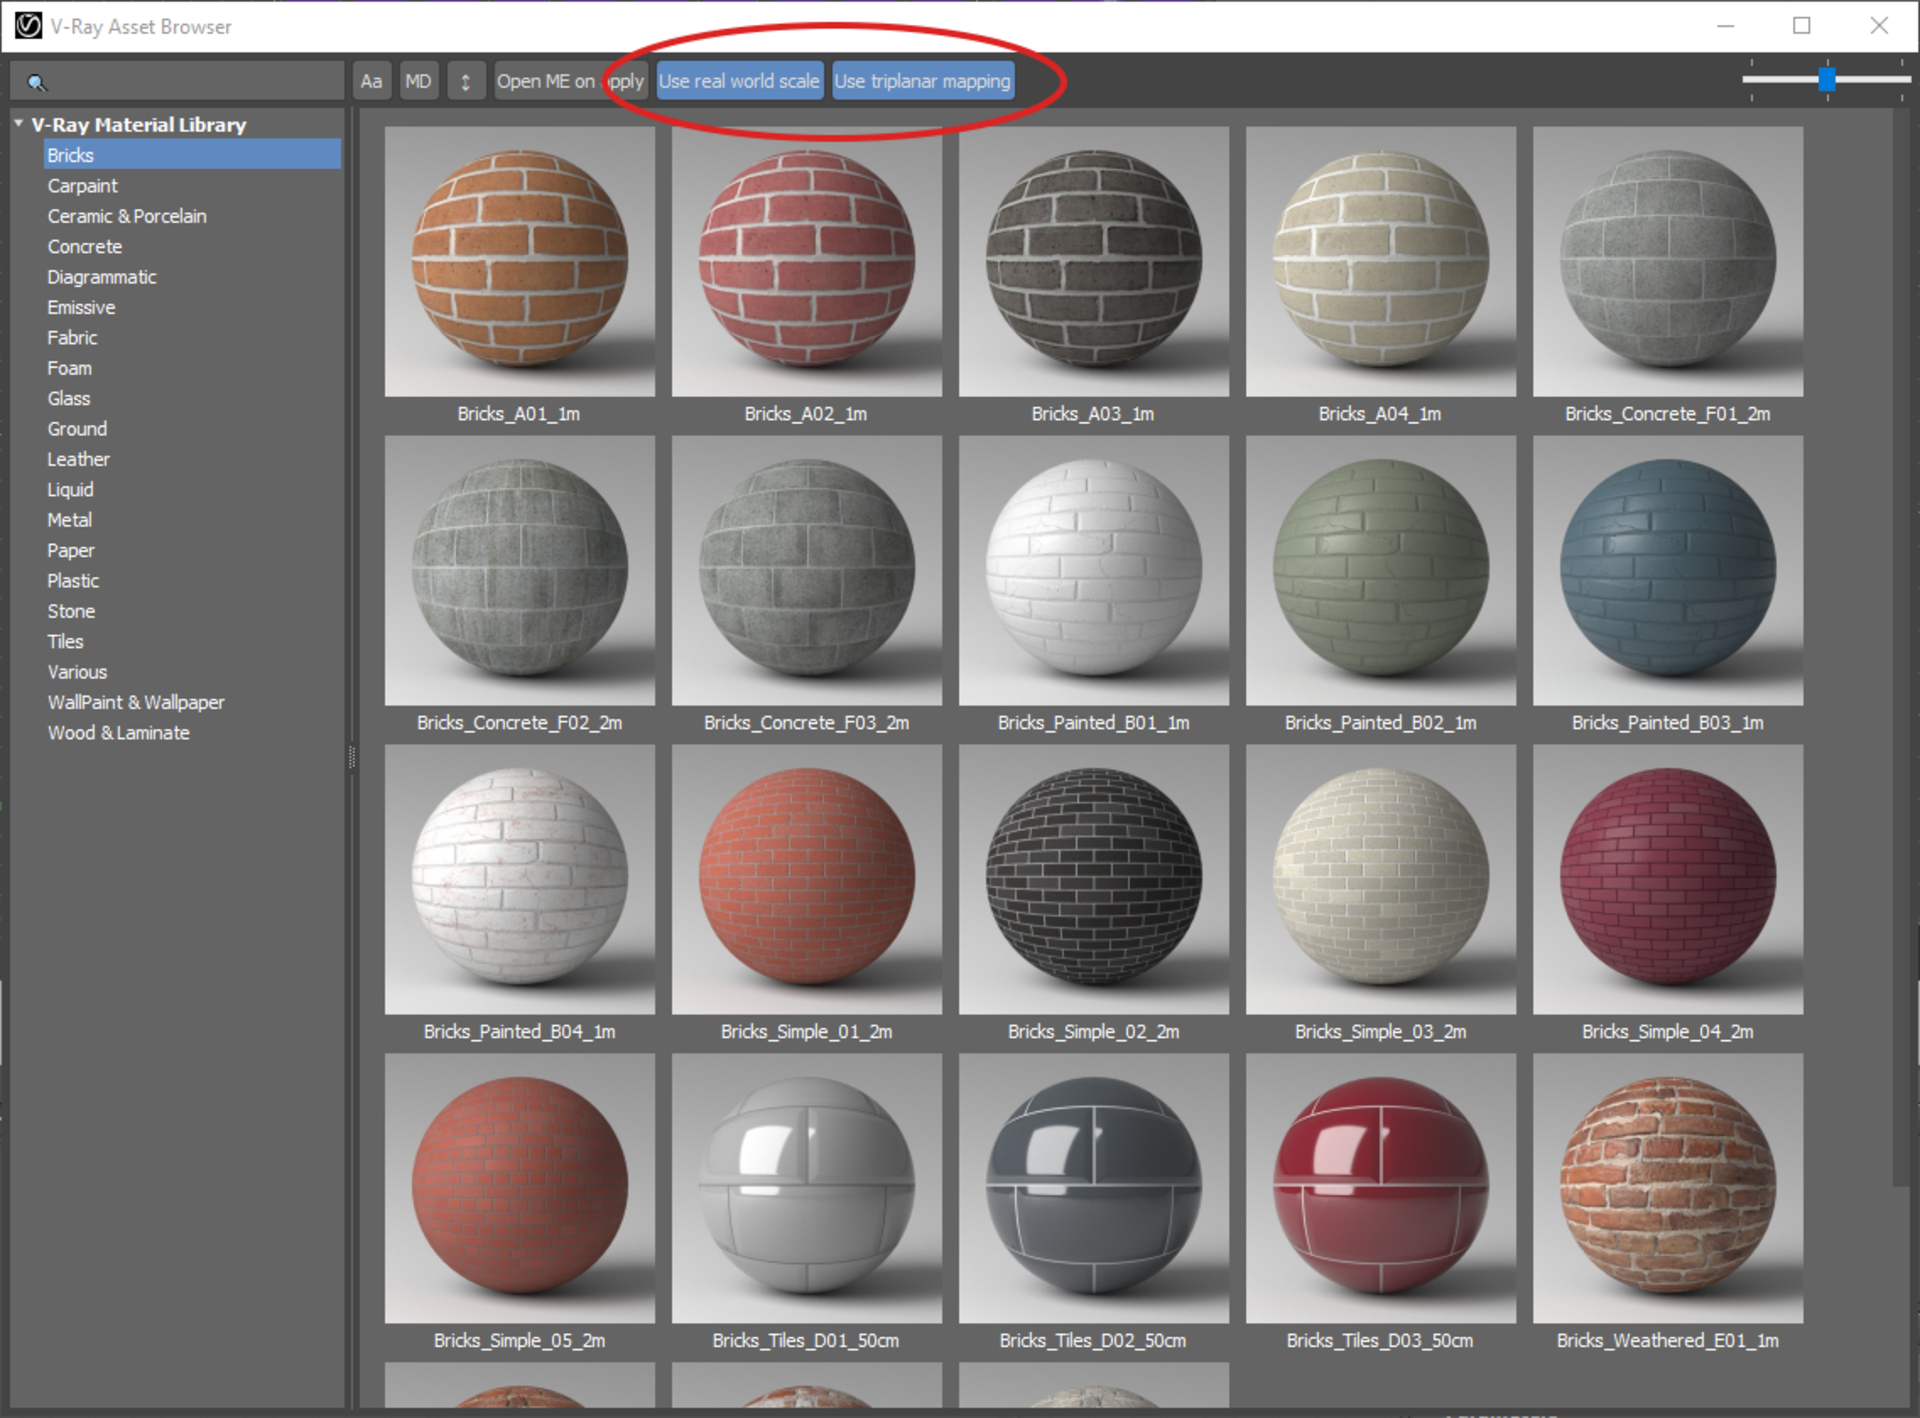
First, you will notice three options listed in the asset browser.
The first option is to open the material in the Material Editor after you have applied it. The second is to scale the material appropriately — and this is extremely useful. If you have built your scene to scale, the material will automatically scale to the correct scale of your scene. This way, bricks will be the right scale.
You also have an option to use Triplanar Mapping. Again, this is another excellent time-saver because V-Ray will just set this up for you.
Once you have selected the right material, you can right-click on that material to get the option to apply it to the scene or the selected option.
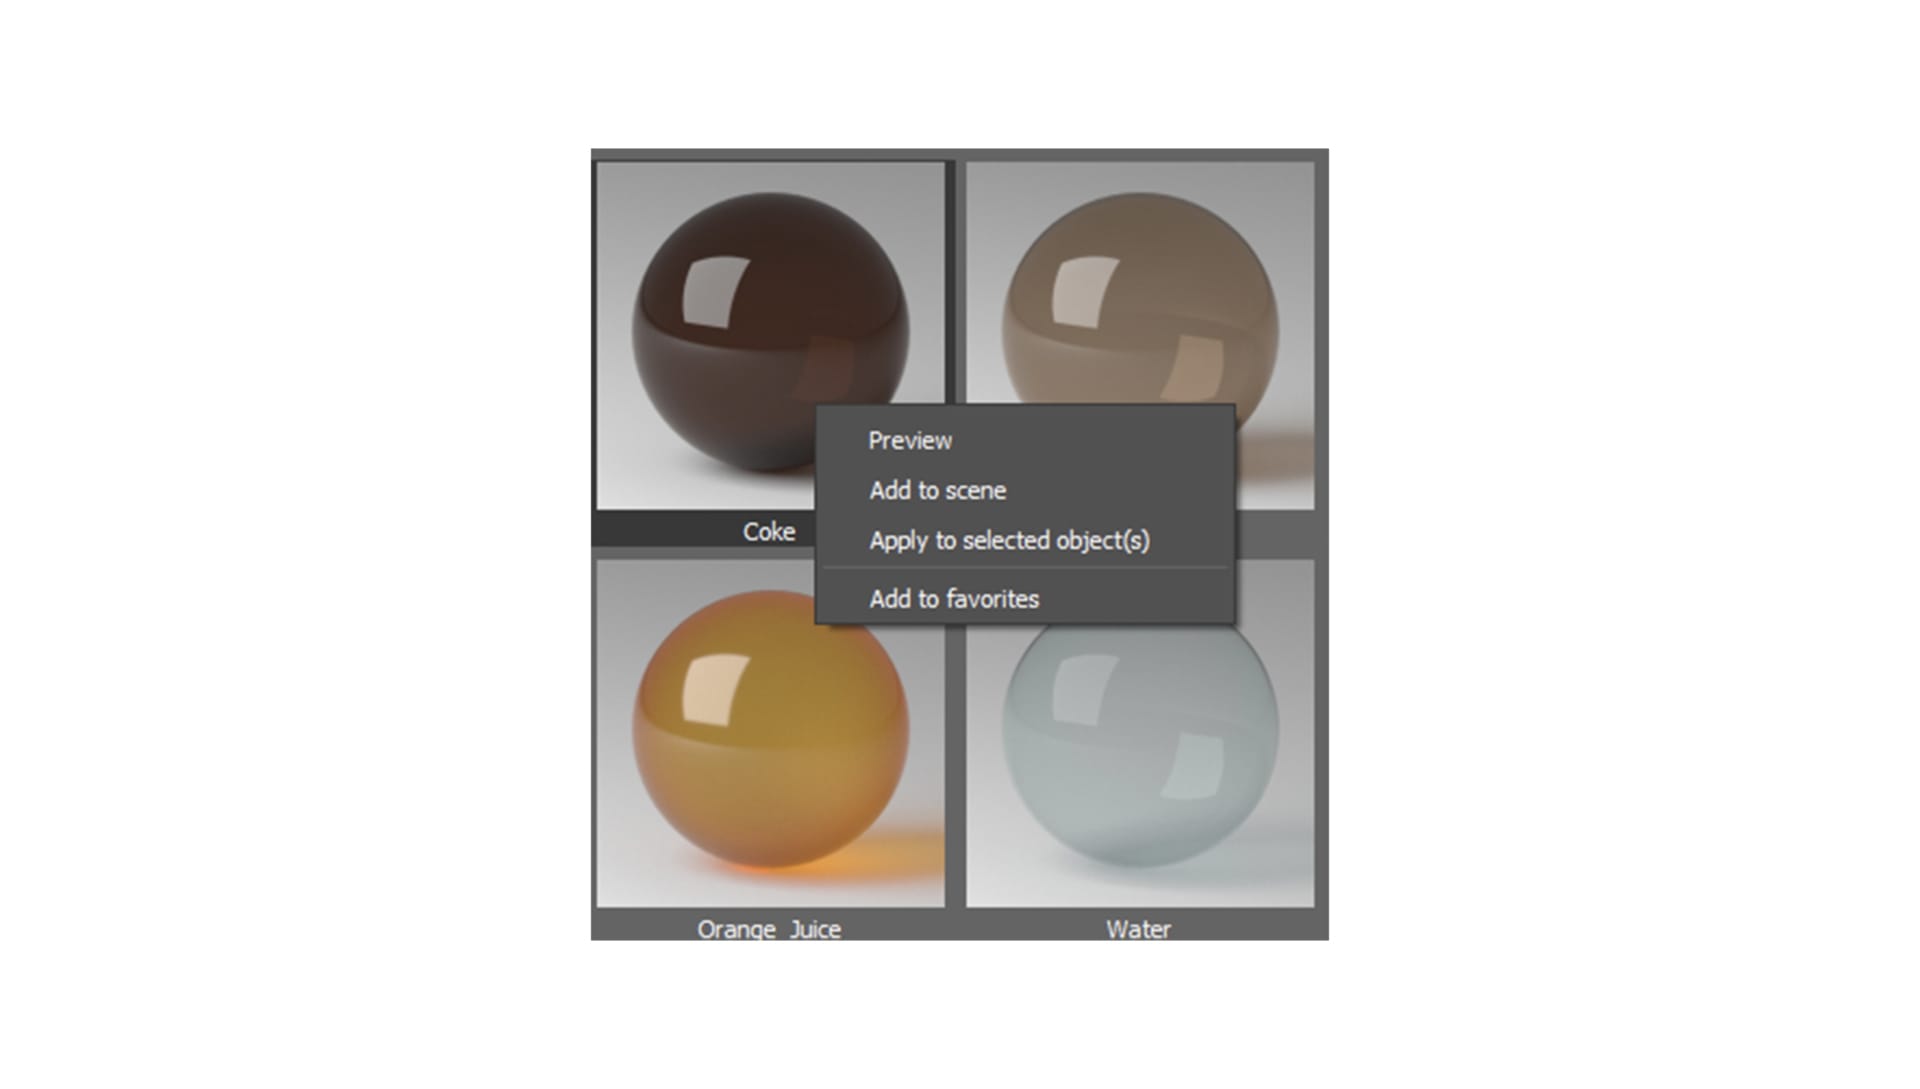
And then you’re done! Hundreds of high-quality materials applied to your scene — in just a few clicks.
Material presets
Similar to the Asset Browser, the presets allow you to kick-start the process to achieve the right material. However, unlike the browser itself, these presets are dropdown options and part of the base shaders.
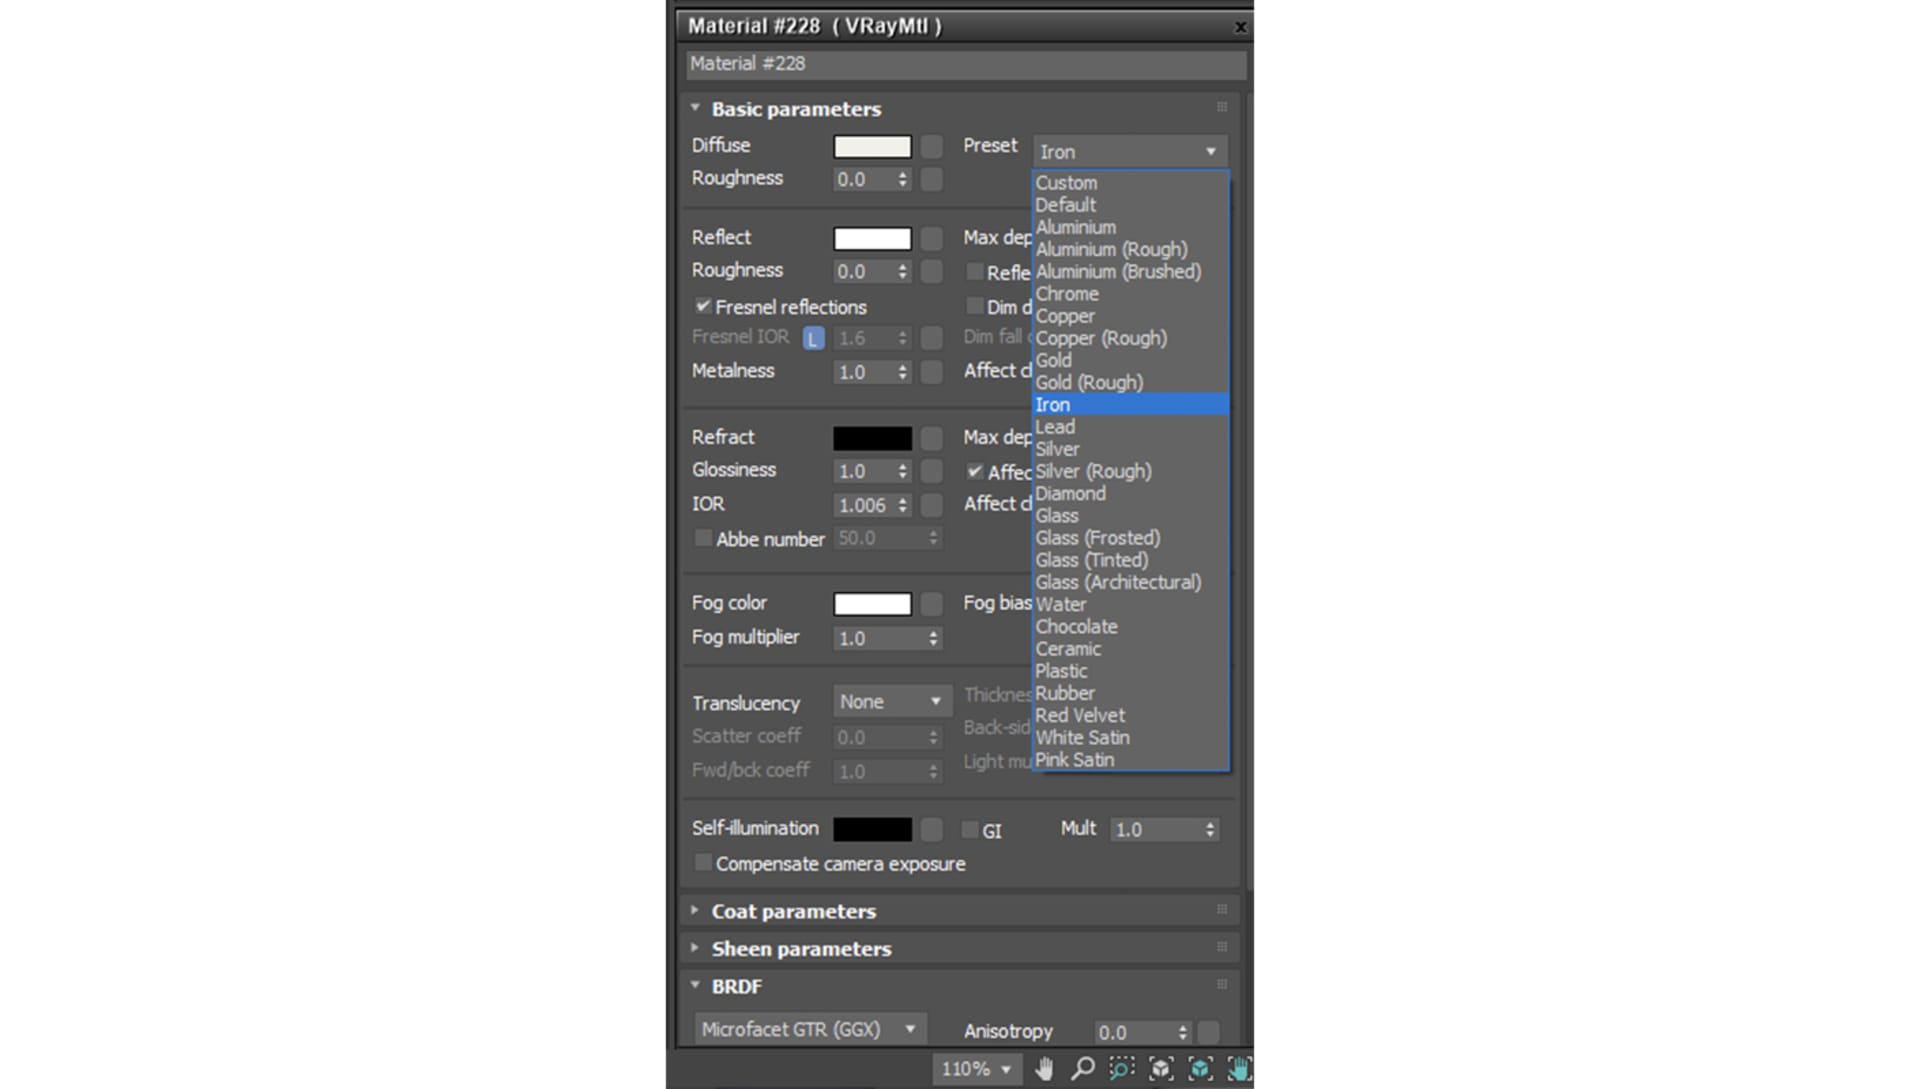
For a novice user — who might not yet know how to make a V-Ray material look like plastic, for example — then this will change all the settings in the material to do just that. For a more seasoned user, this only needs to start with plastic as a base — and this will help them get there using one click, instead of a half-dozen clicks inside the material itself.
The main difference between these presets and the Asset Browser is that this simply changes the settings of the material. It is not a network of shader nodes and does not apply any textures. So the presets are more about getting a jump start than trying to get you a final material.
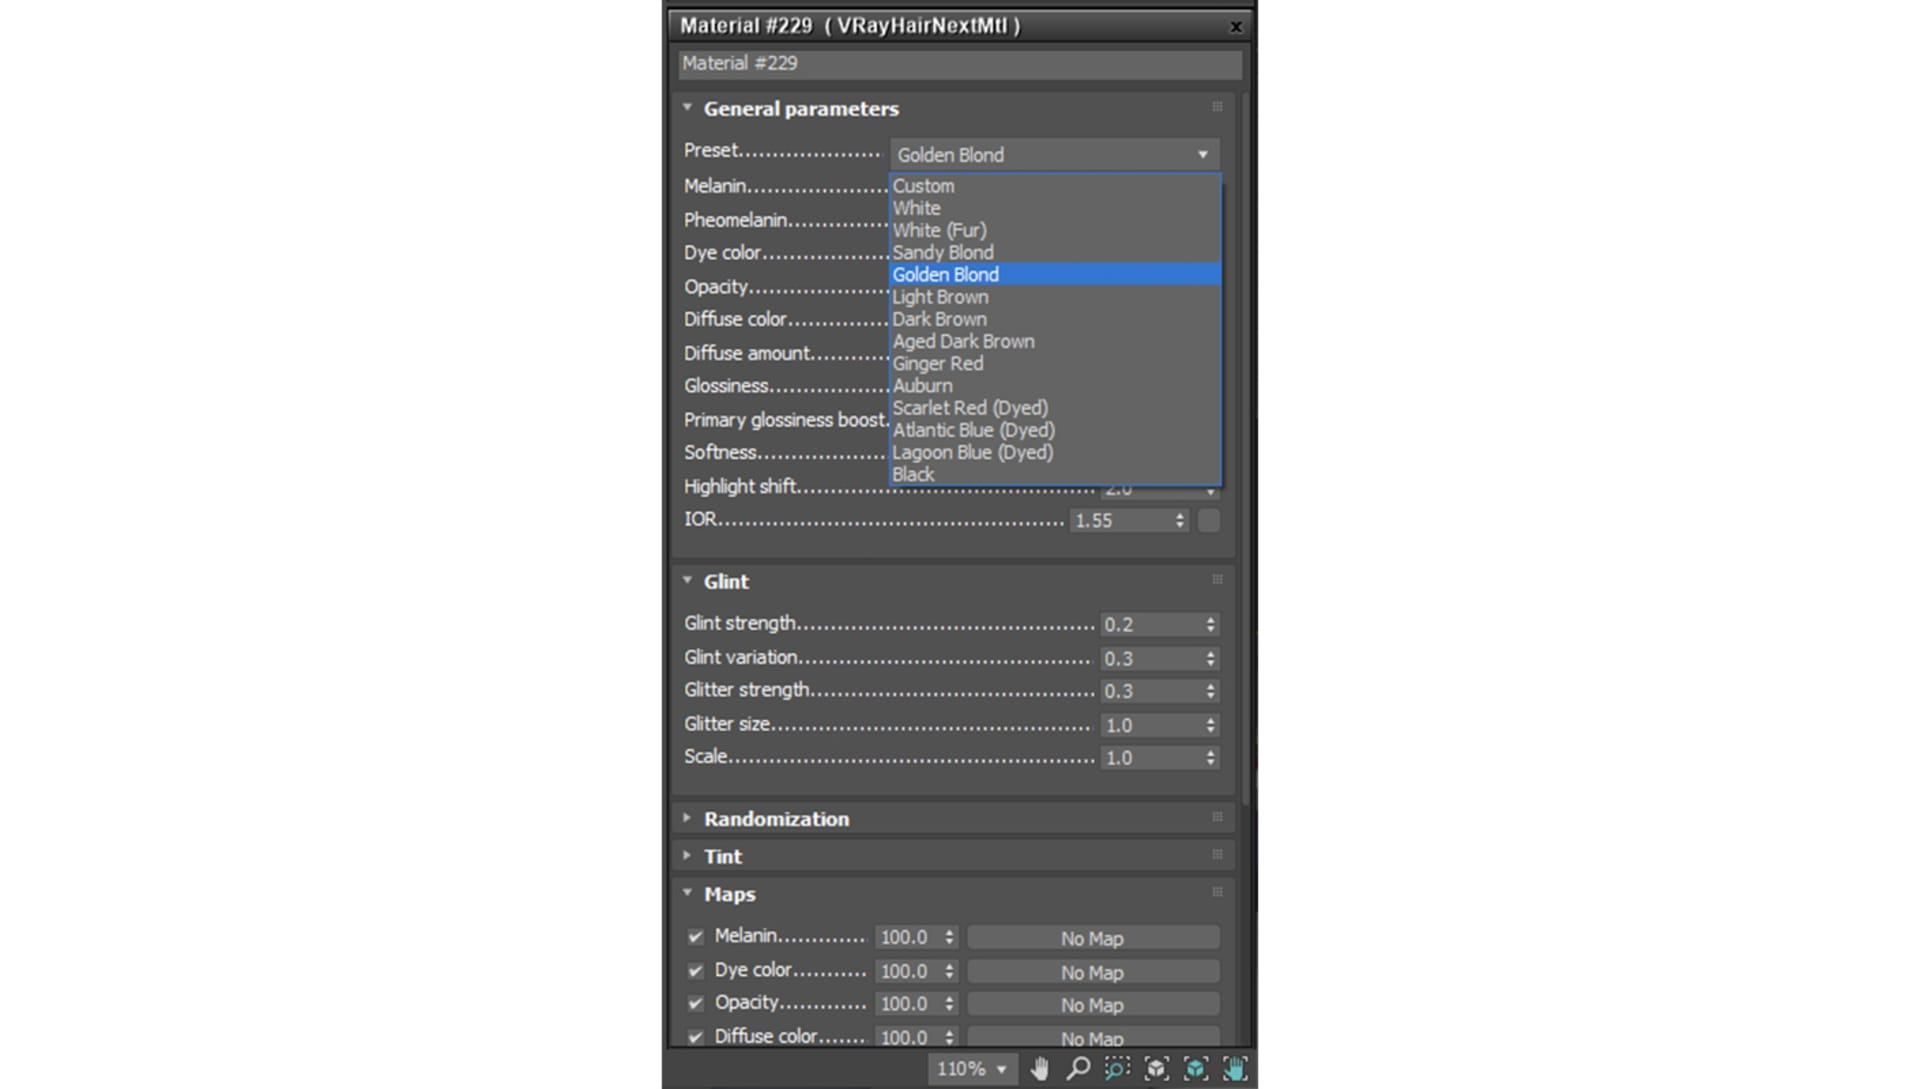
We should also note that VRayFastSSS2 has actually had presets since the beginning, and those still exist. But we have now also added presets to VRayHairNextMtl. So, if you want to make hair for a character and you know that you can start with blonde hair, then use the Golden Blonde preset to start and adjust from there.
In summary
The V-Ray Asset Browser and presets are a great new addition to V-Ray 5 and will be a massive boost to the workflow of both novice and advanced users. Both will be able to create materials much quicker, but will also be able to ensure that the materials produced will be physically correct and optimized to take advantage of all the new V-Ray 5 features.
One last thing of note: Some people may feel that using presets and readymade materials will take away from their creativity. But it doesn’t. Remember that materials are based on physics. The material properties of plastic don’t change.
The best way to apply a personal artistic touch to materials is actually in the textures. And for that, you are not forced to use our textures from the Asset Browser if you don’t want to. Think of them as placeholders for your own textures that you are free to paint on your own. But at the very least, you will know that your shading network and parameters are set up as efficiently and correctly as possible.