
Senior compositor and 3D generalist, Lars Wemmje reveals how he used 3D printing and V-Ray for Maya to bring a small figure to life.
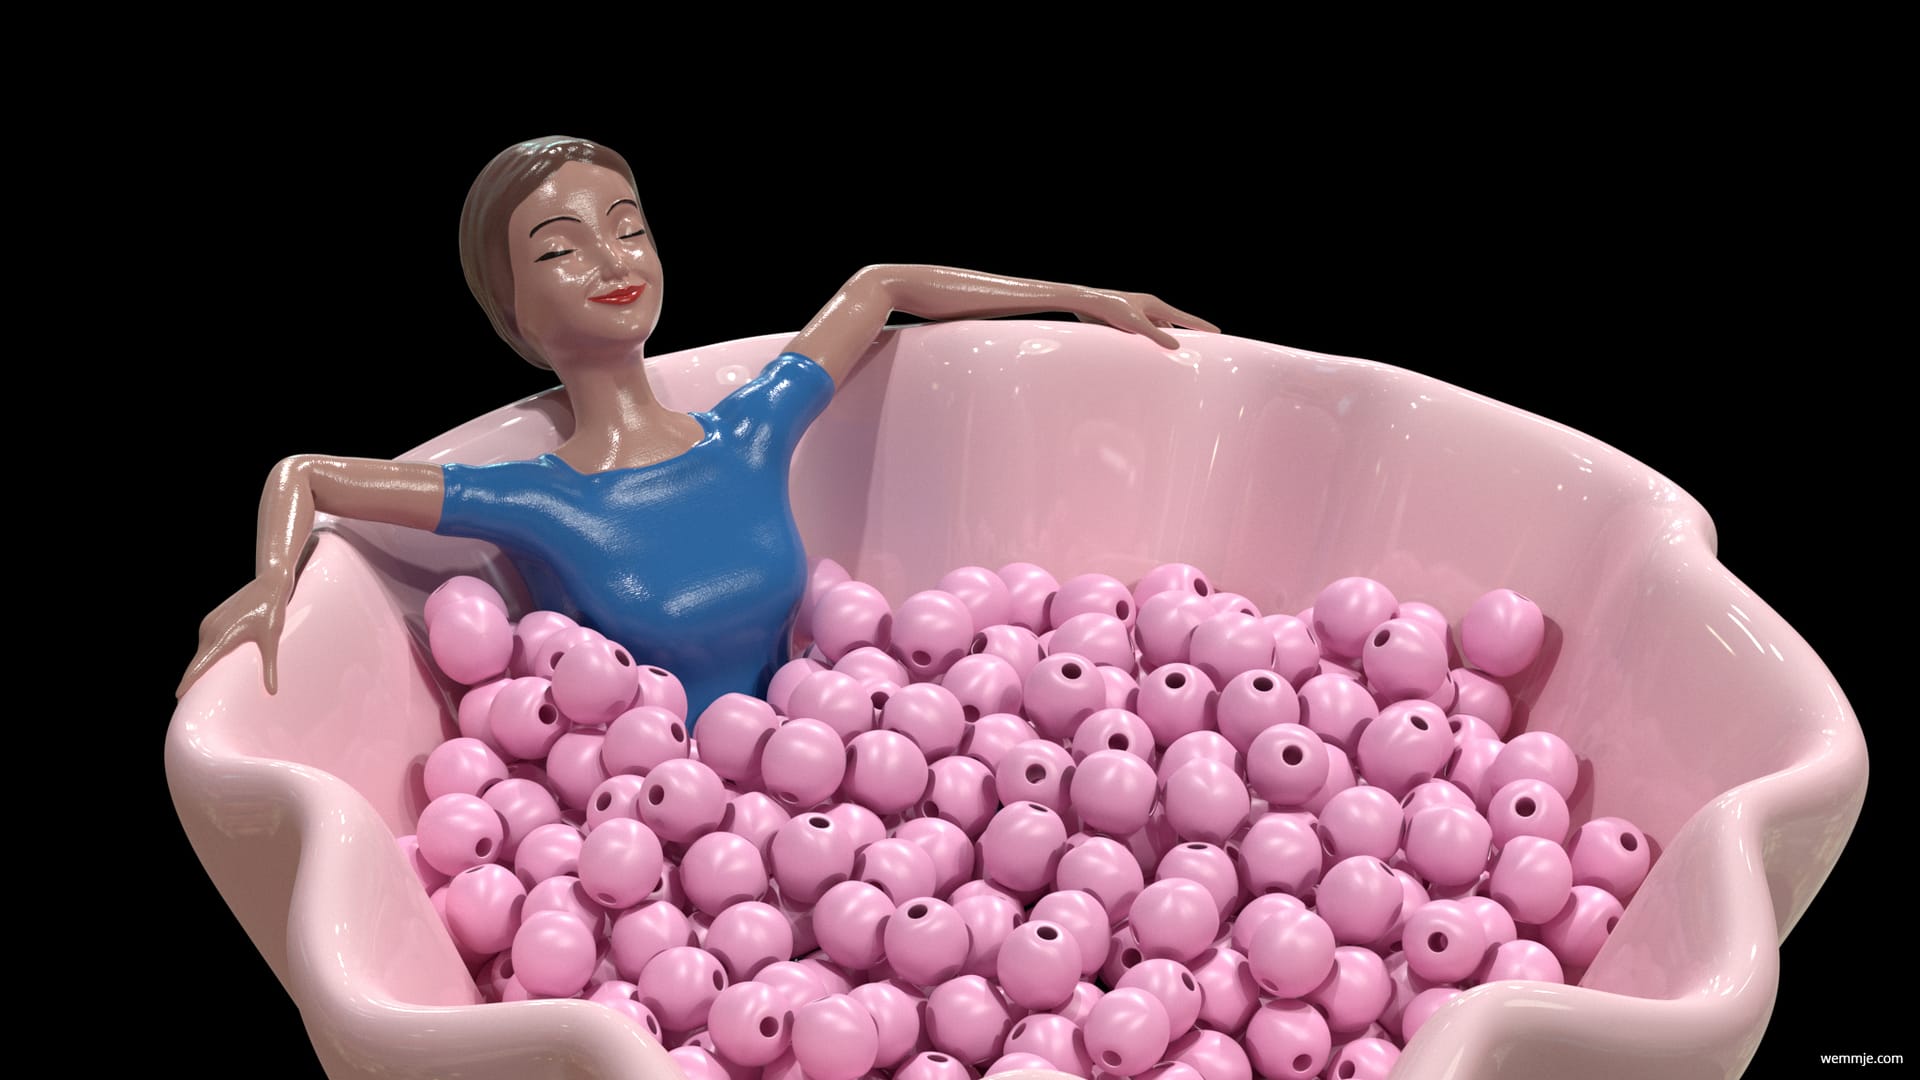
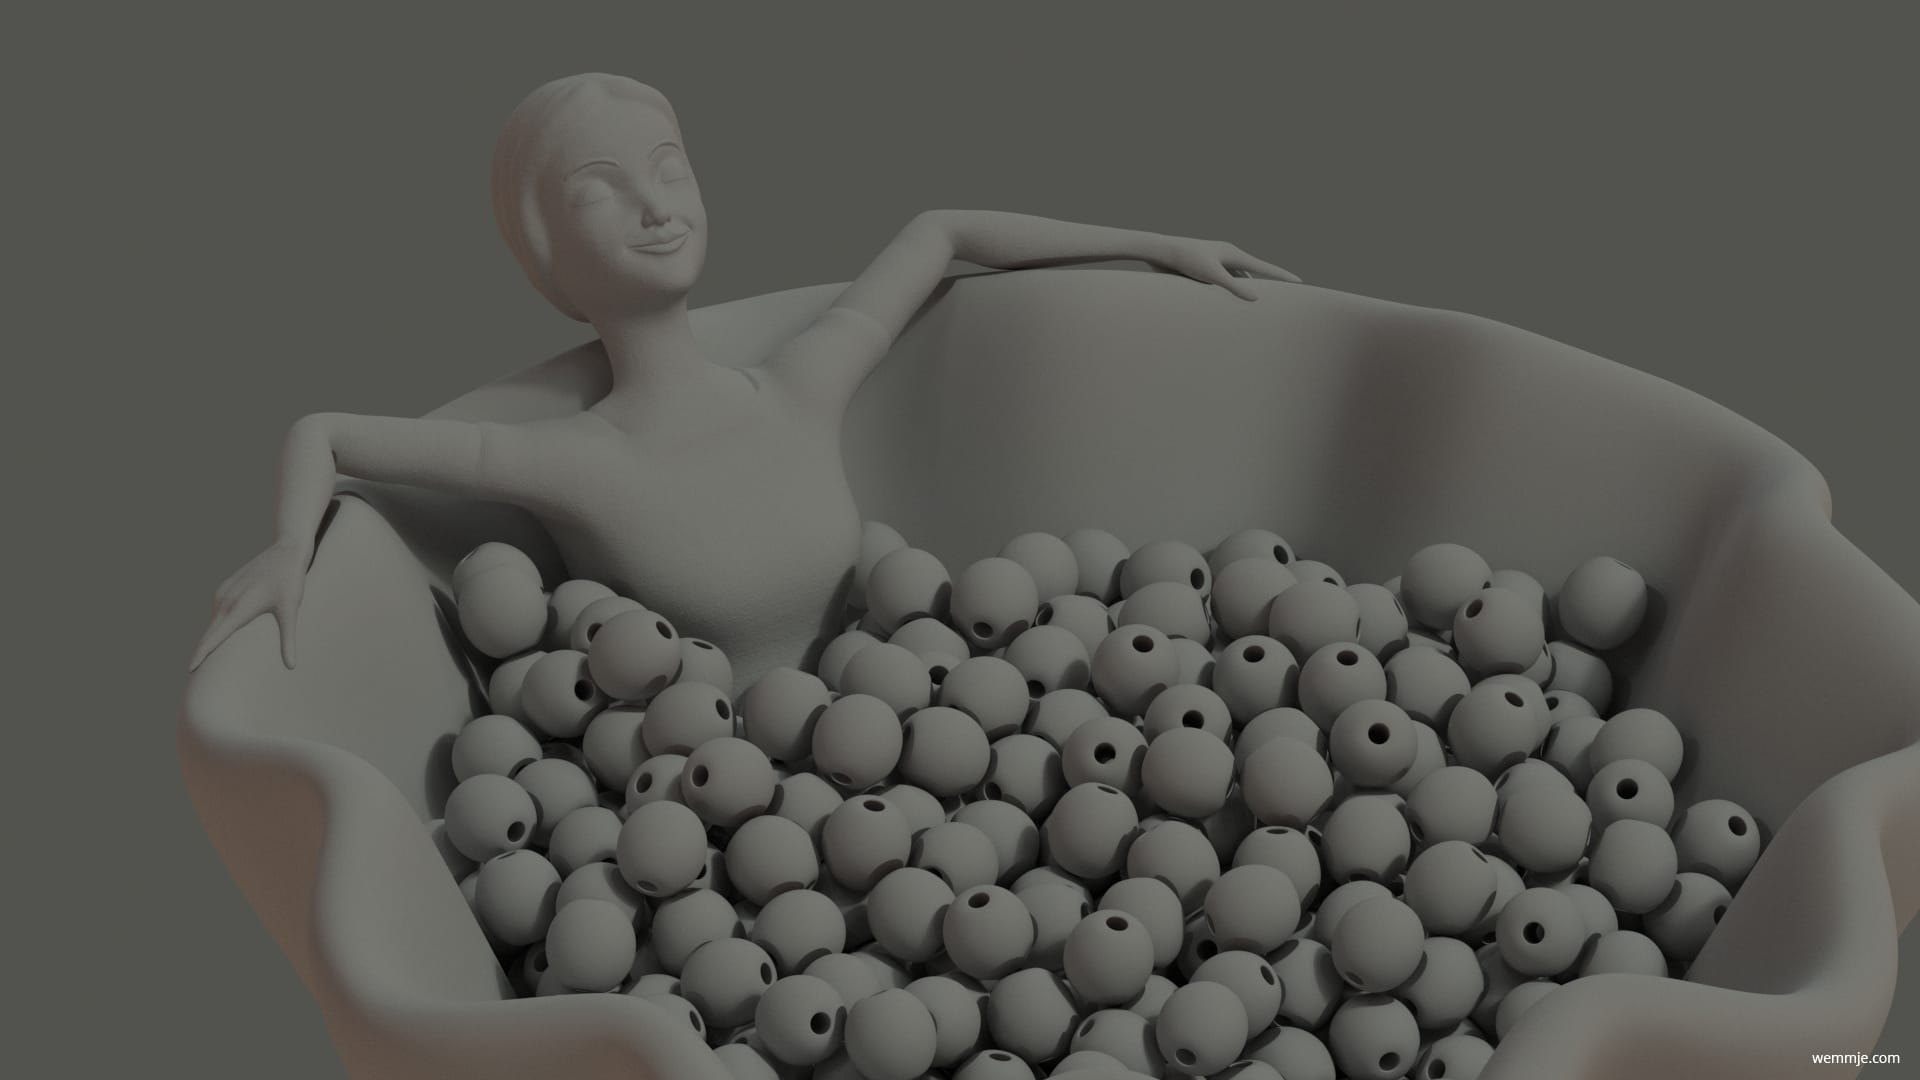
When shop owners close up for the night, the products come out to play. “Nuena” tells the story of a small figure that comes to life and enjoys a shopping spree in a jewelry store after hours. The animation was created by a senior compositor and 3D generalist, Lars Wemmje, as a commercial for a shop located in Hamburg, Germany. Here, Lars reveals how he used 3D printing and V-Ray for Maya to bring the character to life.
The Nuena commercial
The Nuena VFX breakdown
Developing the look of the film
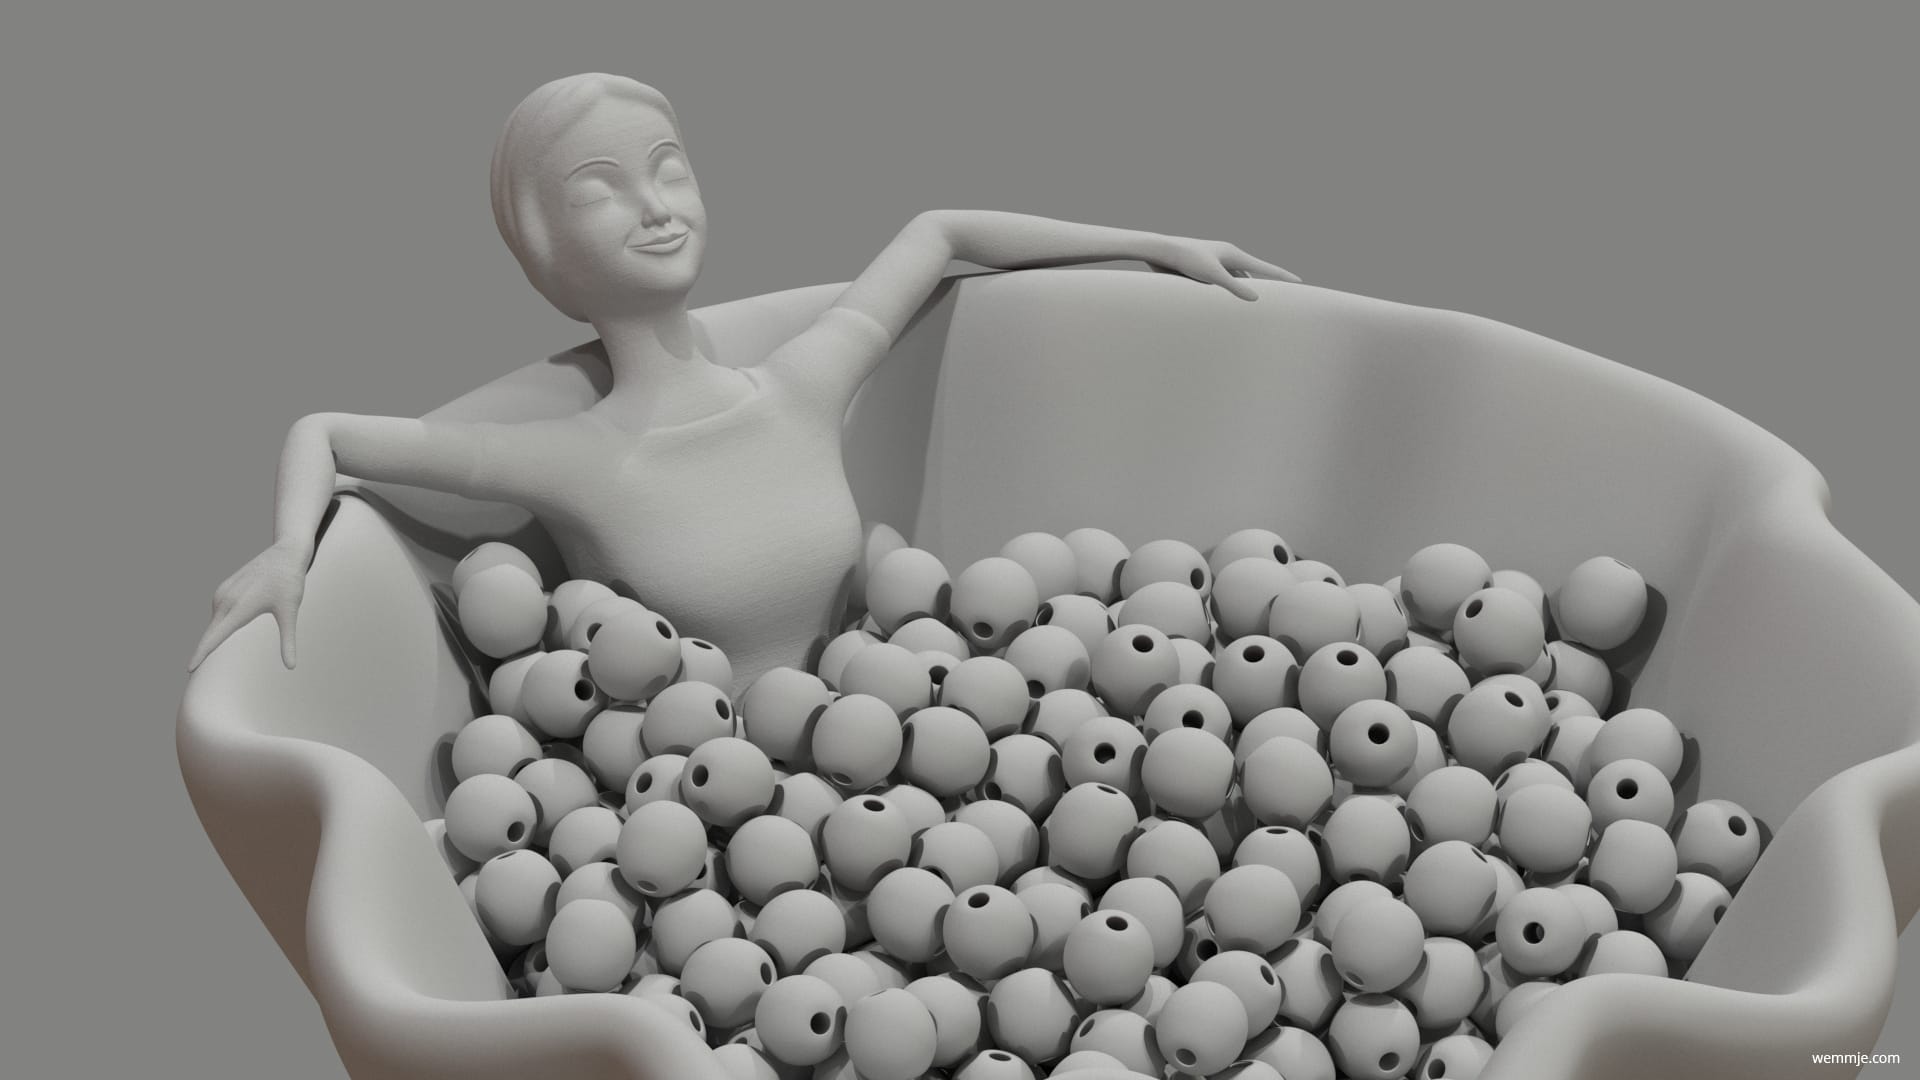
My first idea was to give the character the appearance of a china doll; however, when I began to think more about 3D printing, I realized that I had to make her look more like the 3D-printed figure. The figure was first modeled in ZBrush before being 3D printed and painted; this was used as a compositing reference for every shot of the commercial. Thanks to Tony Micilotta who painted the 3D-printed figures, and to Bjørn Blaabjerg who created the character rig for animation.
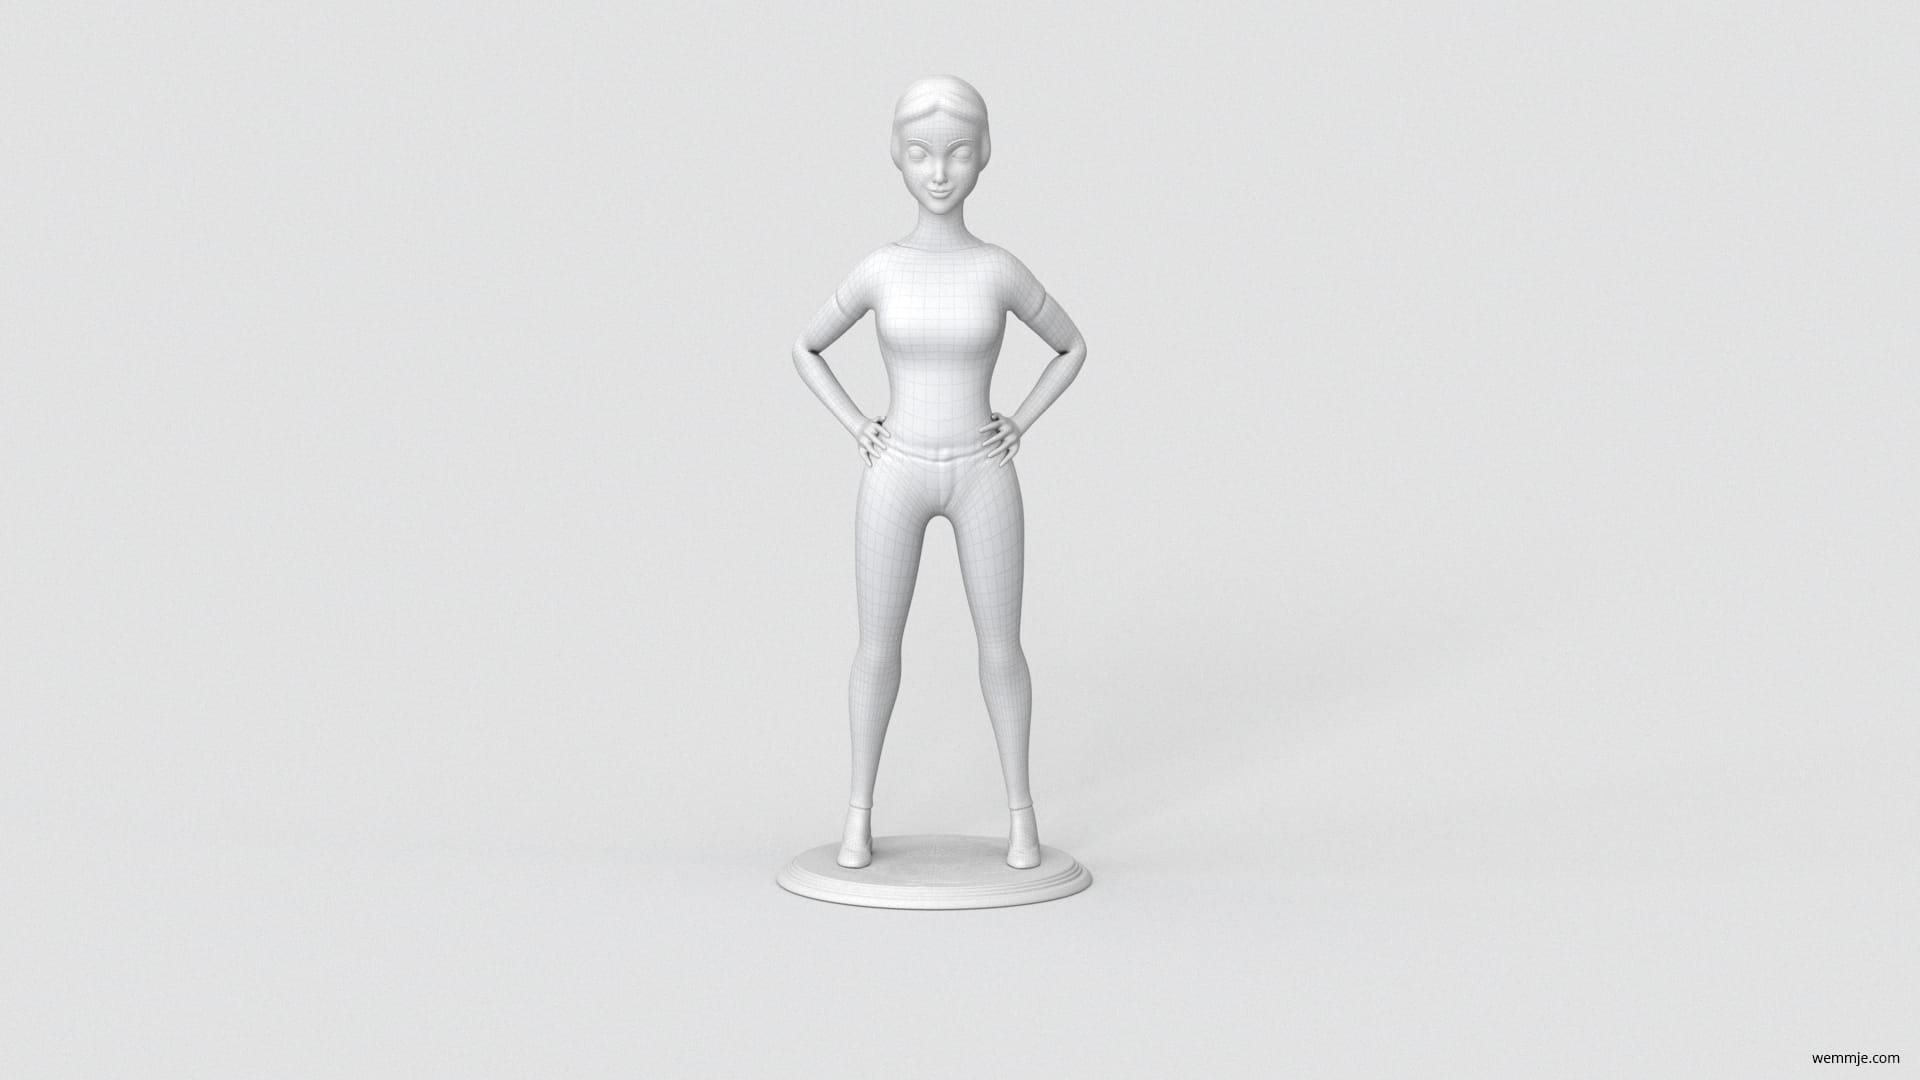
Modeling in ZBrush
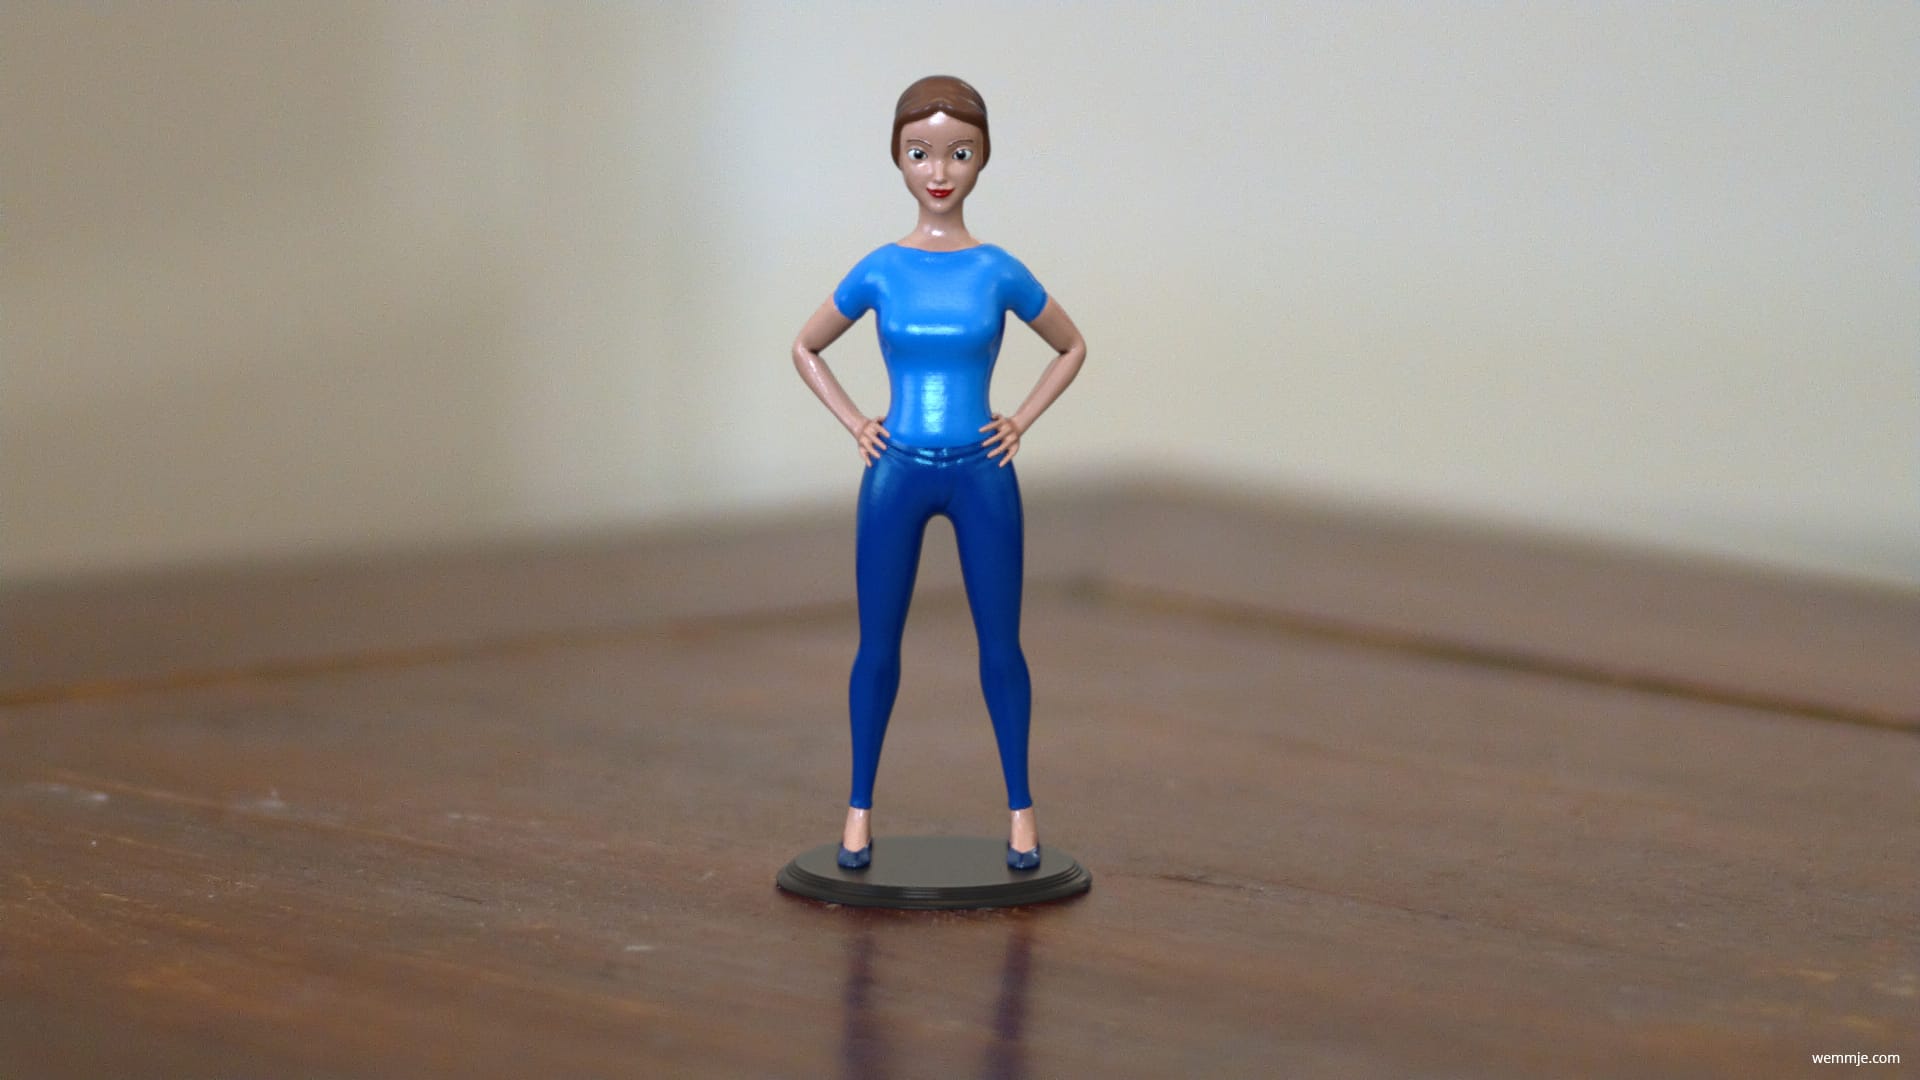
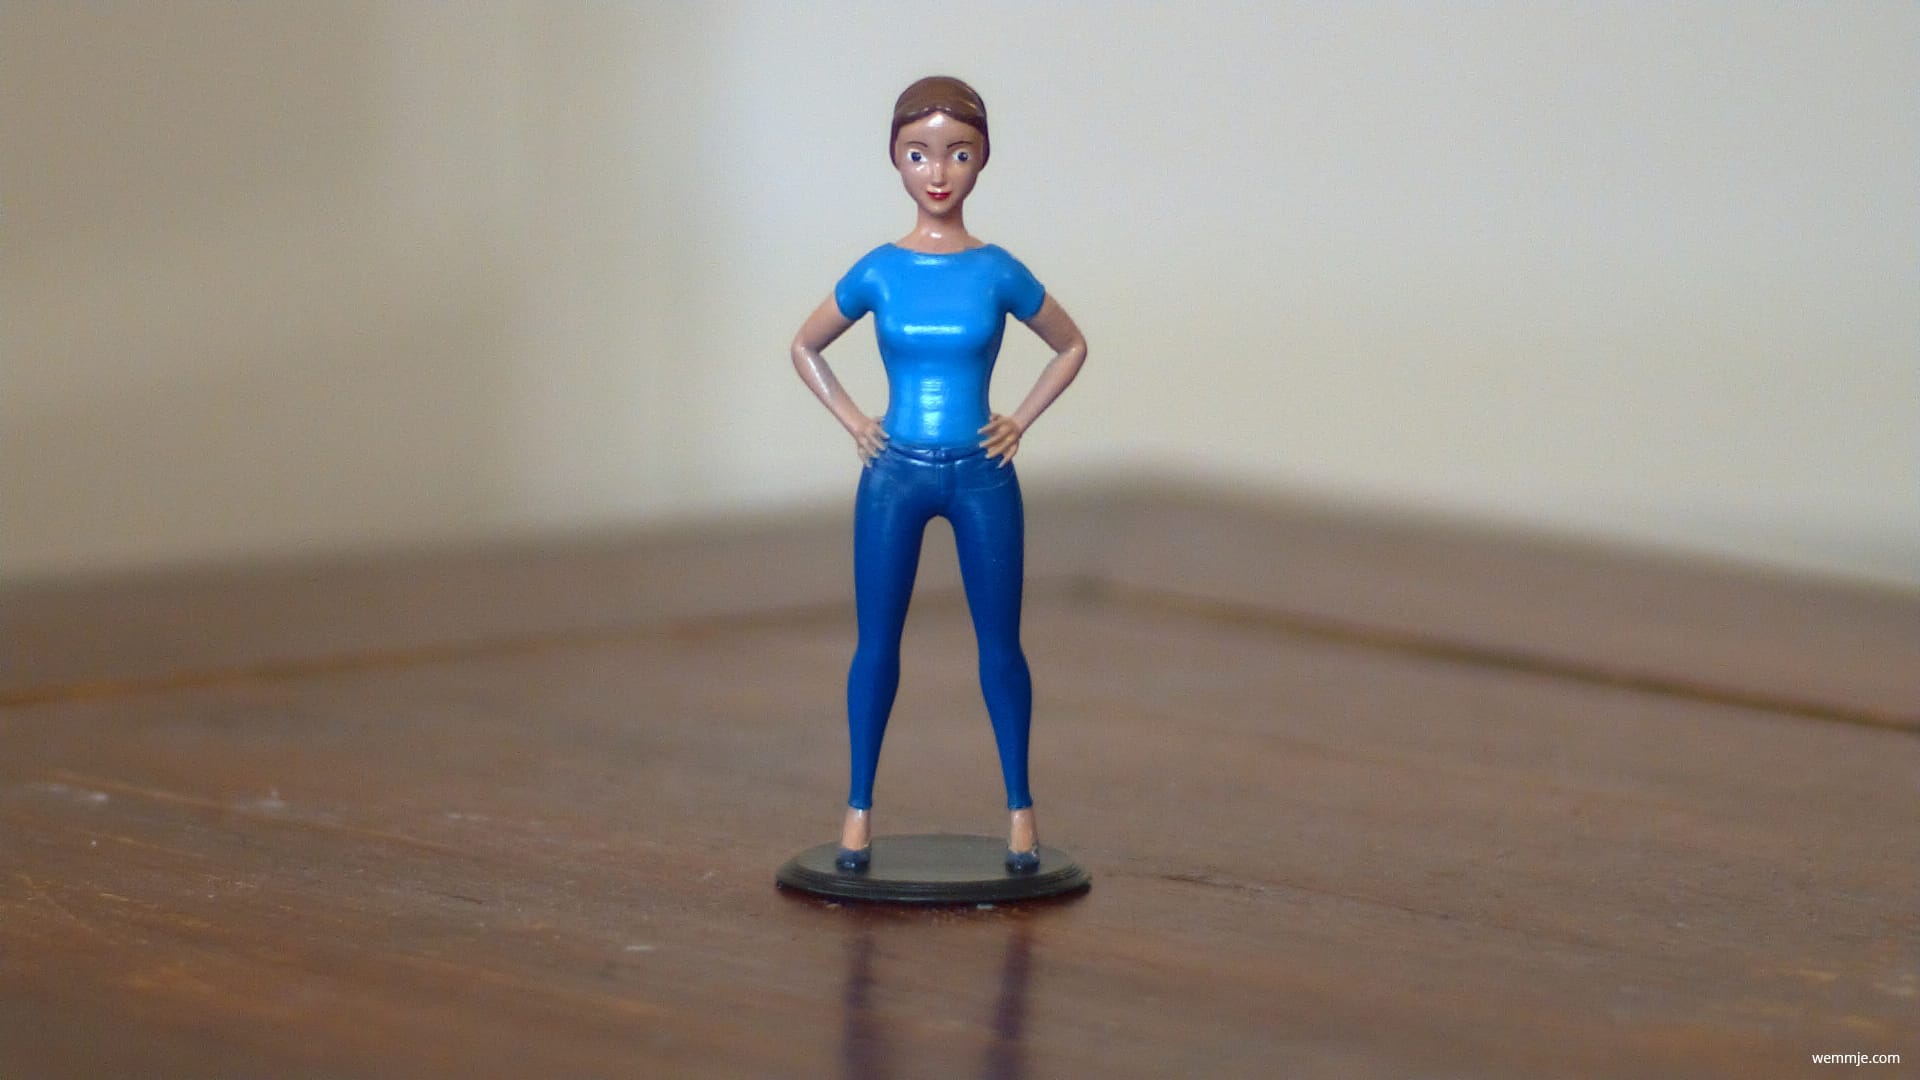
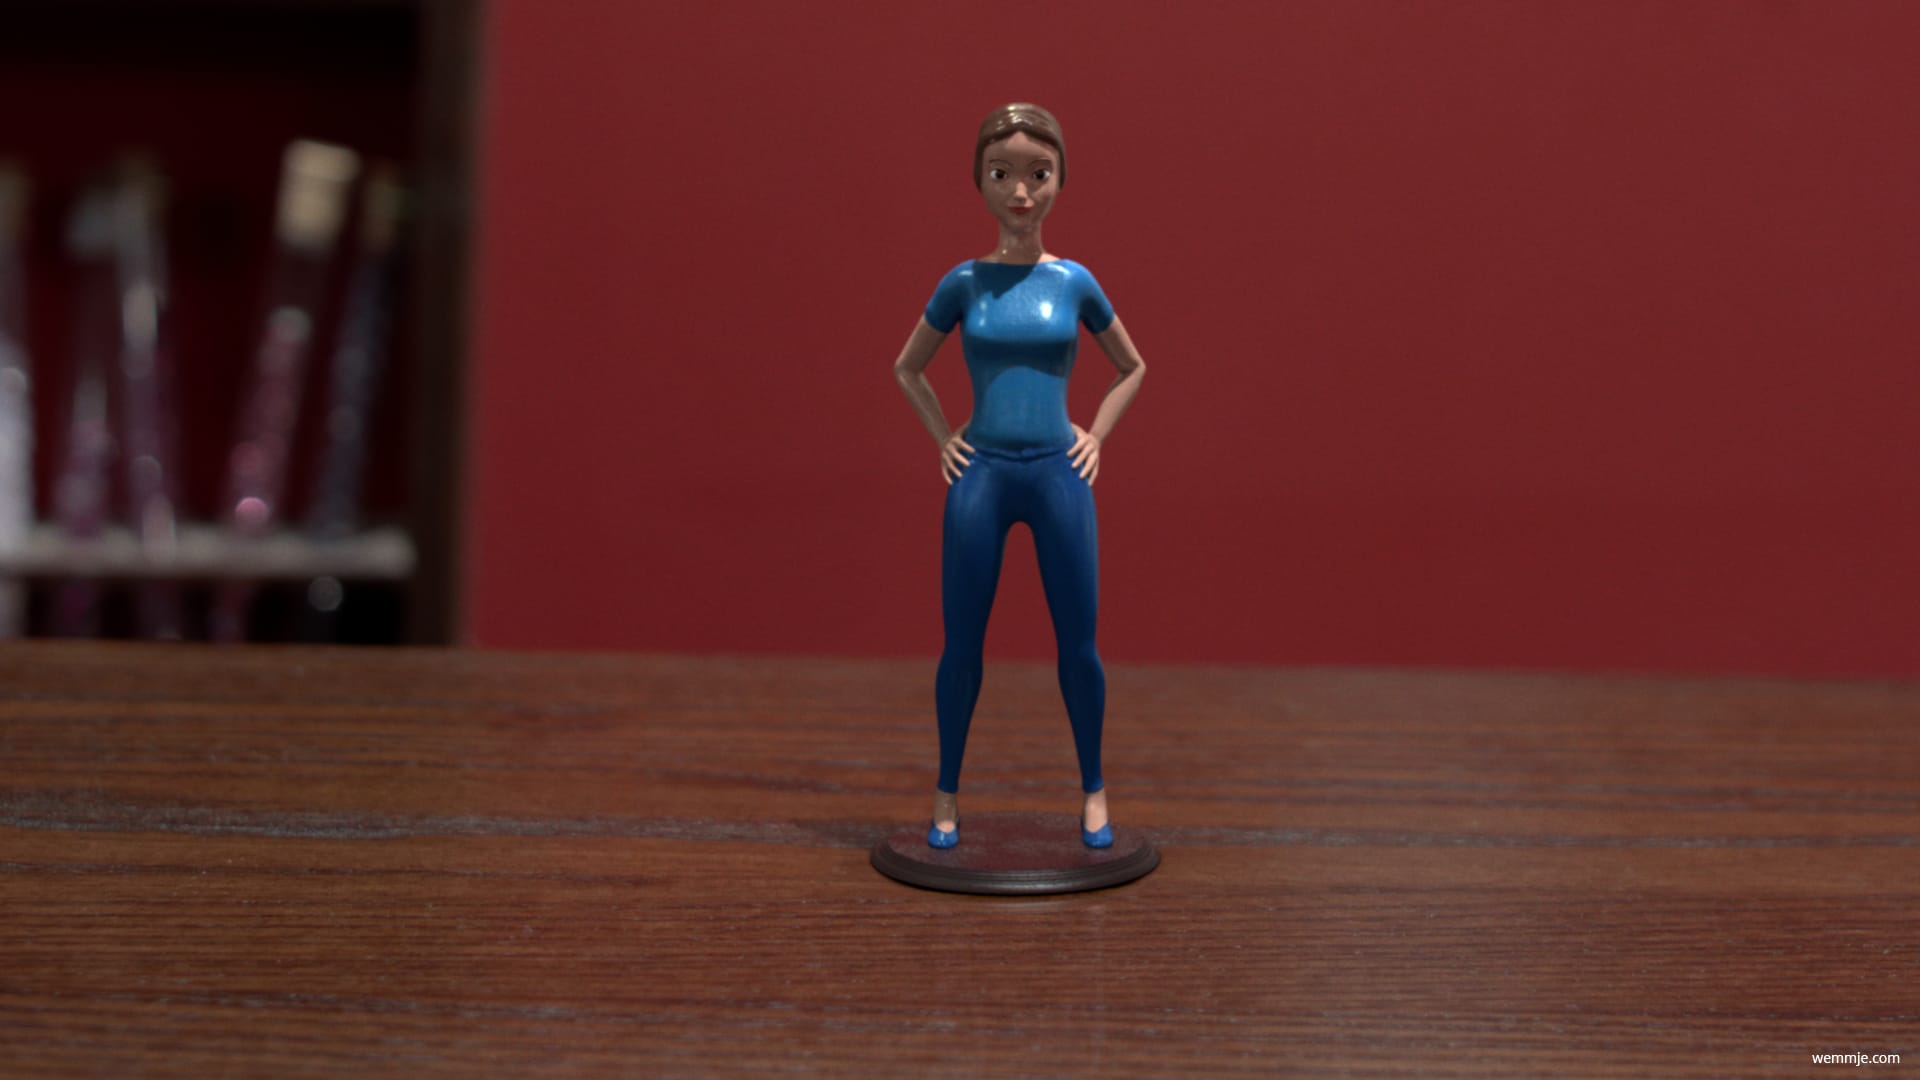
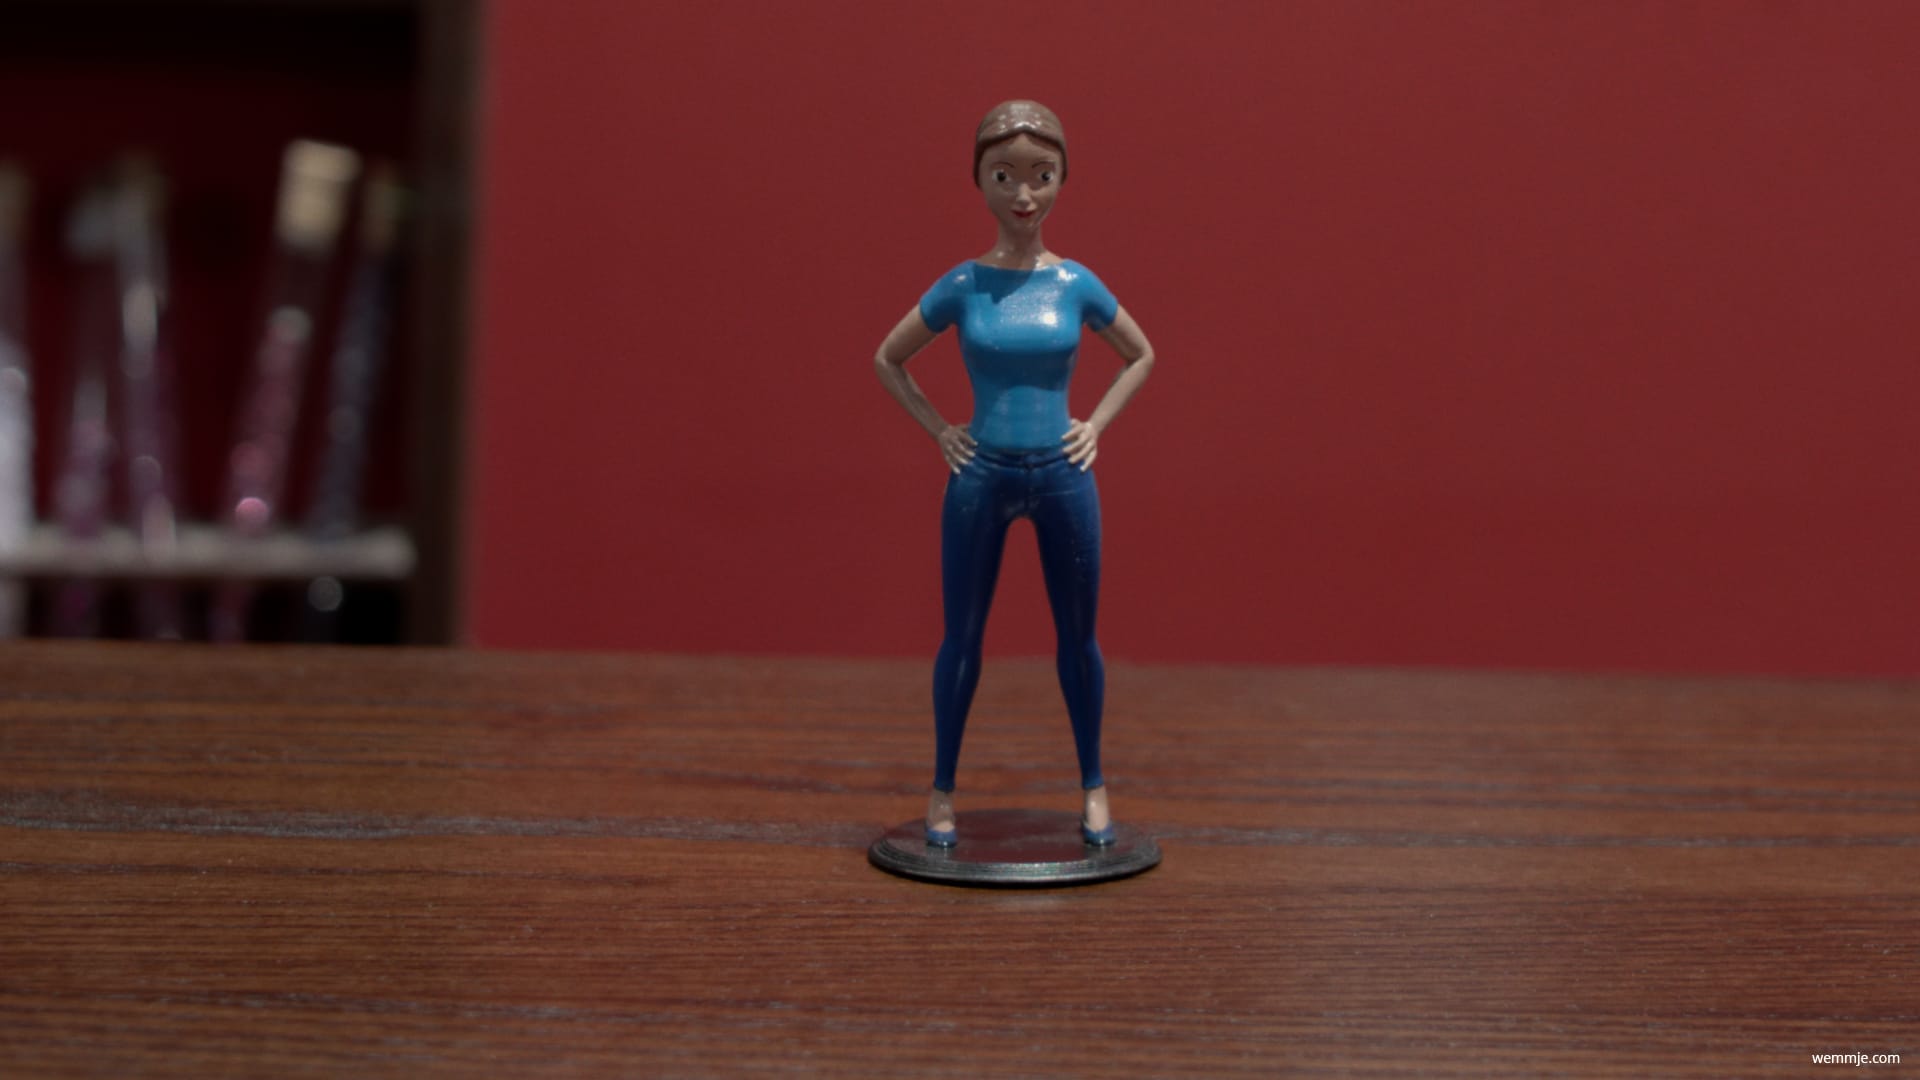
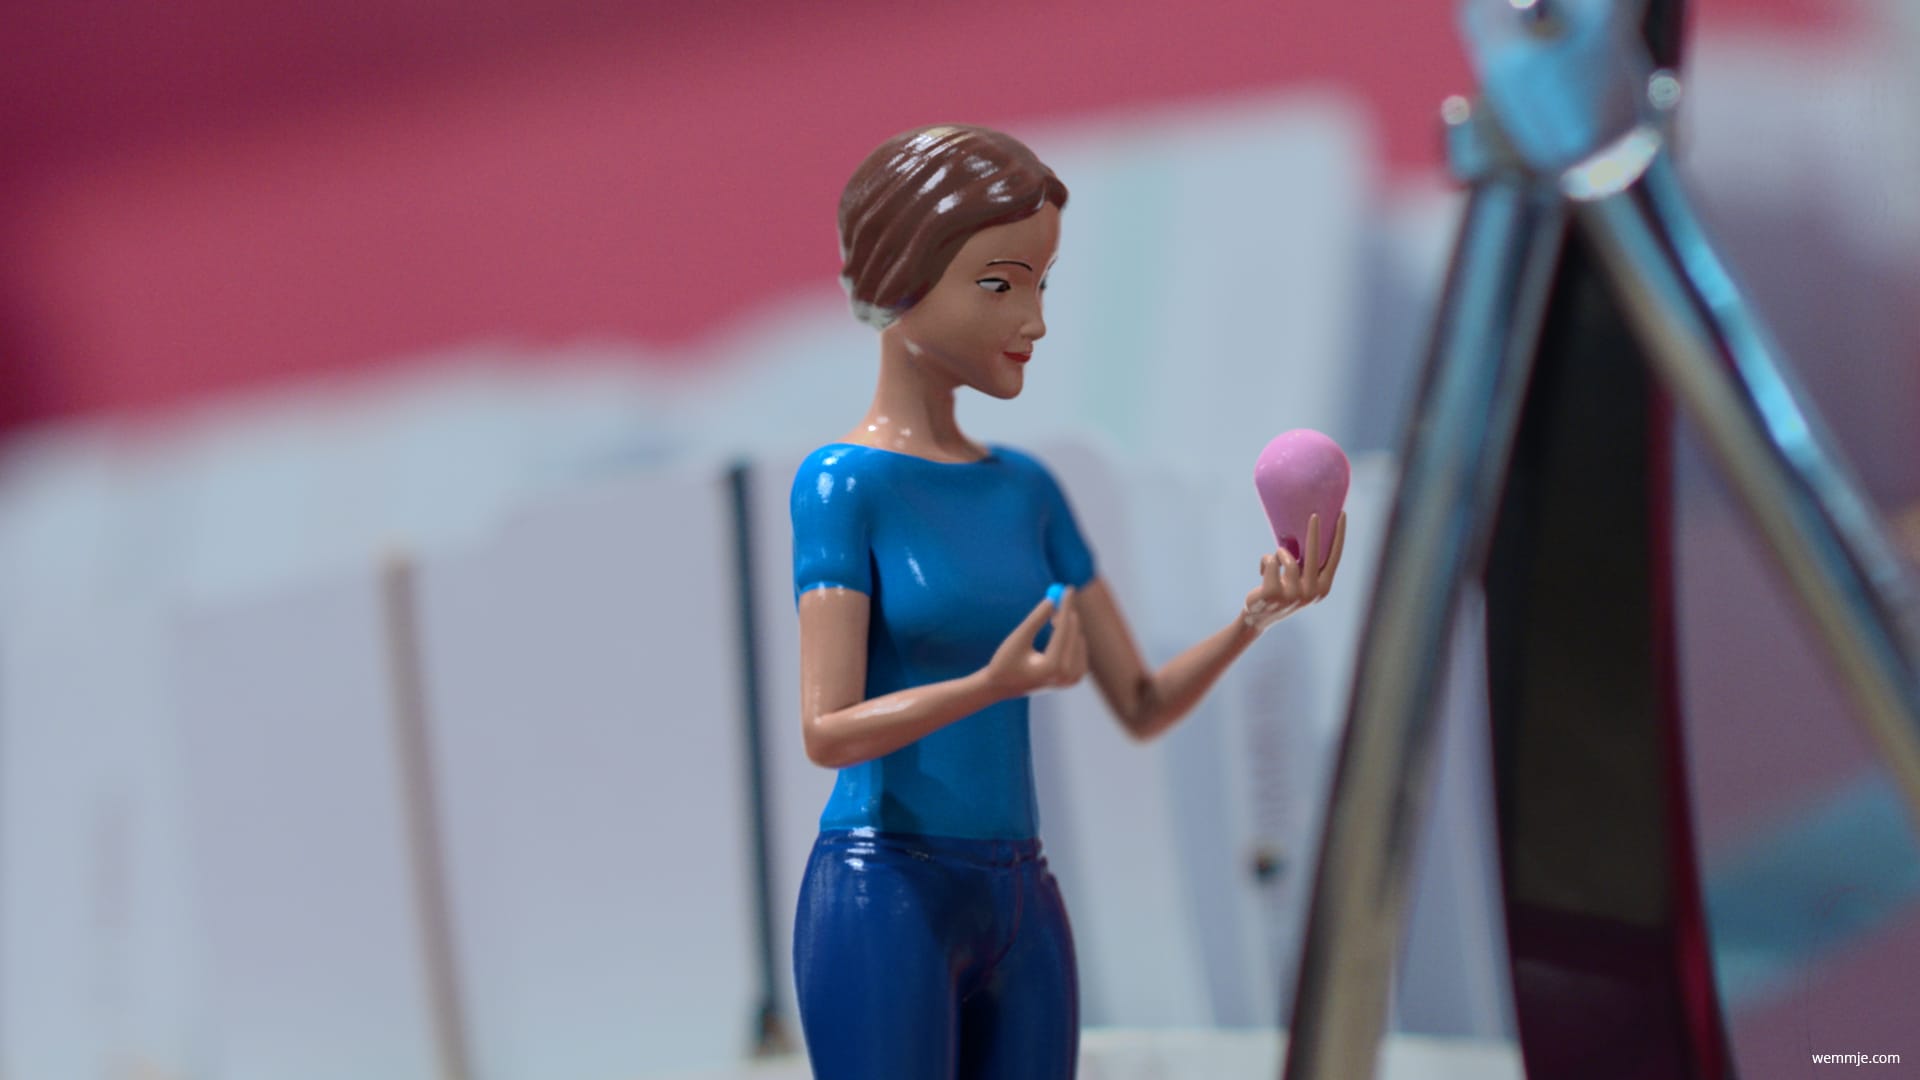
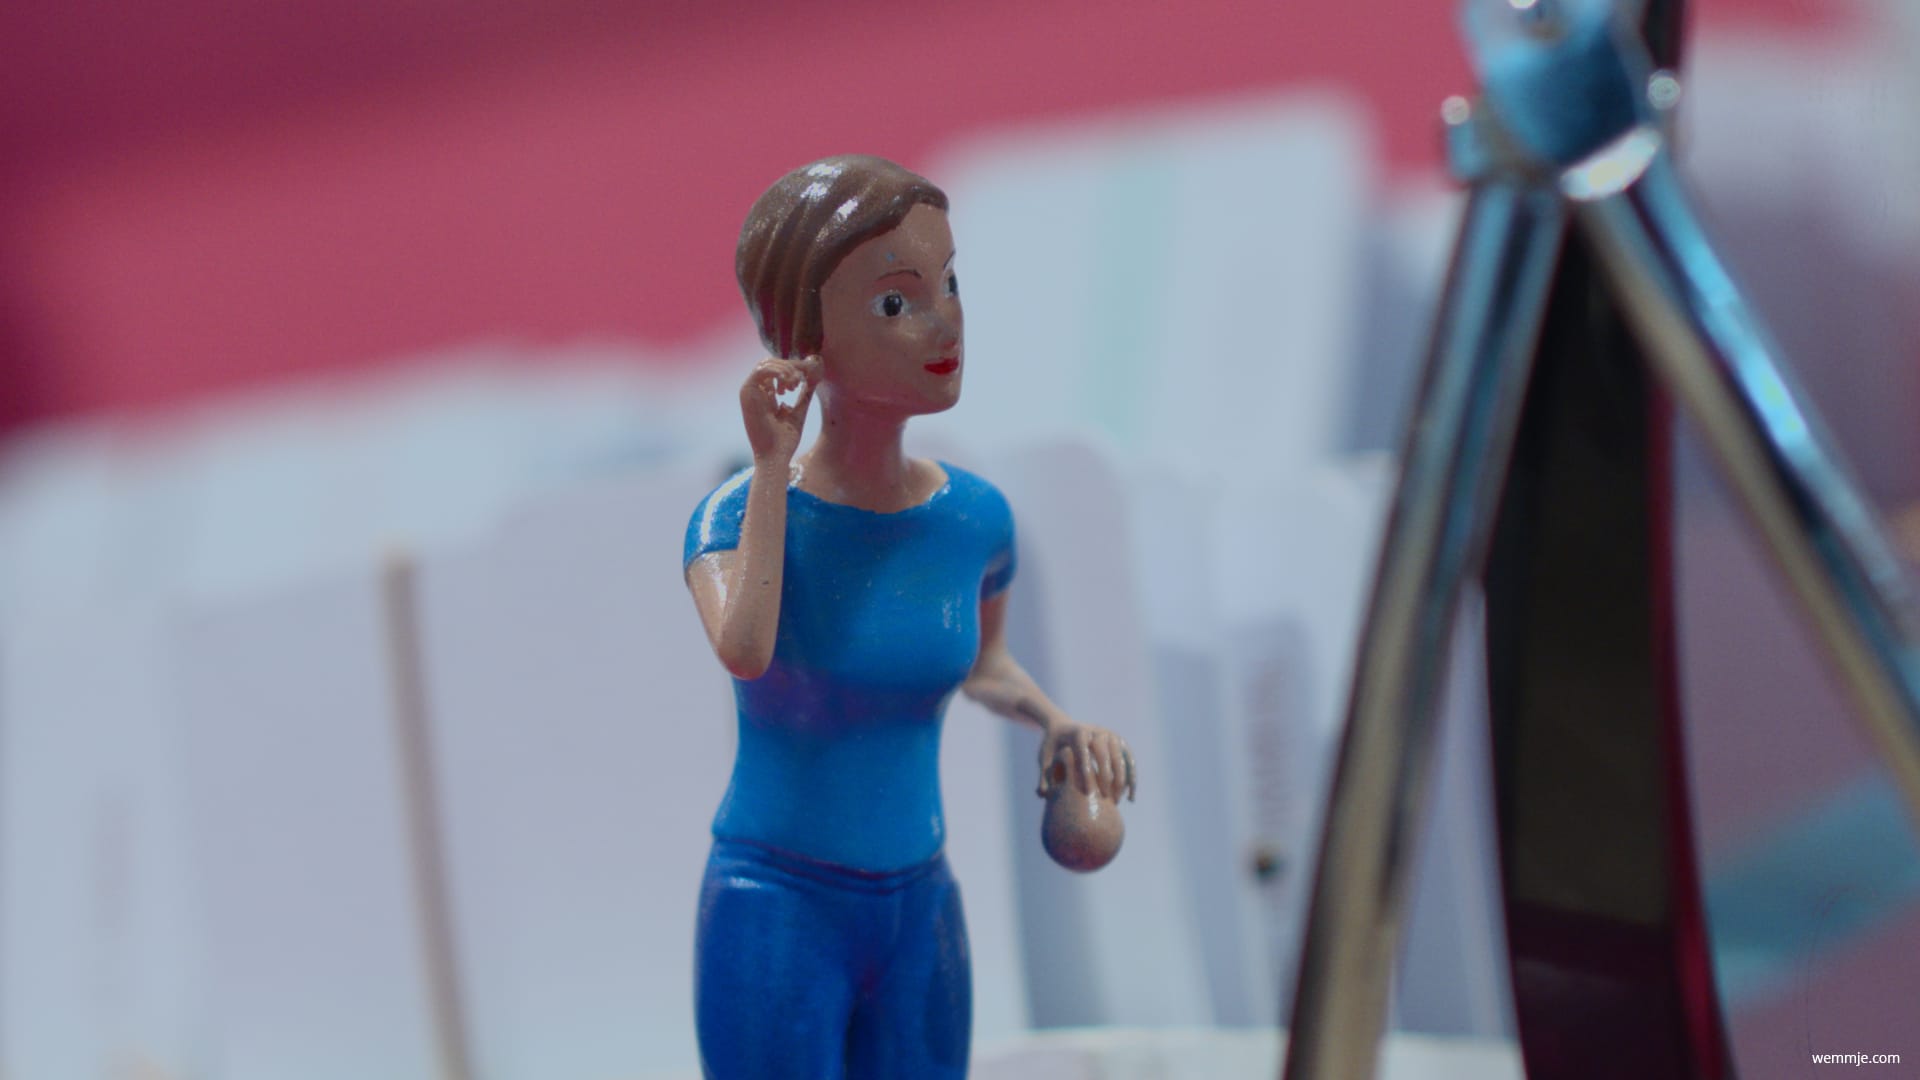
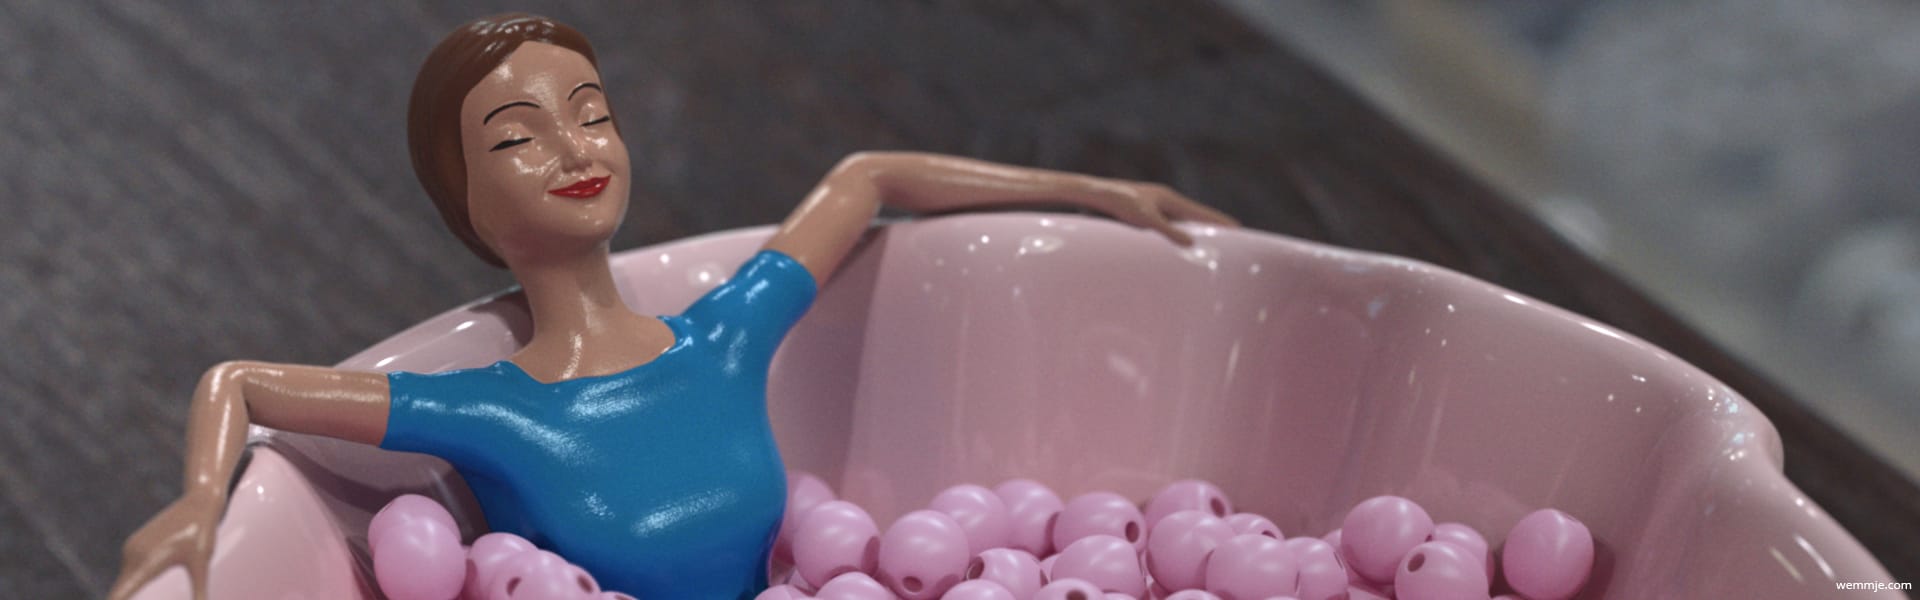
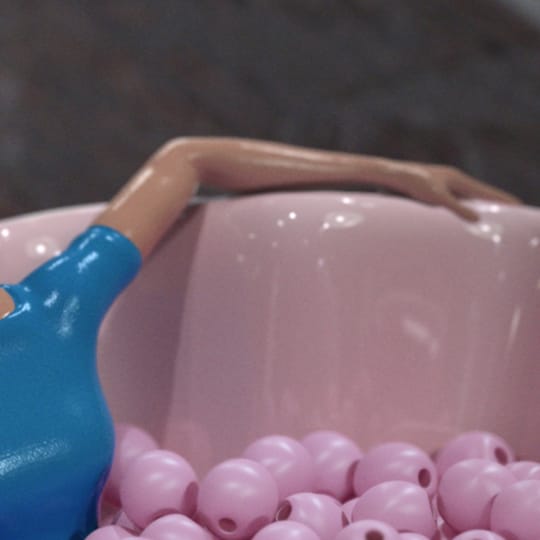
Left: The 3D-printed and painted figure. Right: The V-Ray-rendered 3D model.
3D printing key poses
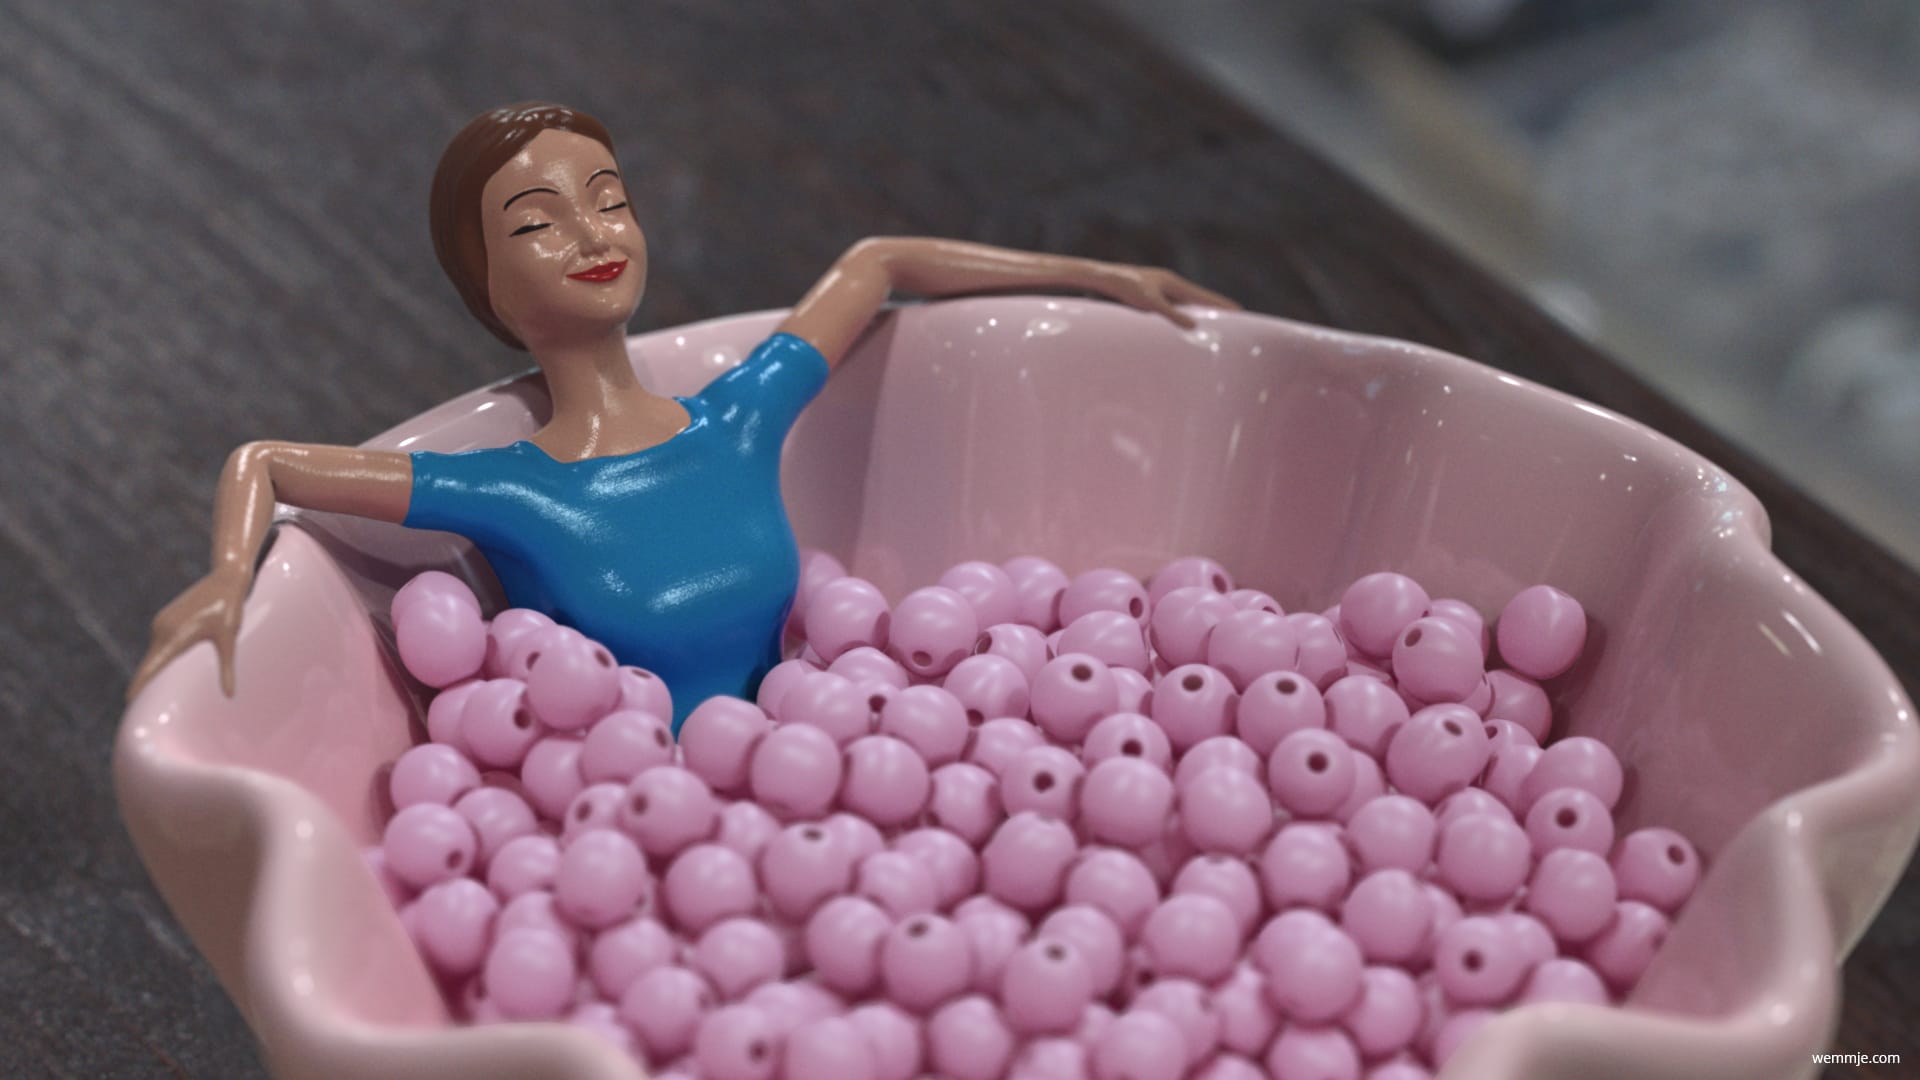
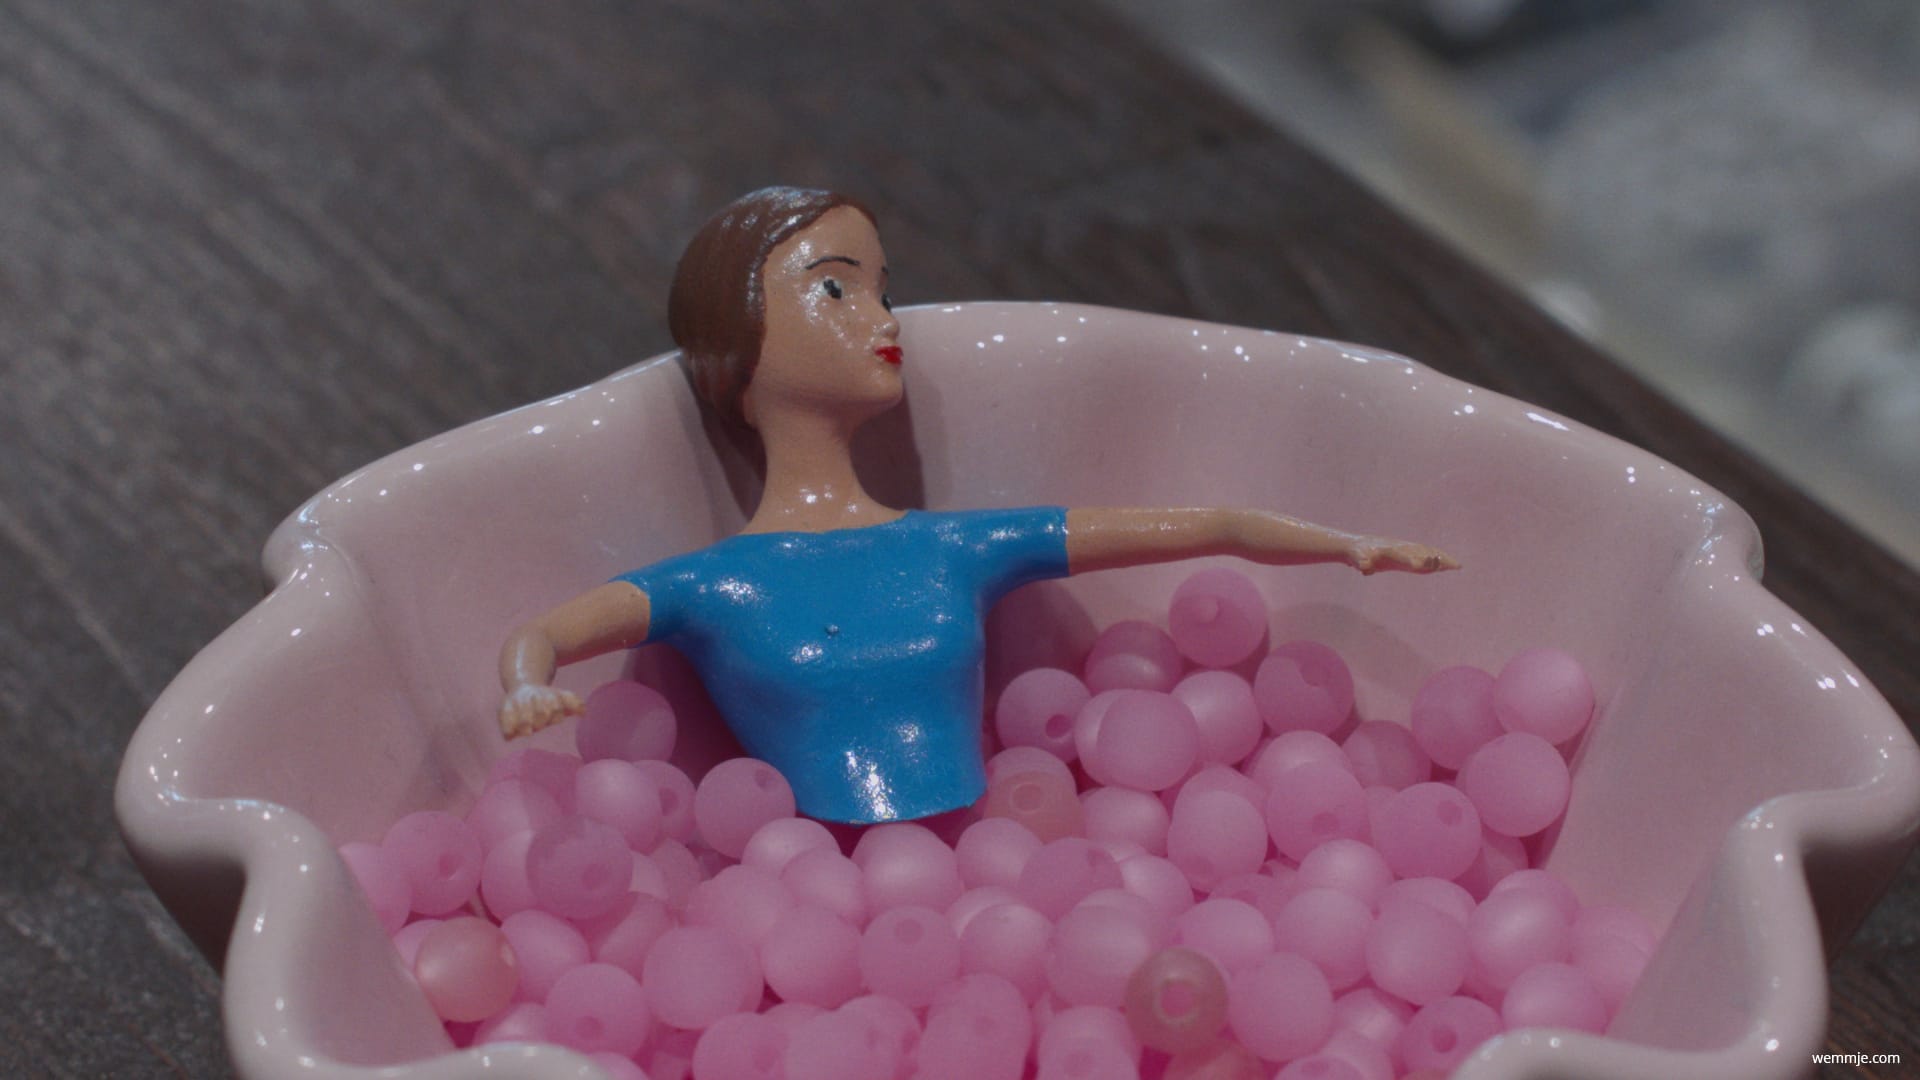
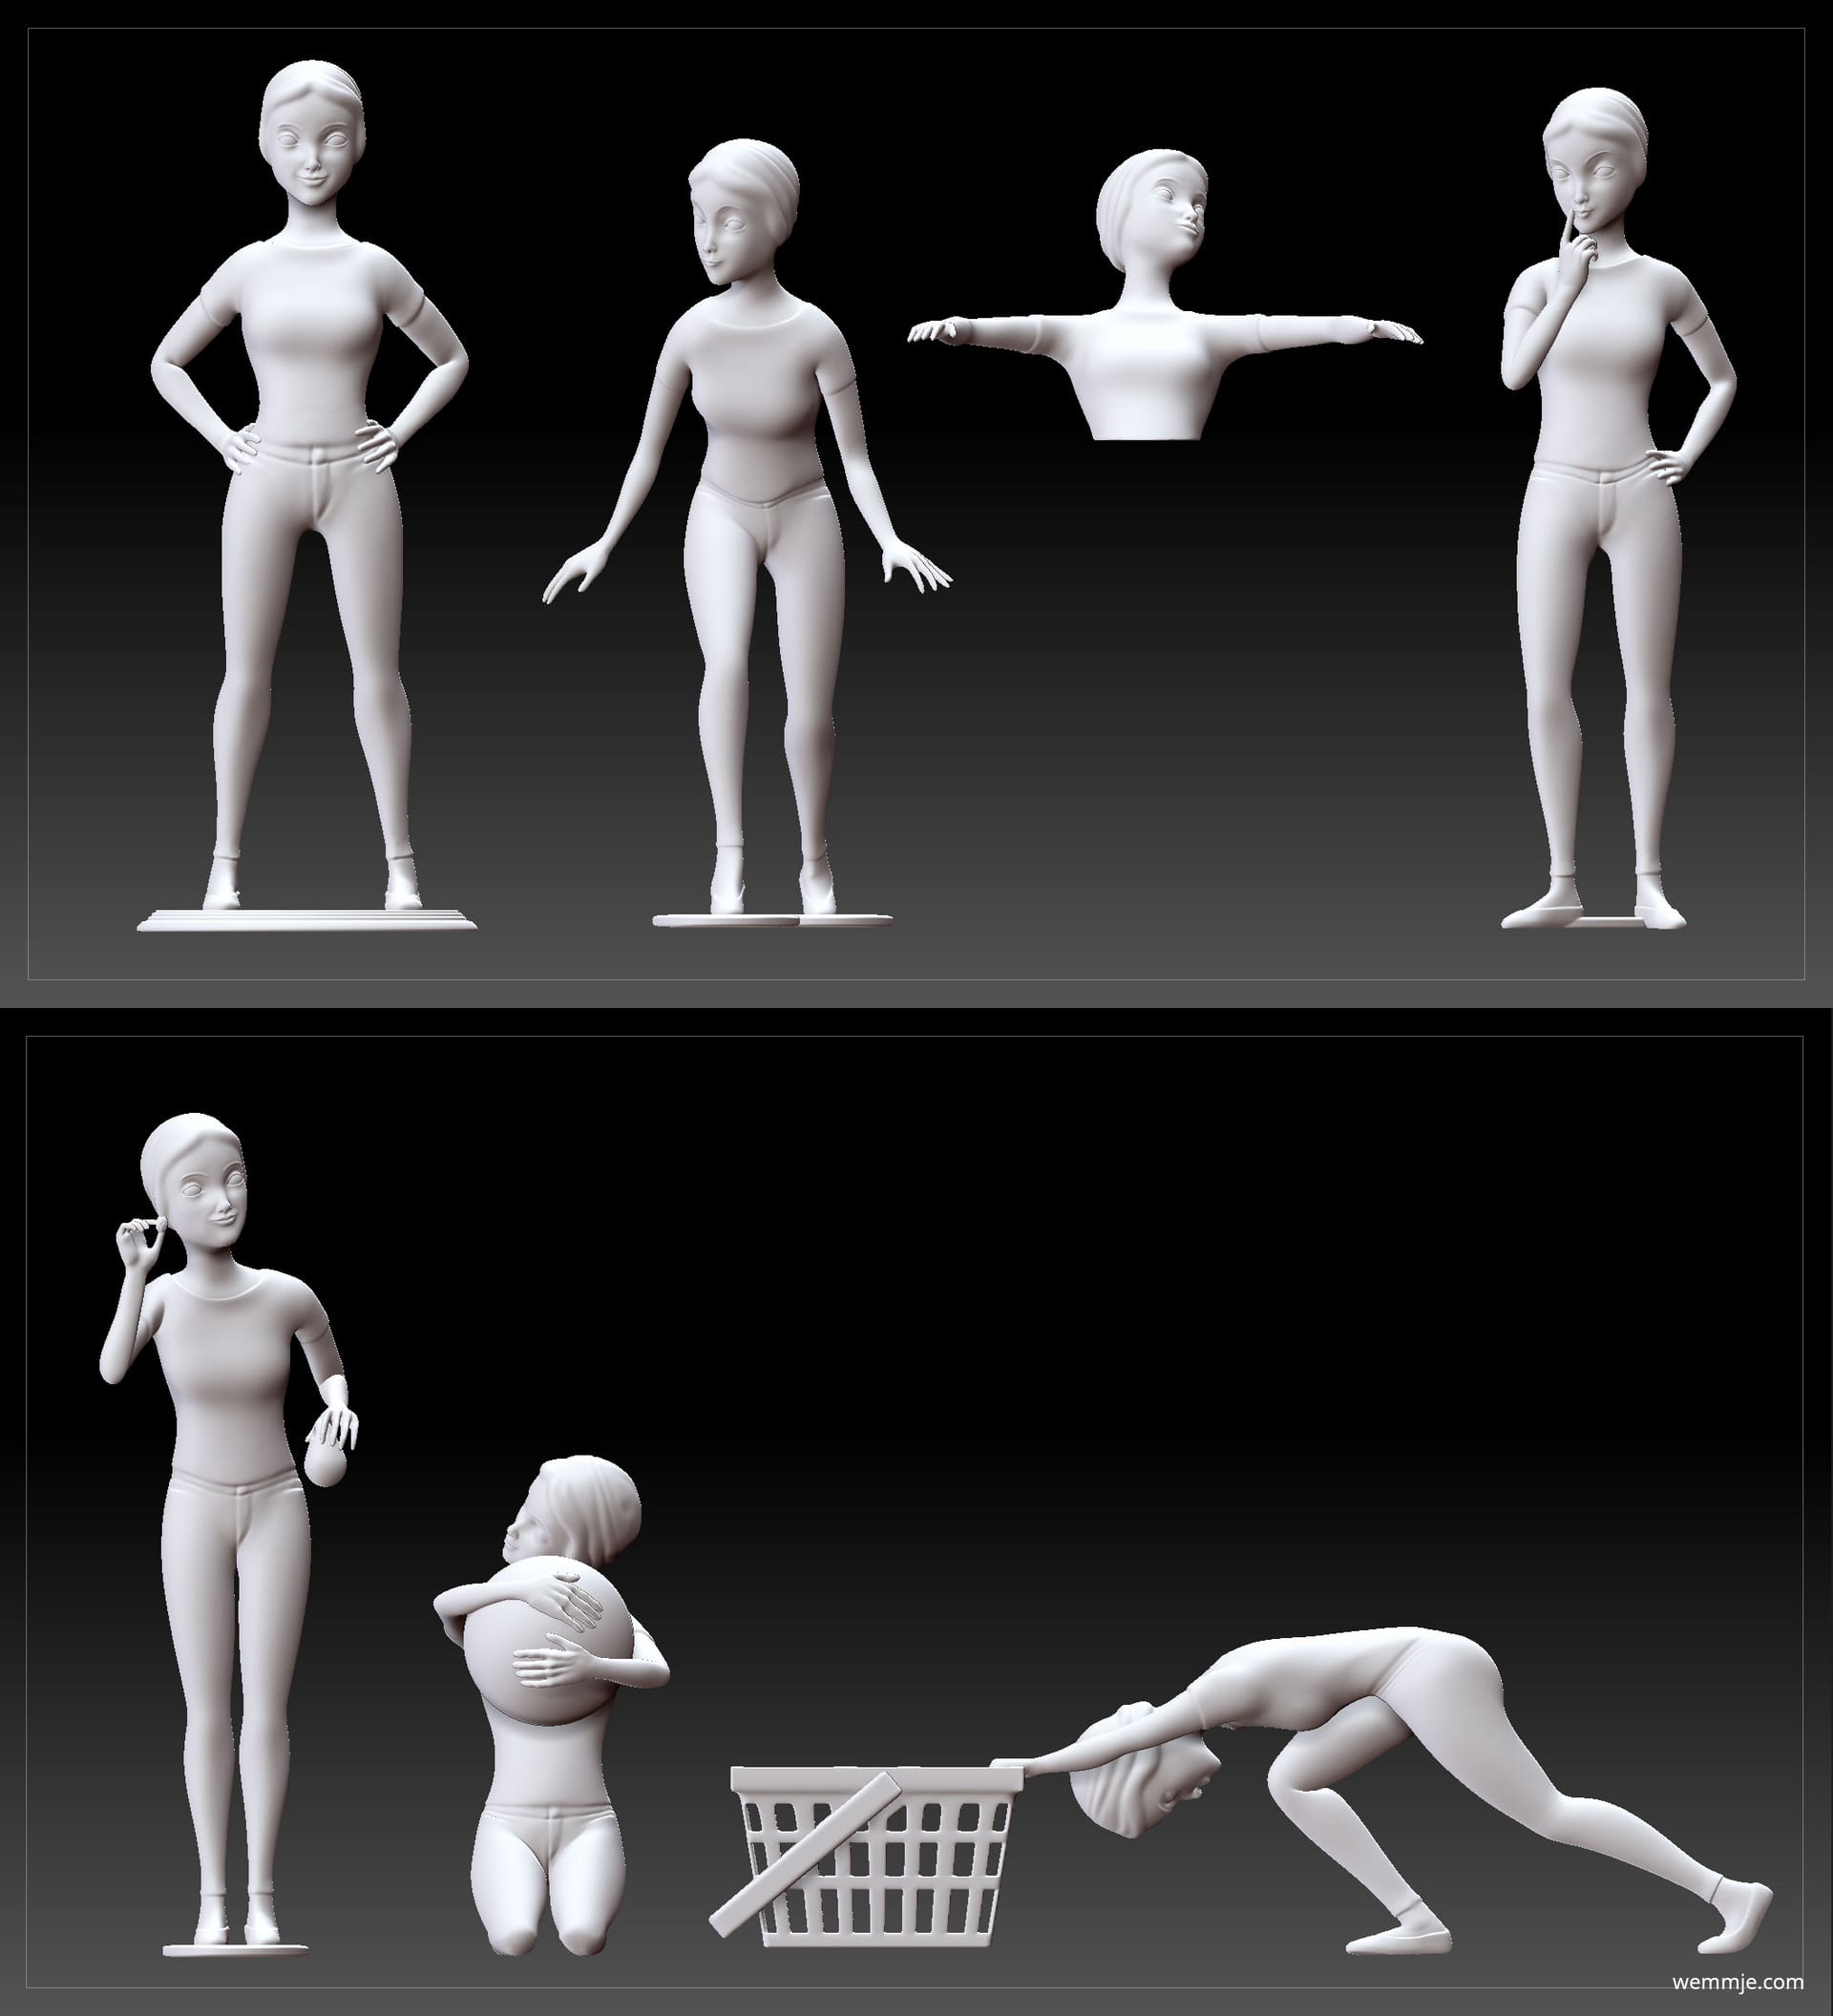
The first step of this project was to write a script so I had the general idea of what the story would be and what the figure would do; this was the most straightforward task. Very quickly, I knew what all of the scenes and the animations for each shot would be, so I went ahead and 3D printed a figure in a key pose for every shot; this helped me in the compositing stage and gave me a photographic reference.
Here are the various key poses of the figure that were 3D printed:
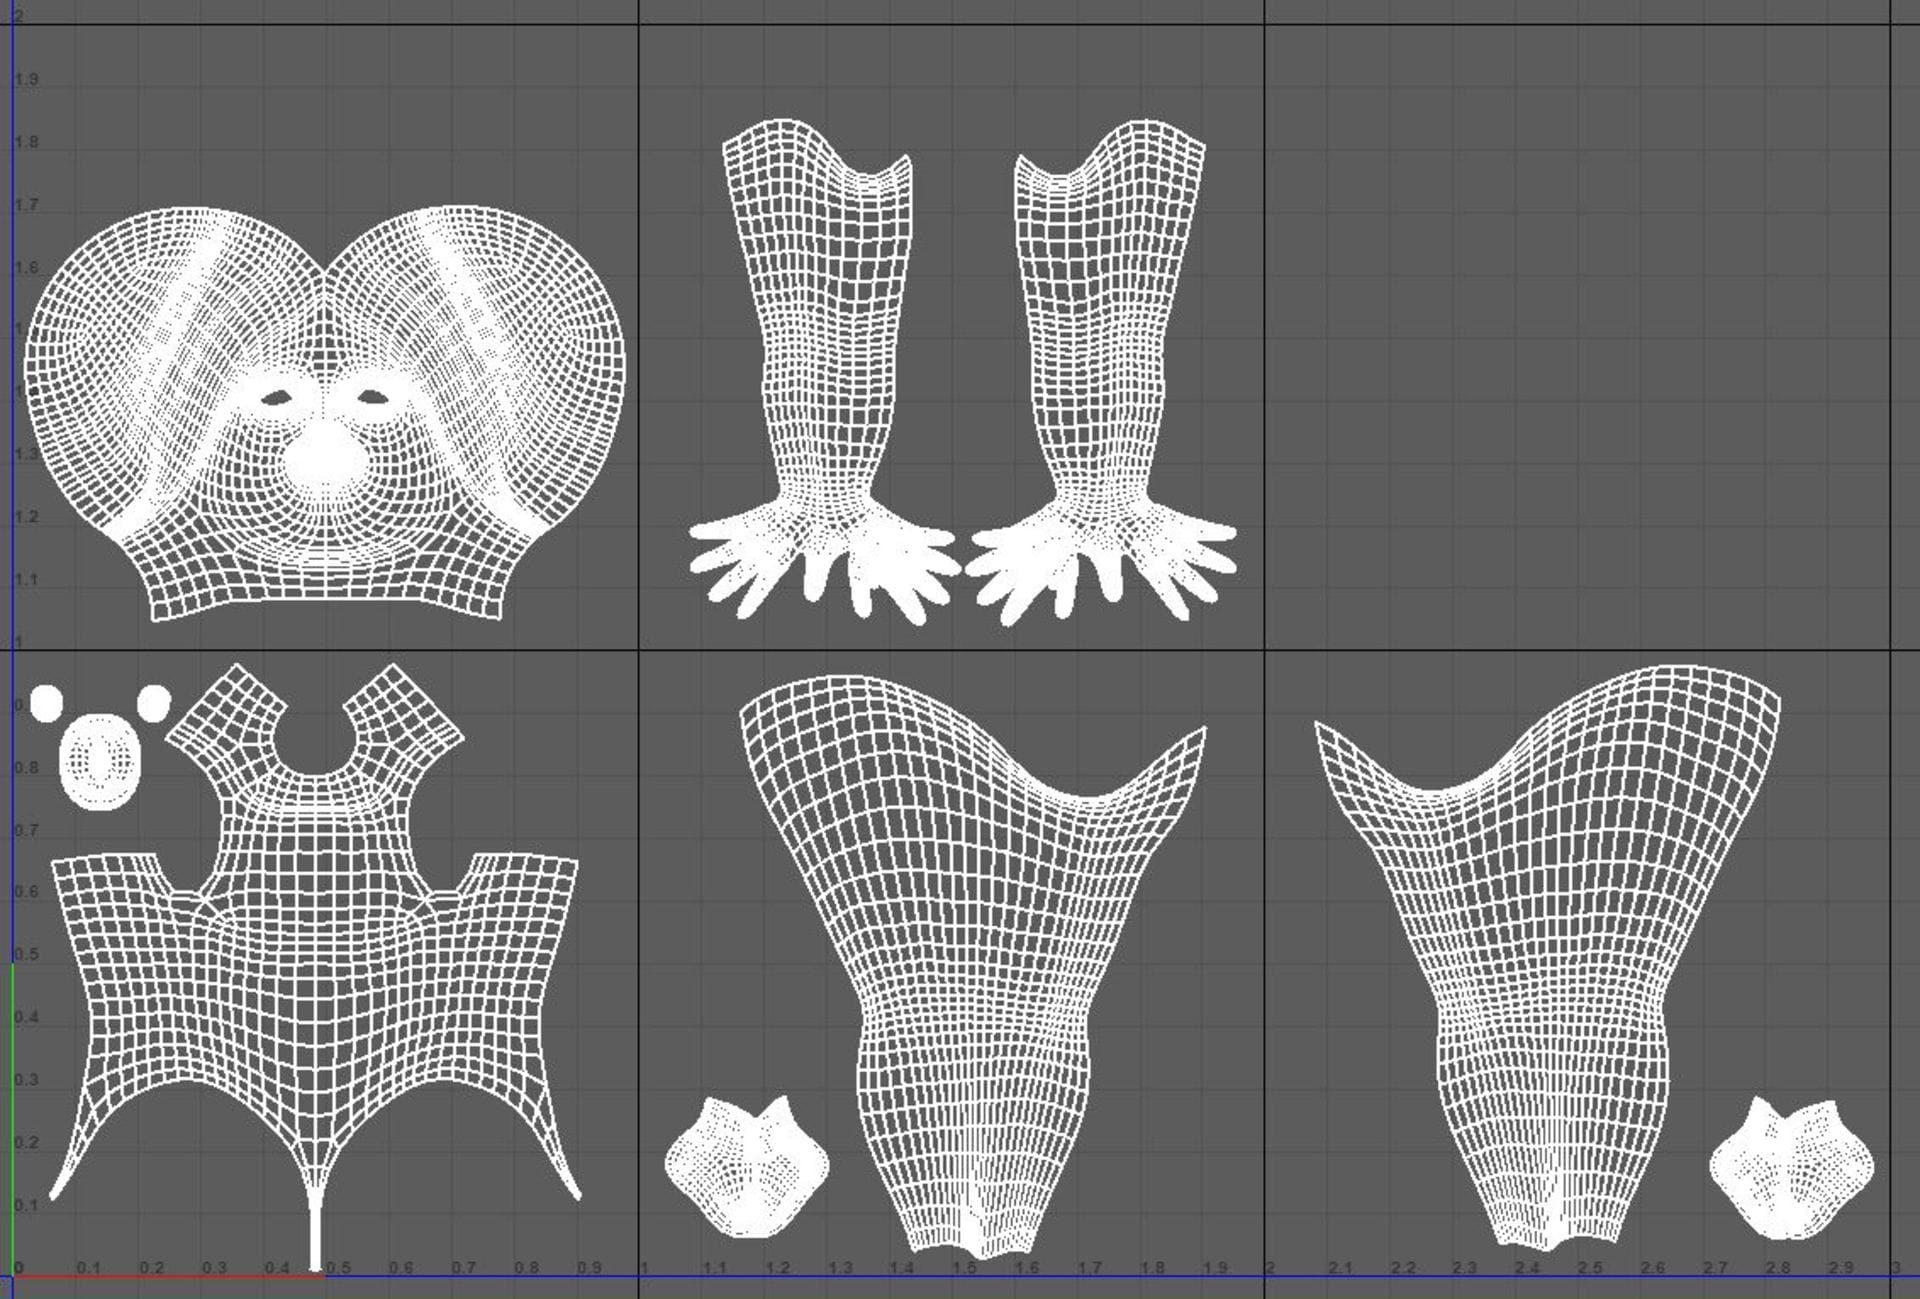
Laying out the UVs
After some initial testing, it was clear to me that putting all the UVs on one UV Tile would result in rough edges. With that in mind, I decided to split the UVs into multiple sections and UV Tiles, as shown below.
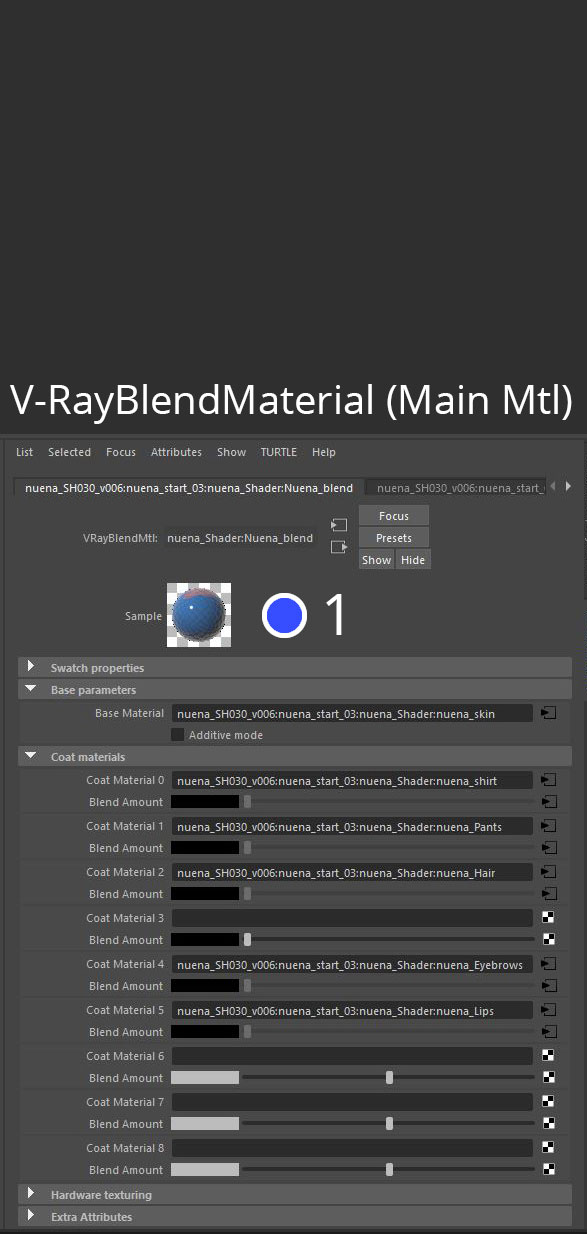
Shading with V-Ray
As a longtime V-Ray user, I knew right from the start that I would render this project with V-Ray for Maya. It was vital for me to be flexible with the adjustment of the figure's colors, so I used a V-Ray Blend Material and multiple black-and-white mattes to combine the V-Ray AlSurfaceMaterials. This technique helped me to represent the various colors and the entire surface of the figure. It also gave me granular control over the material properties of each section of color.
Below is an explanation of how I tackled the main shader for the figure:
- (1) See the V-Ray Blend Material with the skin material (2) as the base material, and the rest of the V-Ray AlSurfaceMaterials for the pants, shirt, lips, hair and eyebrows. The latter are masked by black-and-white mattes (3) that go into the blend amount inputs of their respective shaders.
- All of the V-Ray AlSurfaceMaterials that make up the surface of the figure are very similar to the skin material (2) — which is why I only displayed the skin material.
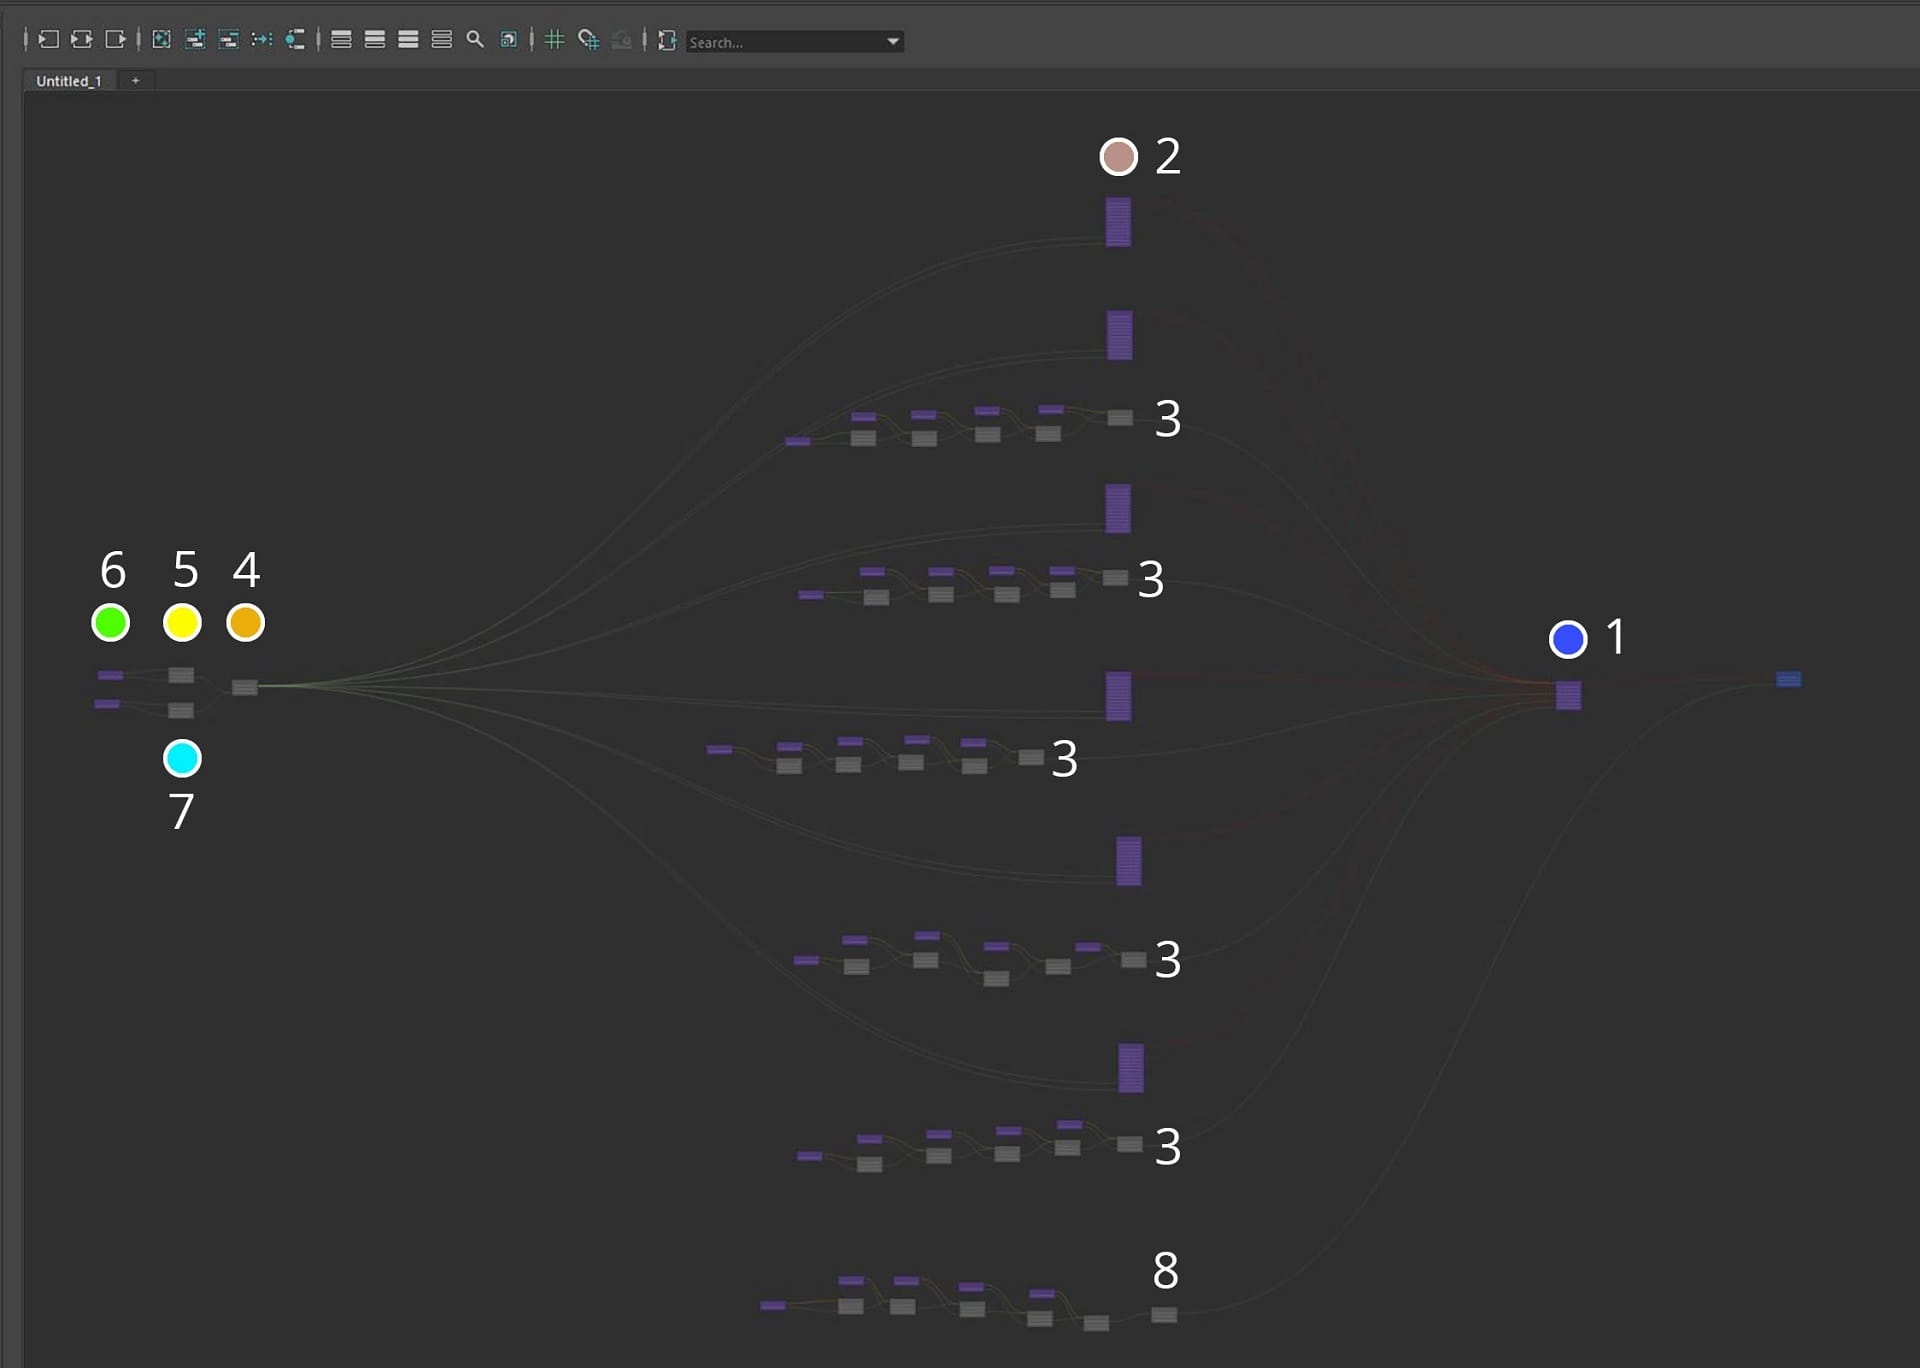
- A layered texture (4) goes into the Reflection Bump Map of all of the V-Ray AlSurfaceMaterials; this is made up of two mixed noise textures (5 & 7). The place2dTexture (6) modifies the stretched noise (5) with unproportional (Repeat UV) values. With the combination of regular noise (7) and stretched noise (5), I tried to mimic the micro surface of the 3D-printed figure. The stretched lines of this combined noise pattern represent the printed layers of the figure.
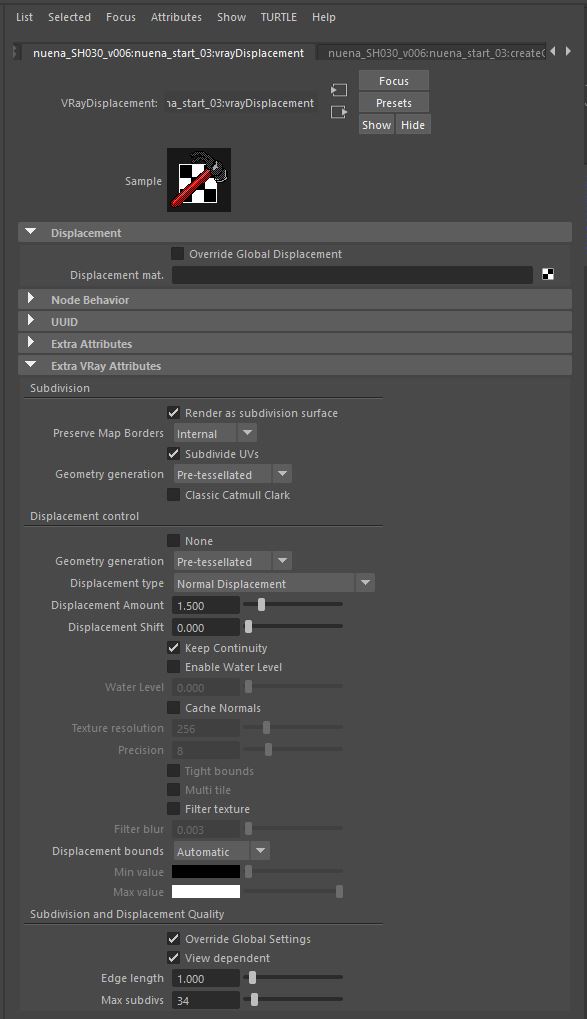
- (8) shows the displacement maps that were also important to match the 3D-printed figure.


Here you can see the Displacement settings of the figure.

Left: the CG figure without bump and displacement. Right: with bump and displacement.
Lighting the animation
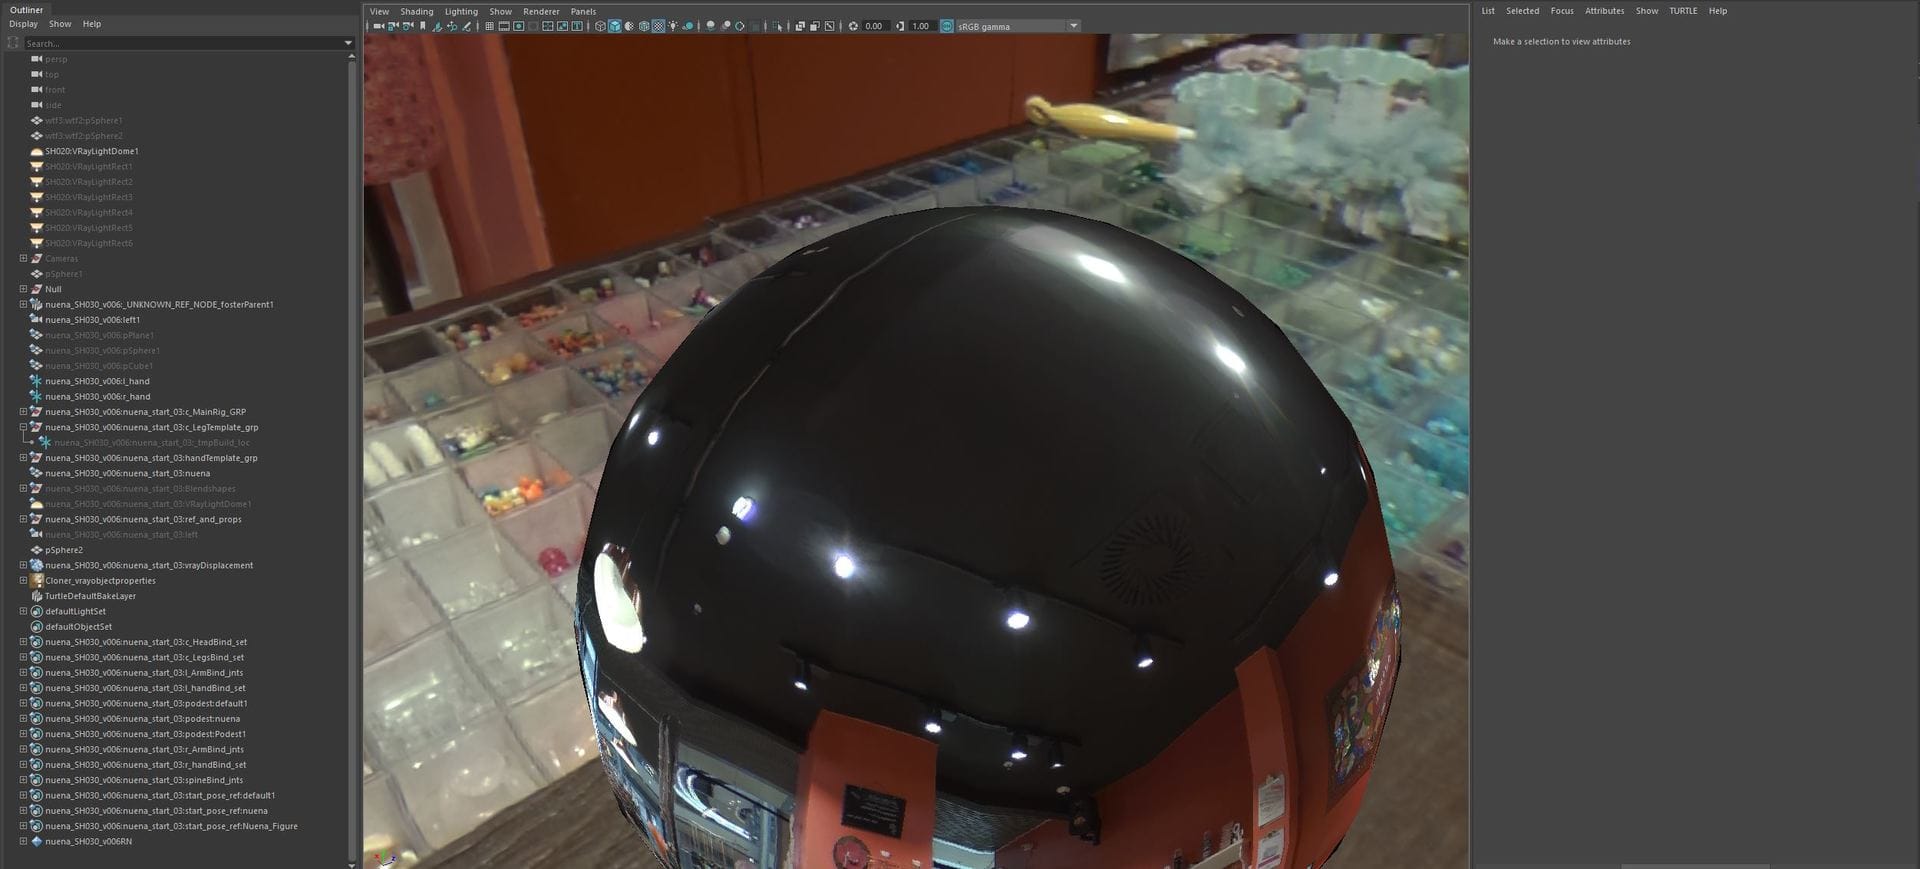
I shot all of the HDR images for this commercial with a Ricoh Theta S, which made the process very quick. If I had needed HDR images for hero reflections as well, I would have used my DSLR, but since the reflections of the figure are quite rough the Ricoh Theta S worked just fine. The lighting of all of the shots was kept very simple: I used a V-Ray Dome Light with very low intensity and multiple V-Ray rectangular lights for more intense lighting and sharp shadows. I found this to be the best way to match the lighting of the real store environment.

The first step for every shot was to match the rotation of my HDR images to the chrome ball photos:
I then created a large sphere with the HDR image as a surface shader. I aligned the Y rotation of the sphere with the rotation of the HDR image.
The result gave me great reference points to help me place additional rectangular lights.
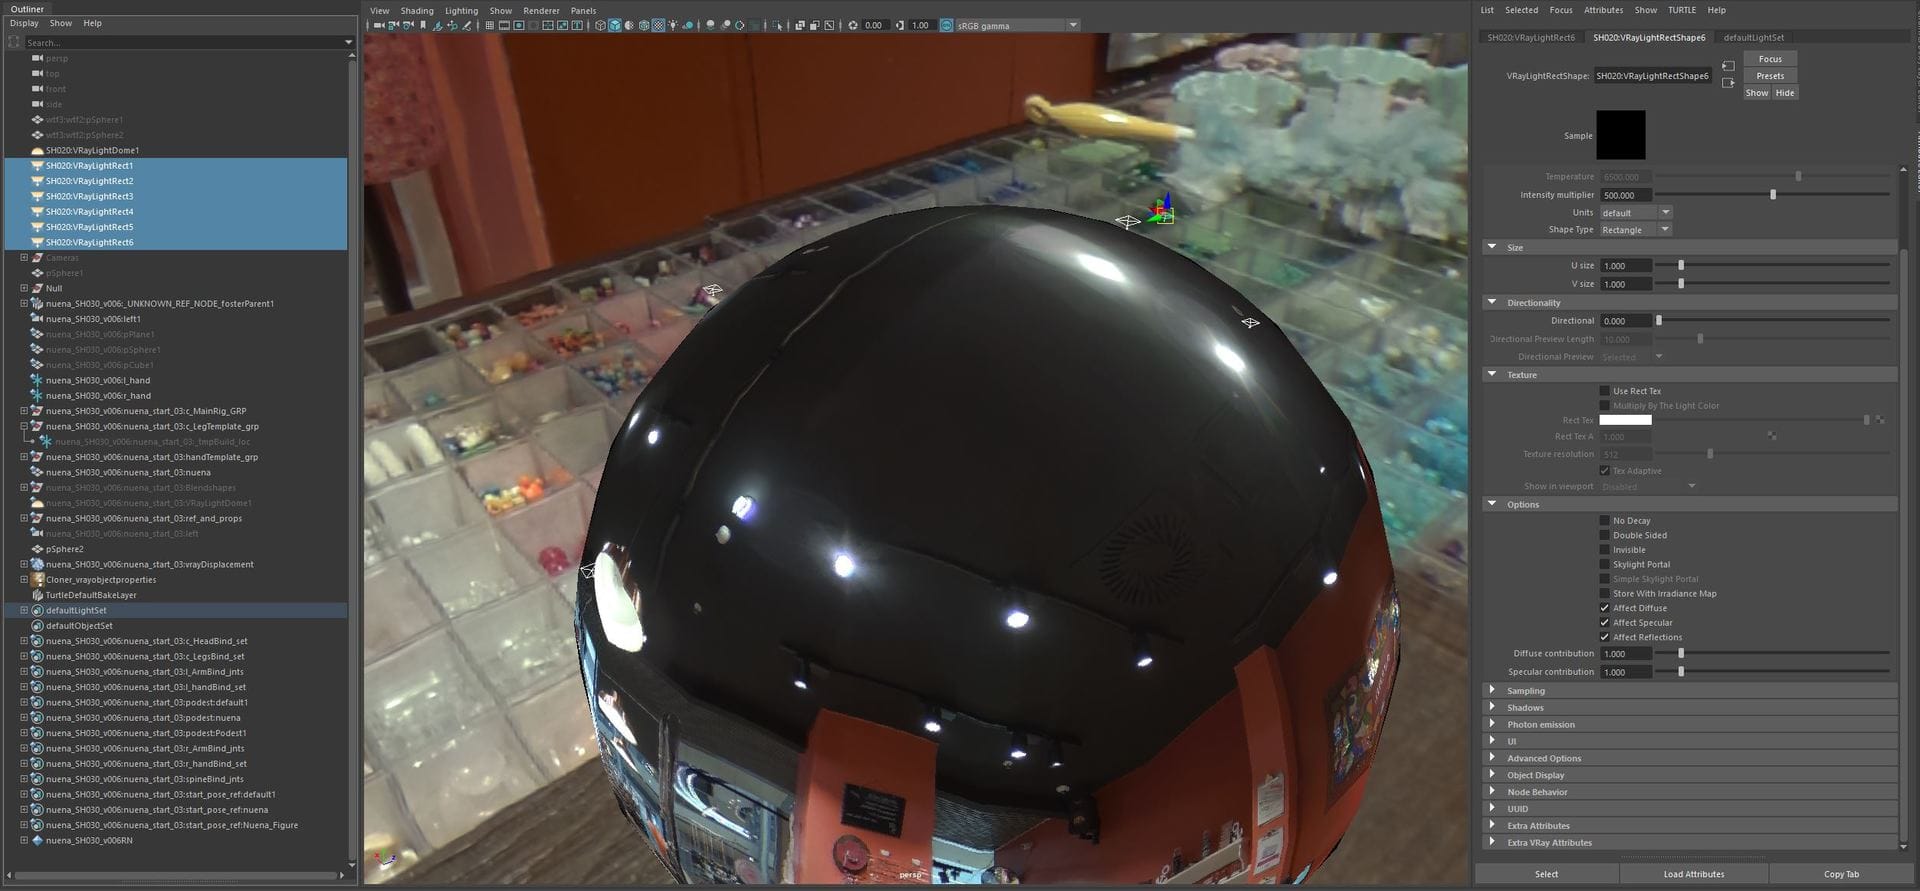

Left: The scene lit with a V-Ray Dome Light. Right: The scene lit with a V-Ray Dome Light and multiple V-Ray rectangular lights.
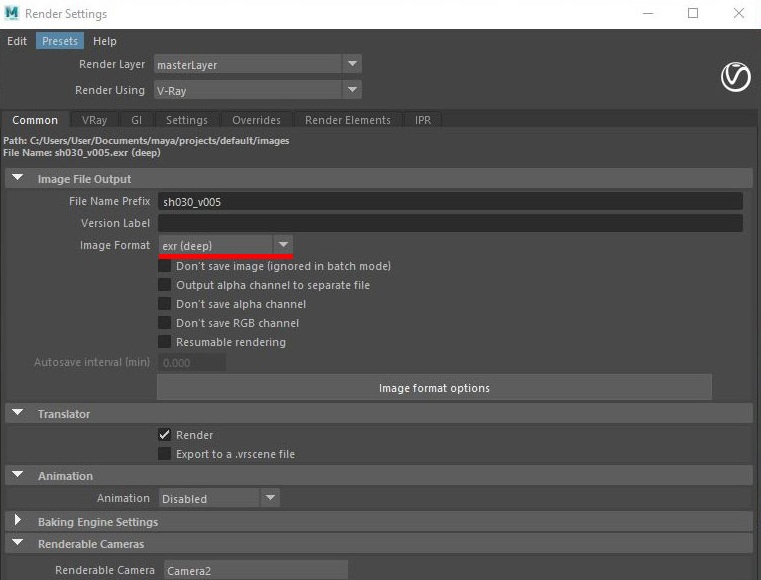
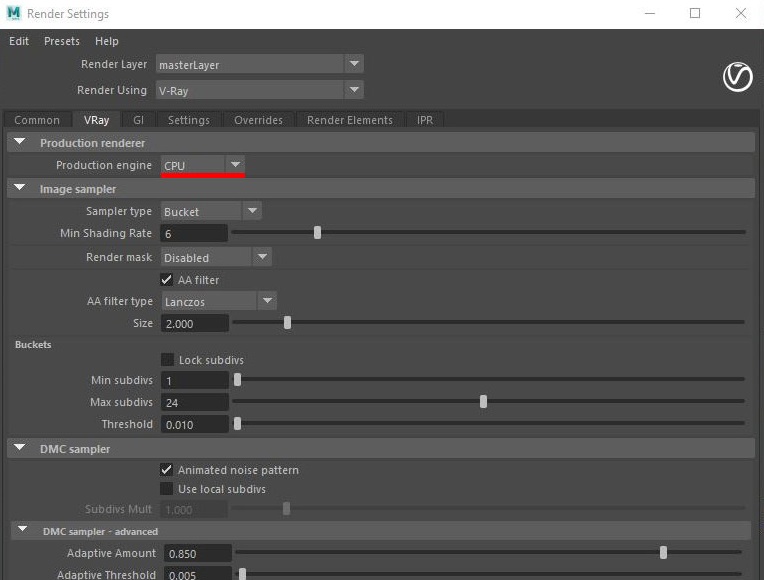
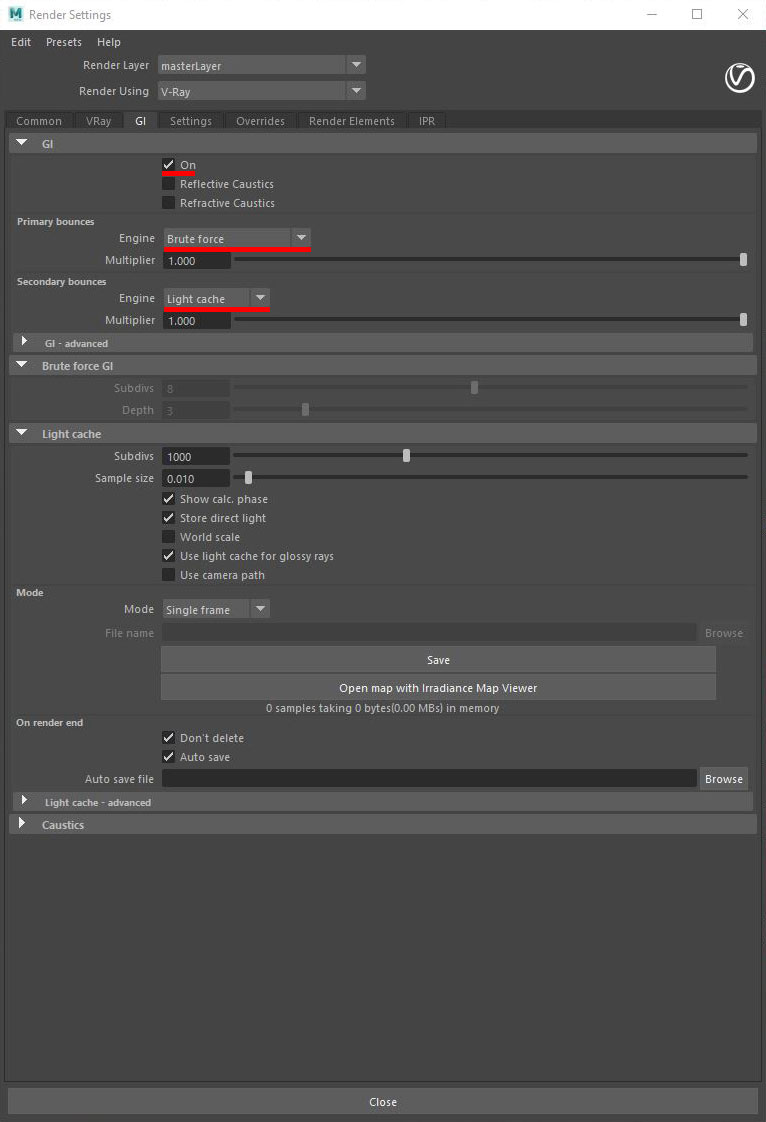
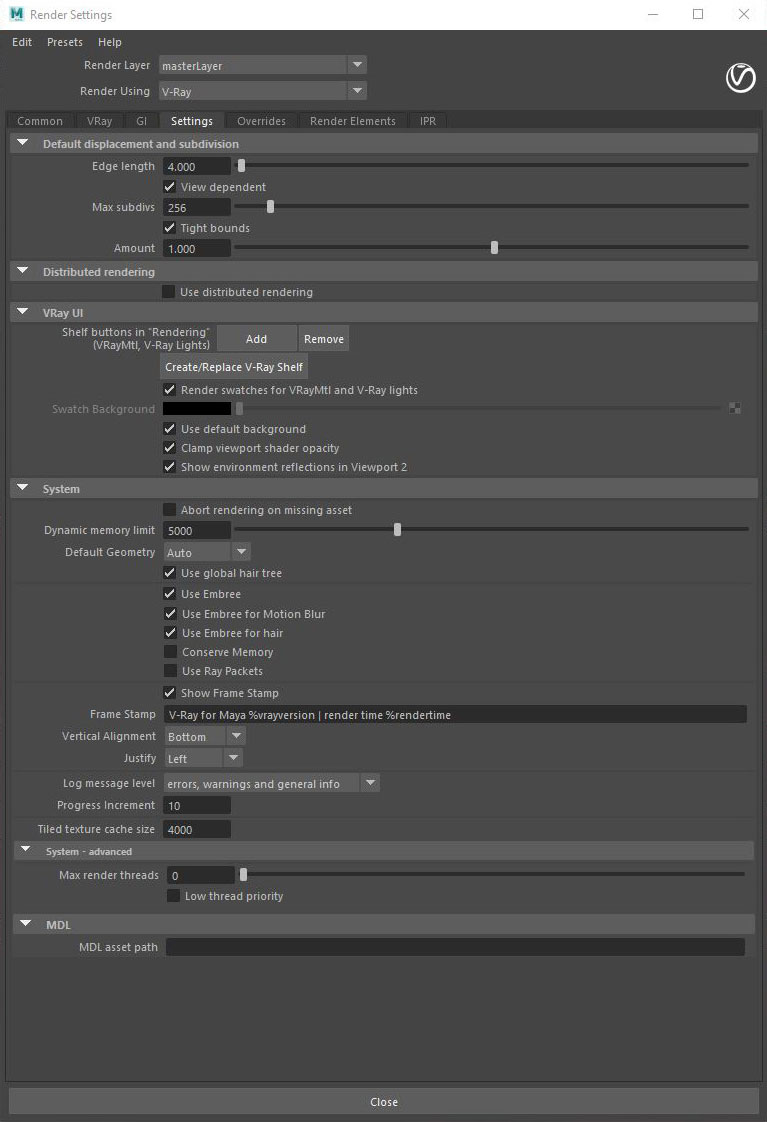
Render settings
I didn't alter too much in the render settings; I mostly tweaked the following:
- Deep EXRs
- CPU engine
- GI — default mode with brute force for primary bounces and light cache for secondary bounces
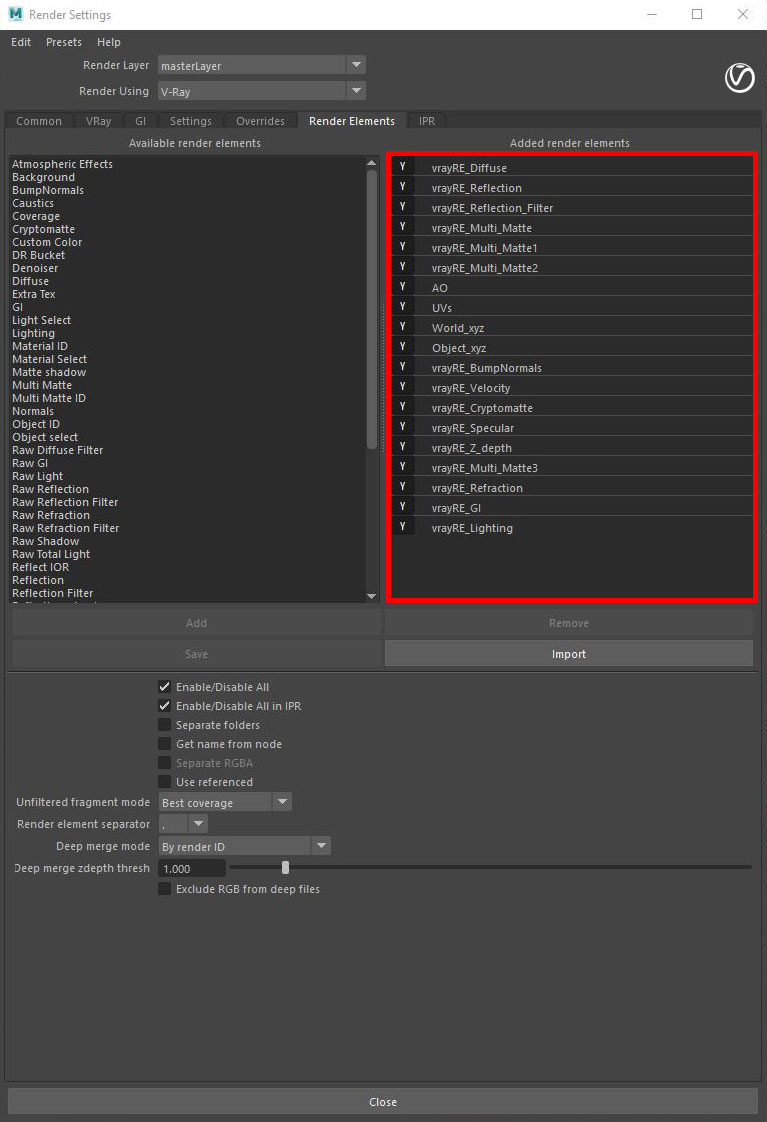
The final step was to render out all of my favorite render elements for compositing in Foundry’s Nuke.
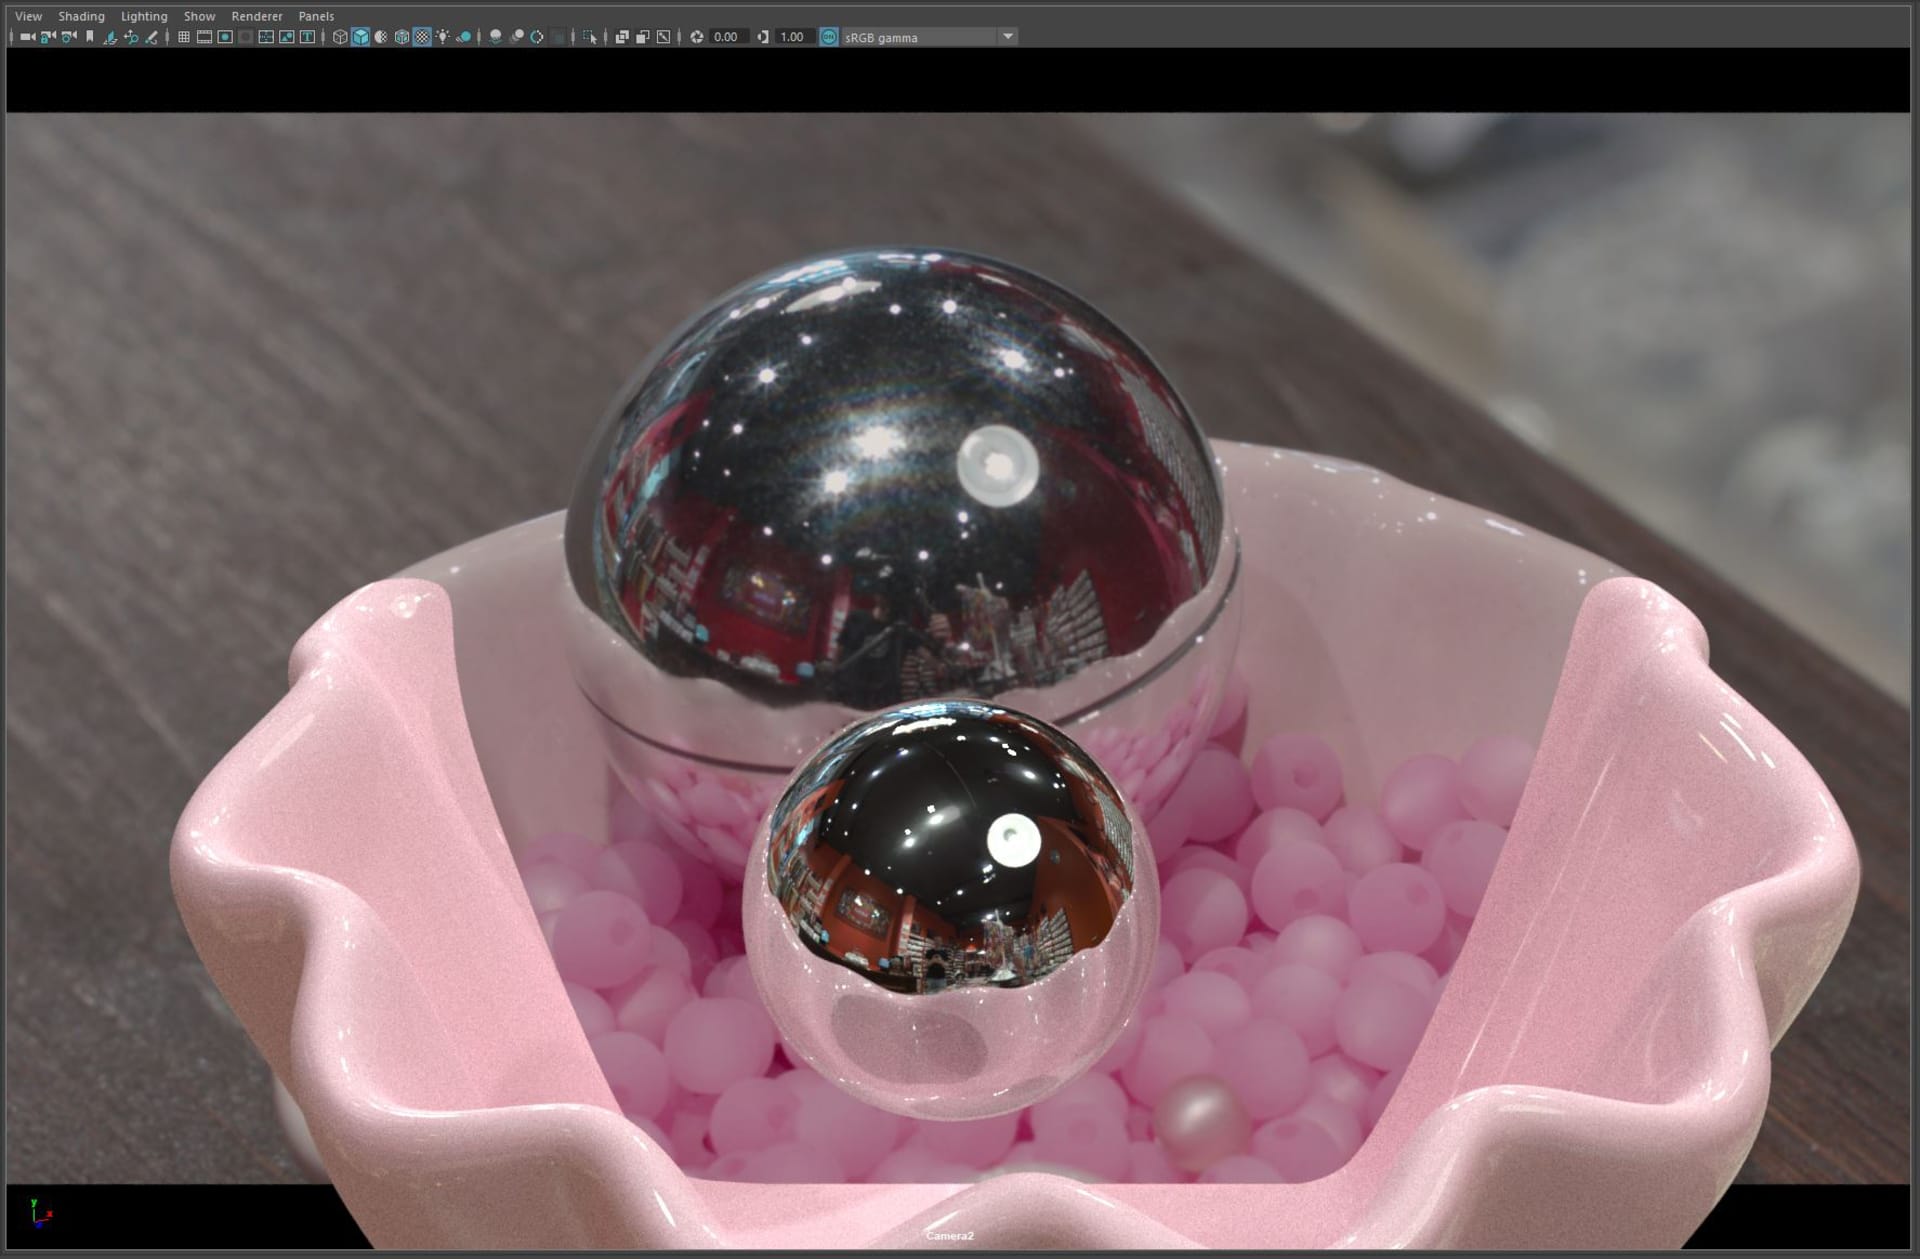
Matching the CG figure with the 3D-printed references
I initially wanted to match the CG figures in all of the composites to the 3D-printed references as closely as possible — just like I did in the first look development example. However, when I saw the colors of the printed figures with the final color grading, I decided to use my artistic freedom and instead created my own color palette for the CG figure to make it look a little more vivid than the printed figures.
And here are some before and after images of the 3D-printed figures, along with the final 3D renders.