With endless iterations and unique properties, the natural world is one of the most difficult subjects to emulate in the realm of 3D imagery. Here, TILTPIXEL partner Ramy Hanna dissects the nuances of plants in the 3D environment, and the best ways to capture their subtleties using V-Ray for 3ds Max.
Each object in our natural environment is defined by unique characteristics. As 3D artists, we must study these elements closely or our digital depictions will be inaccurate. Below are two photos I took to highlight the intricacies of various leaves.
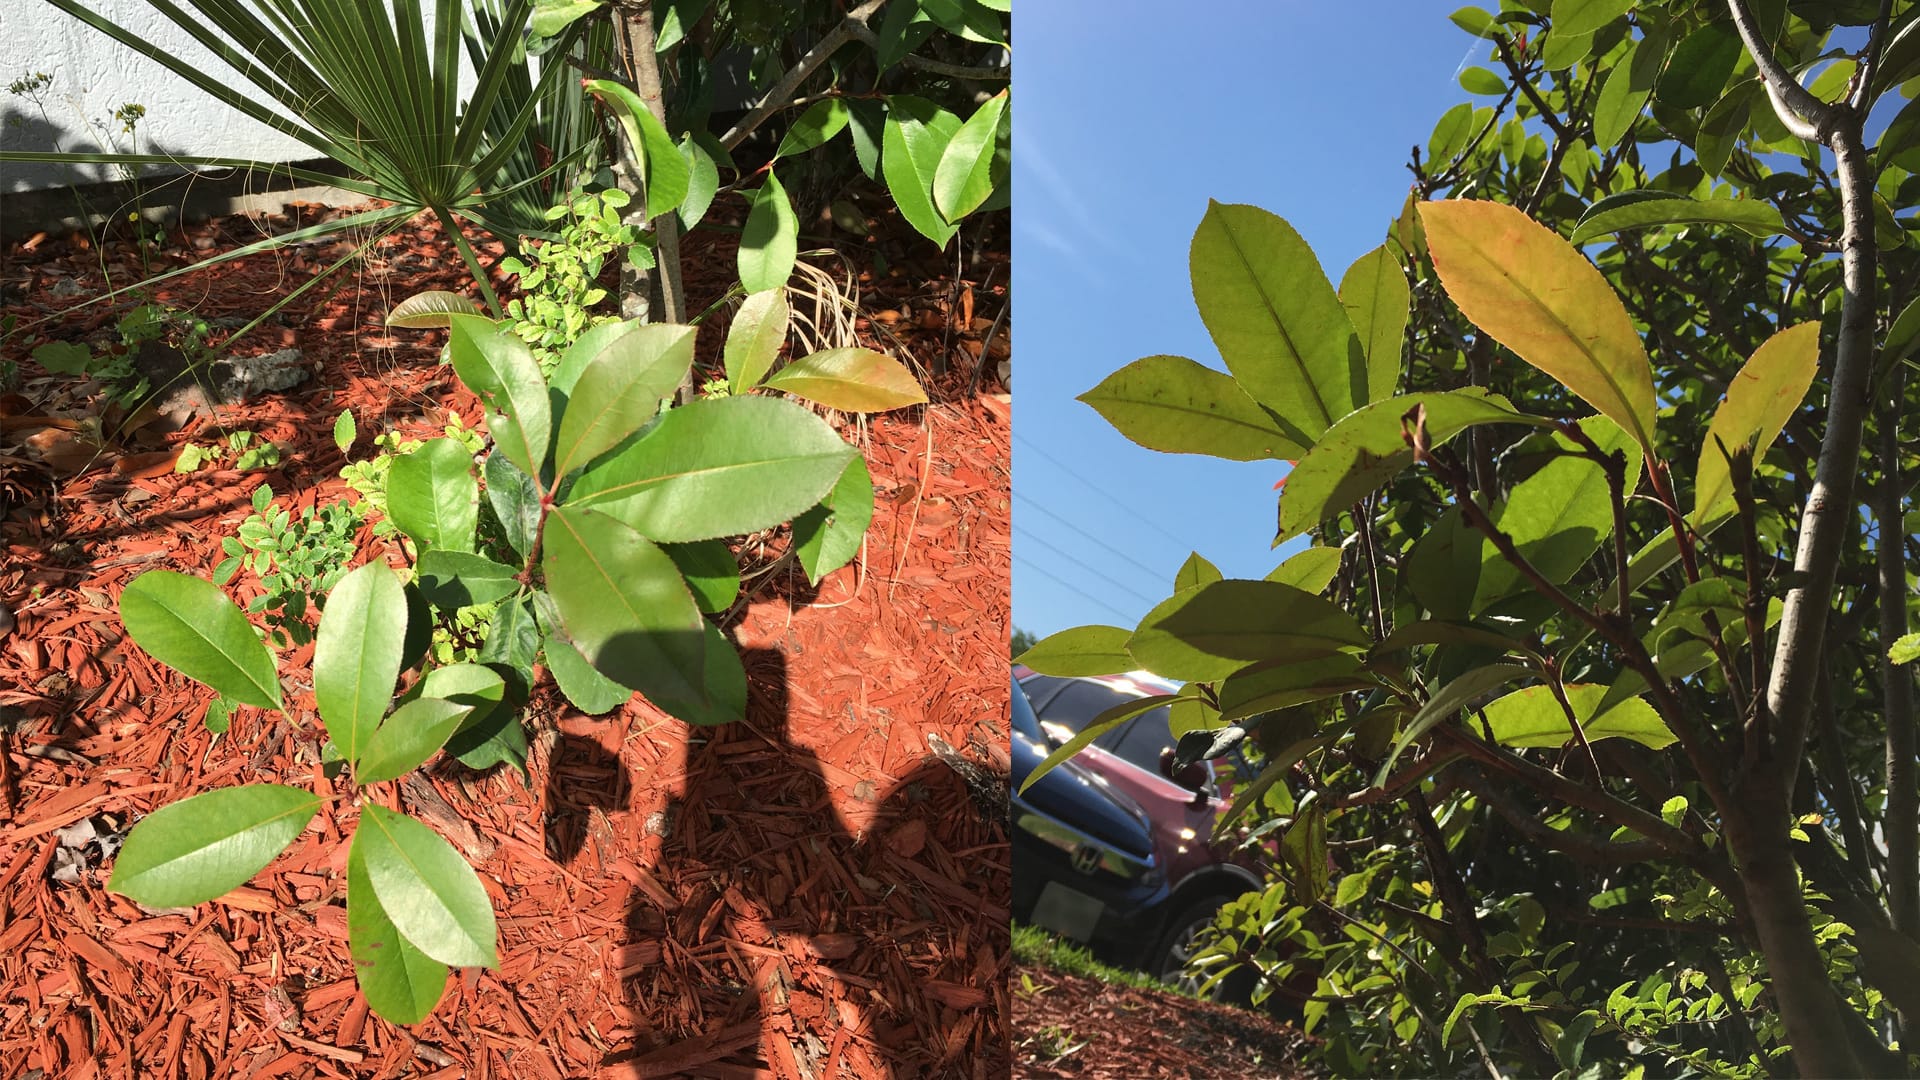
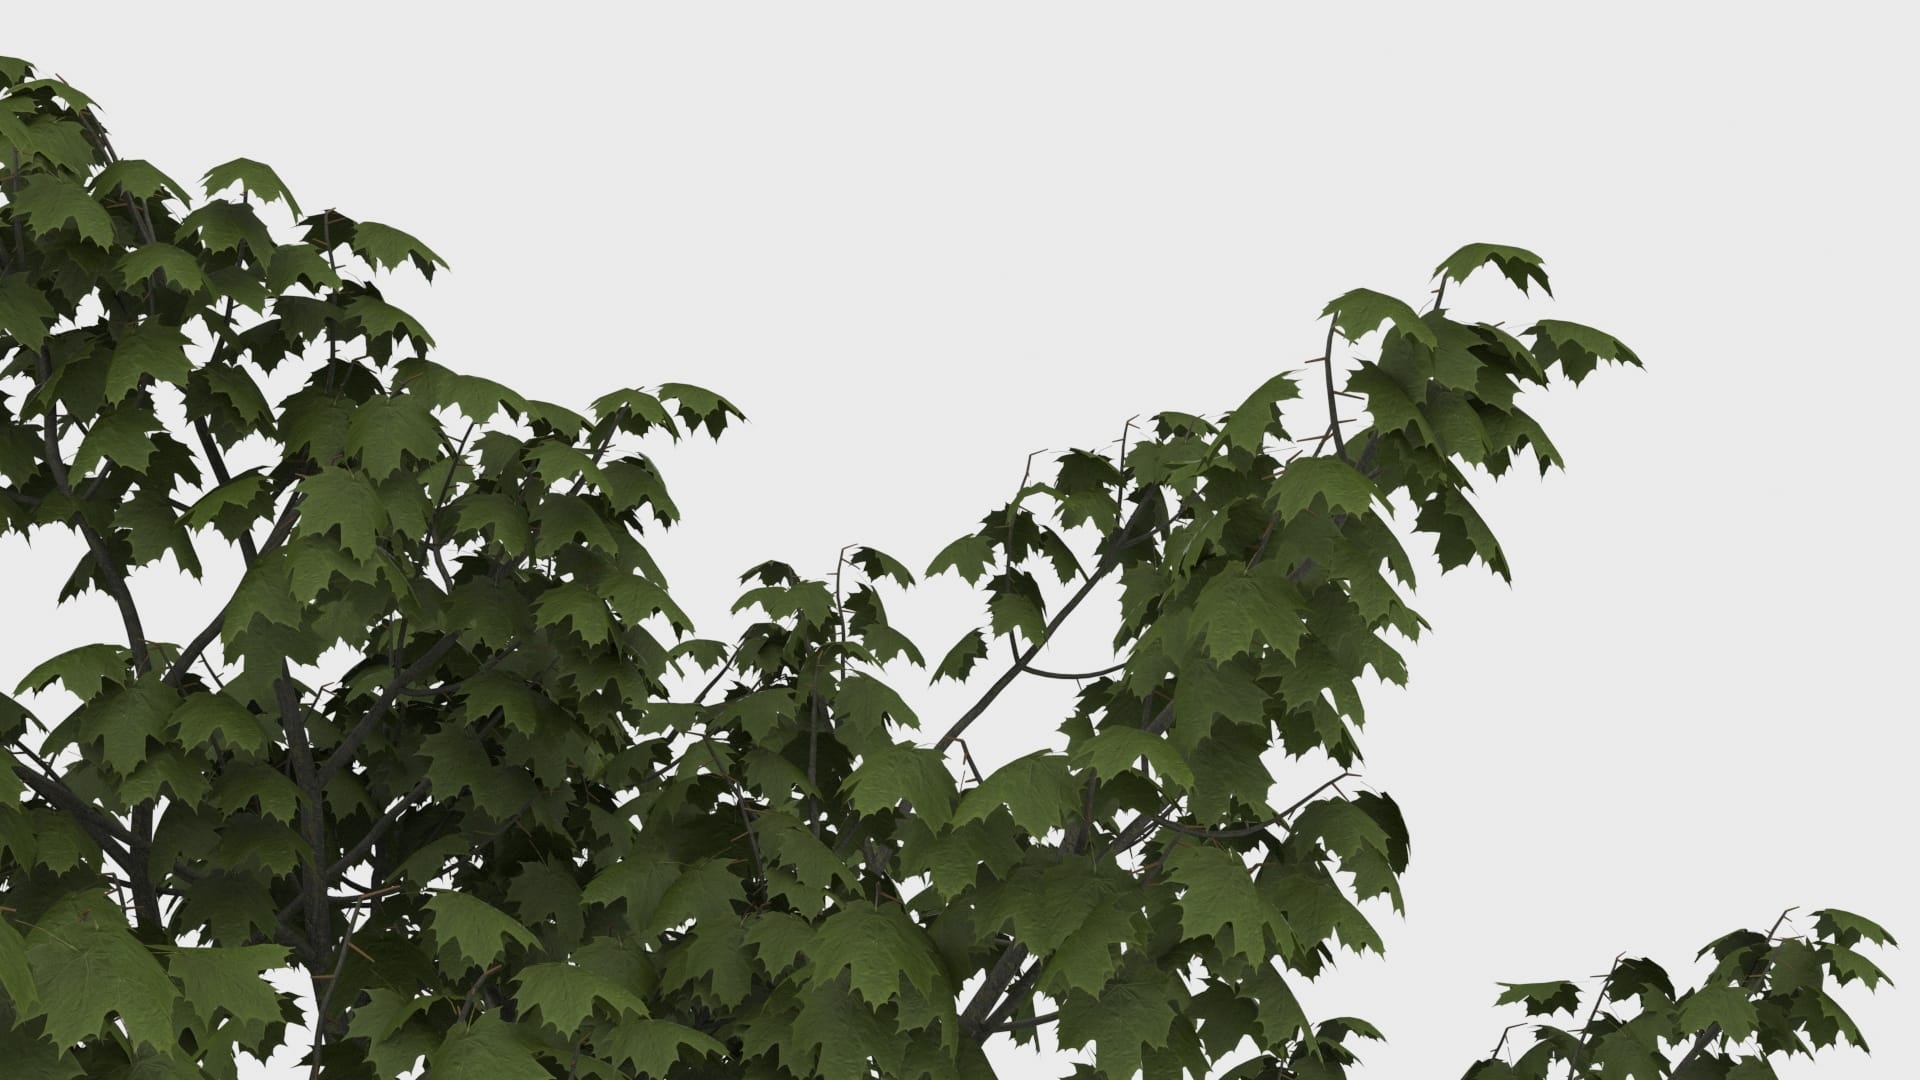
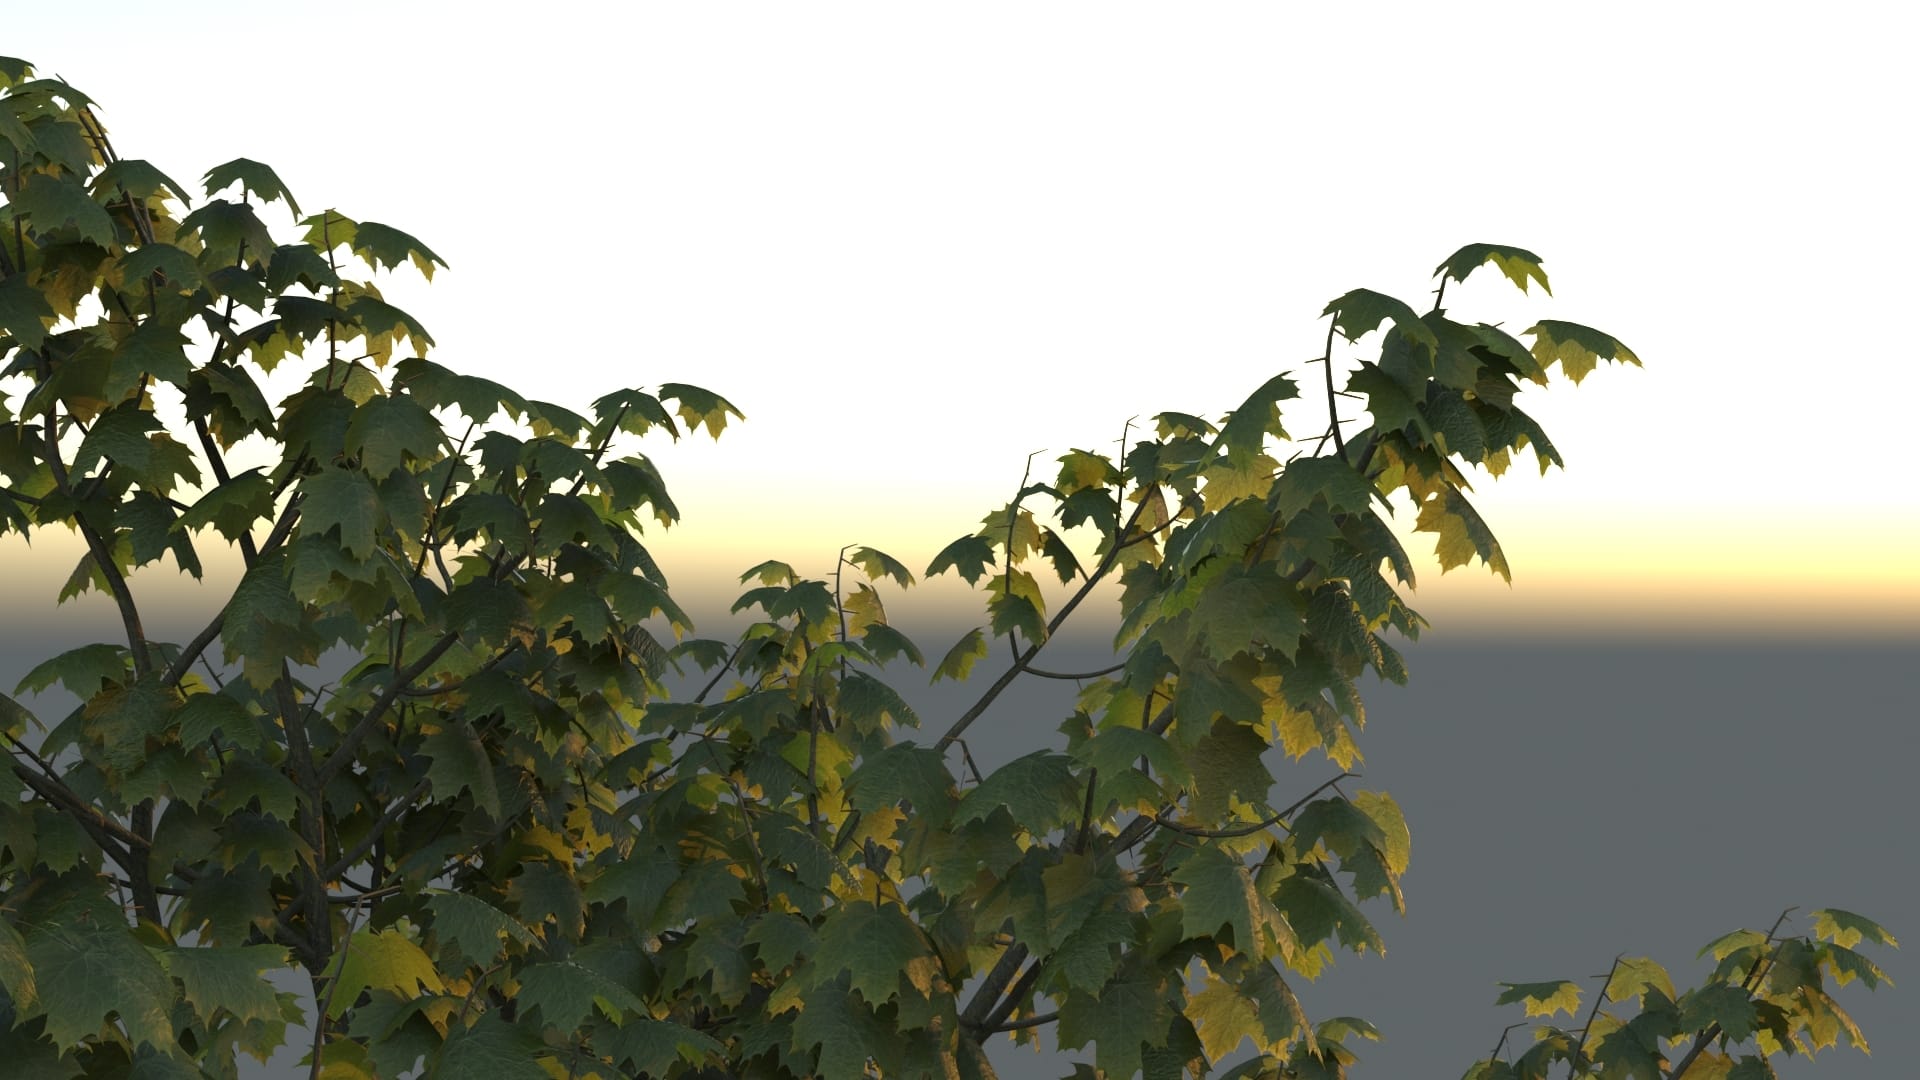
On the left image, the top side of the leaves are more reflective and smooth, like plastic. On the right we see the underside, which is more matte in reflection and softer, like fabric. As light shines on each leaf, these properties are highlighted. When lit from behind, the leaves disperse light like a stained-glass window. Now, let’s see how these characteristics translate to V-Ray.
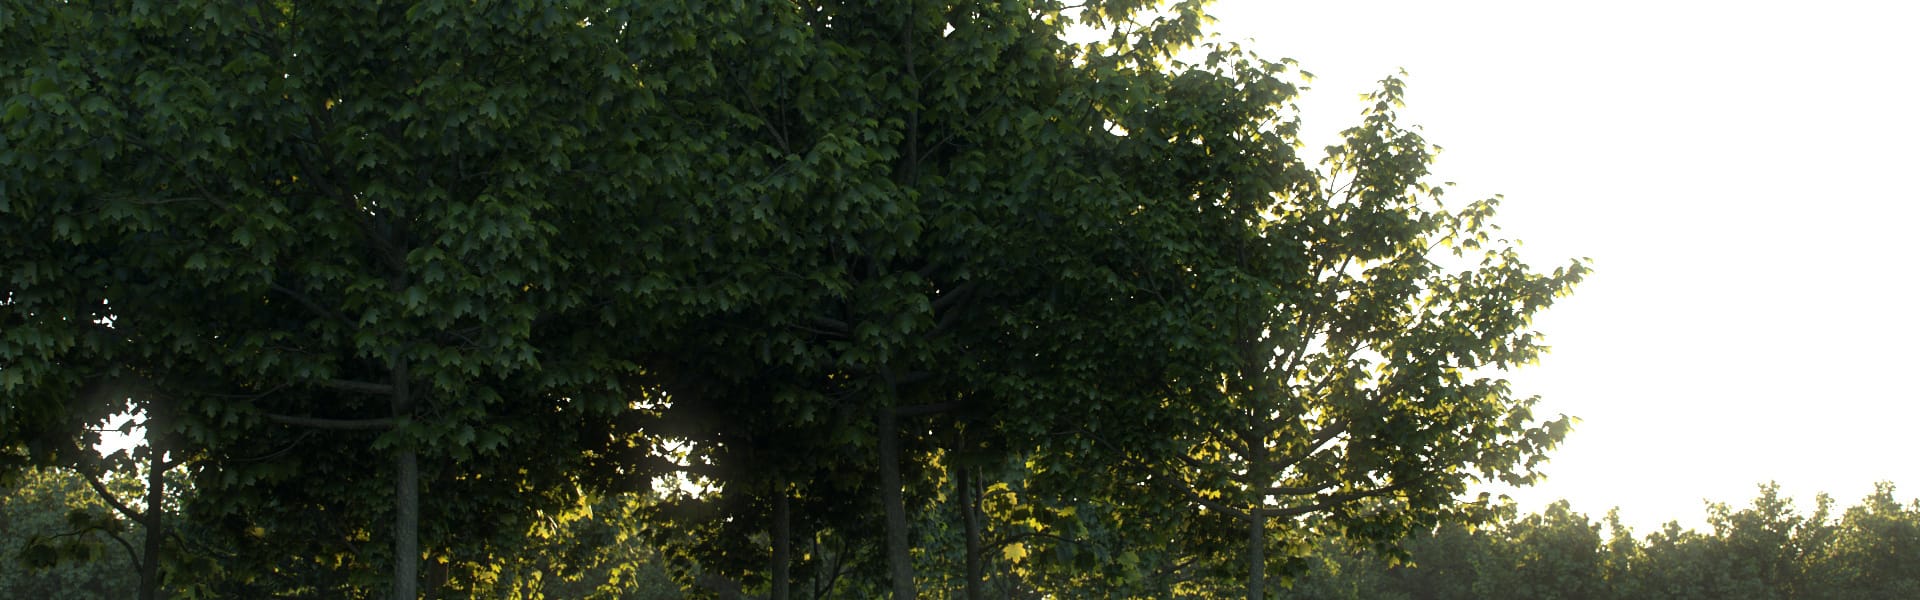
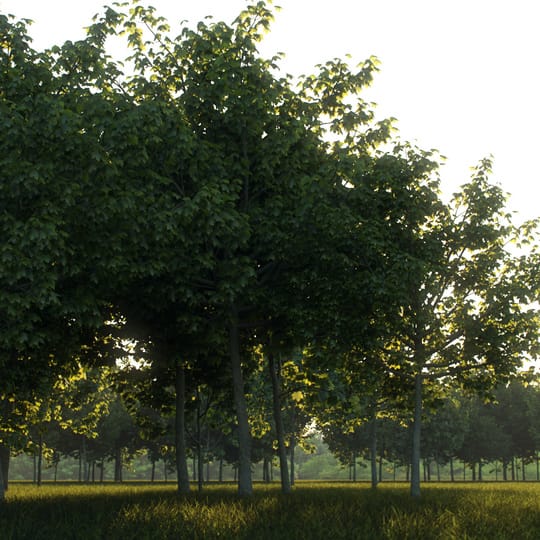
A quick render test to show the behavior of leaf materials and how they interact with light.
The most critical element unique to leaves is the way they react to light. Mimicking this property in V-Ray can be achieved in two ways:
- VRayMtl
- VRay2SidedMtl
VRayMtl
The first approach simply uses one material to achieve the desired effect. For our material, we have six maps driving the following parameters: Diffuse, Reflection, Reflection Glossiness, Bump, Opacity* and Translucency. These parameters are like most other materials, aside from the Translucency element, so we’ll focus on that.
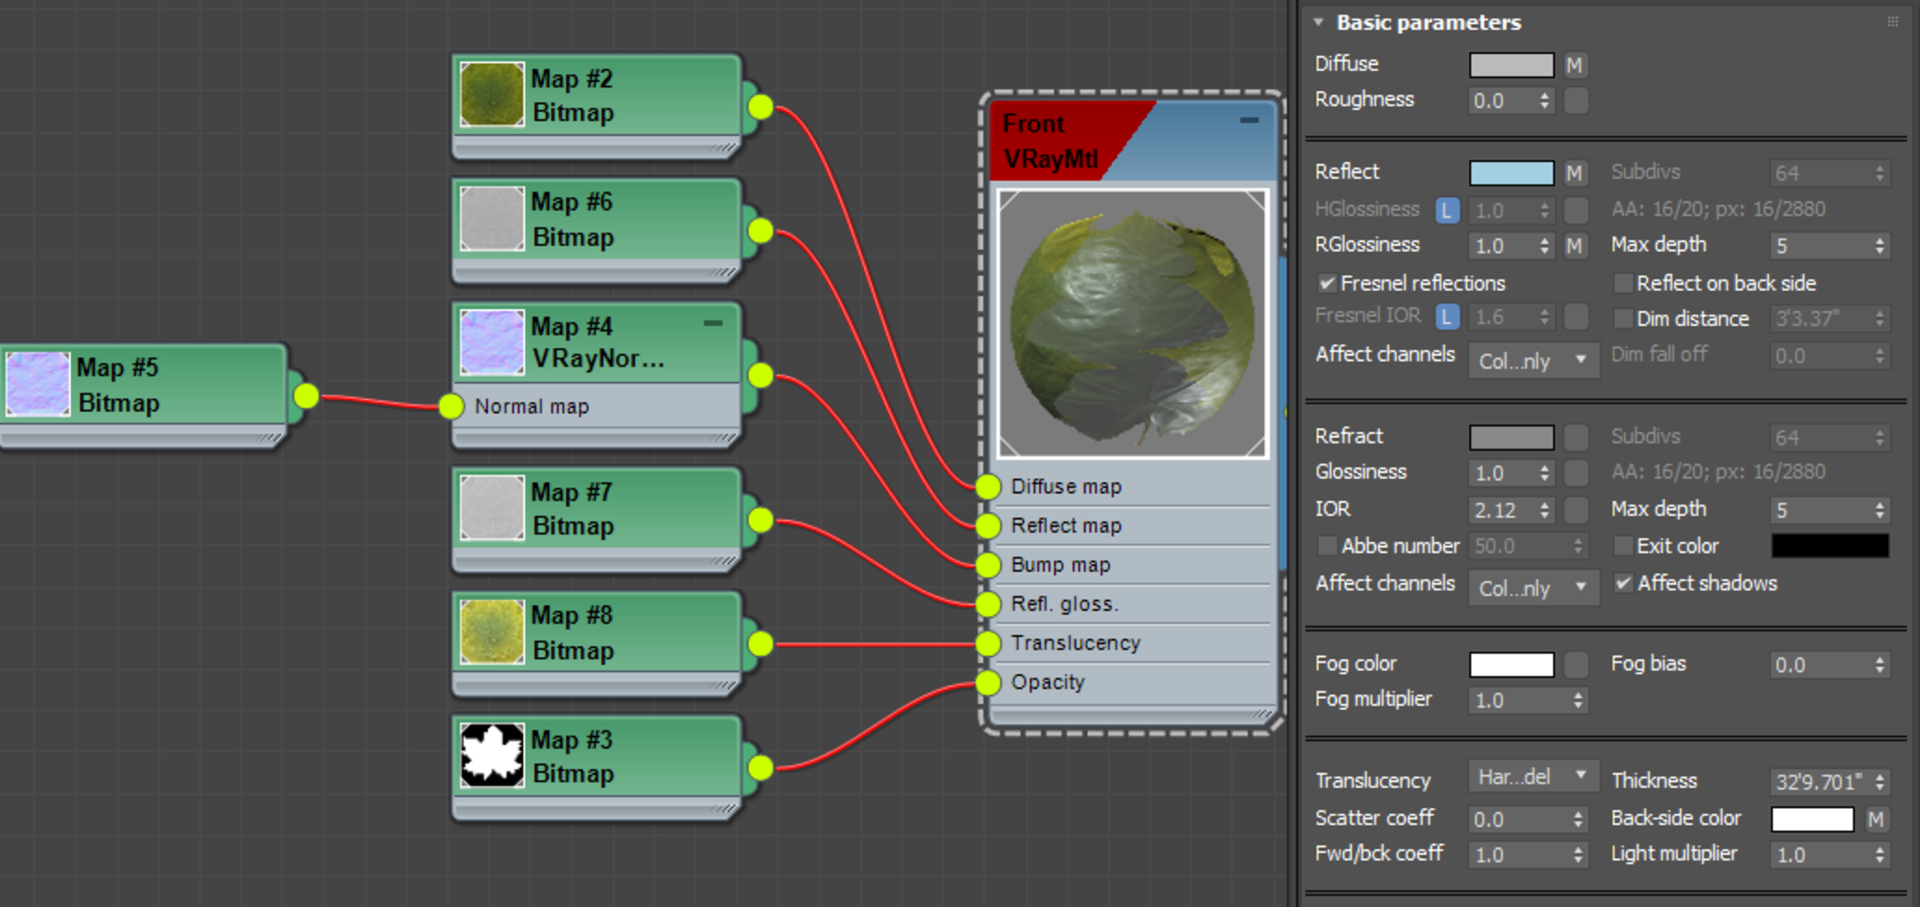
There must be a certain amount of refraction taking place for translucency to work, otherwise adjusting it does nothing. Typically, I will use Hard (wax) model for translucency. For the Thickness, the default is around 80’ but I lowered it closer to 30’. For the back-side color, it’s driven by an image map that is a lighter version of the diffuse map.
For this effect to correctly work, the subject (in this case a leaf) needs to have volume or thickness. If this material is applied to a plane, then translucency will not work correctly as it is based on refraction.
The downside to this method, especially if you are applying it to vegetation, is that you will likely have hundreds of thousands of leaves in your scene. Having your leaves on boxes instead of planes will increase your polycount by six times! Let’s look at another solution that favors planes rather than volumes.
*To speed rendering times, especially for scenes with many trees and objects with opacity maps, set the Opacity mode to “Clip” under Options for the VrayMtl. This is an often-overlooked setting but can dramatically speed up rendering time.
VRay2SidedMtl
This material is used more often to create translucent effects through thin objects such as paper, leaves, curtains, etc.
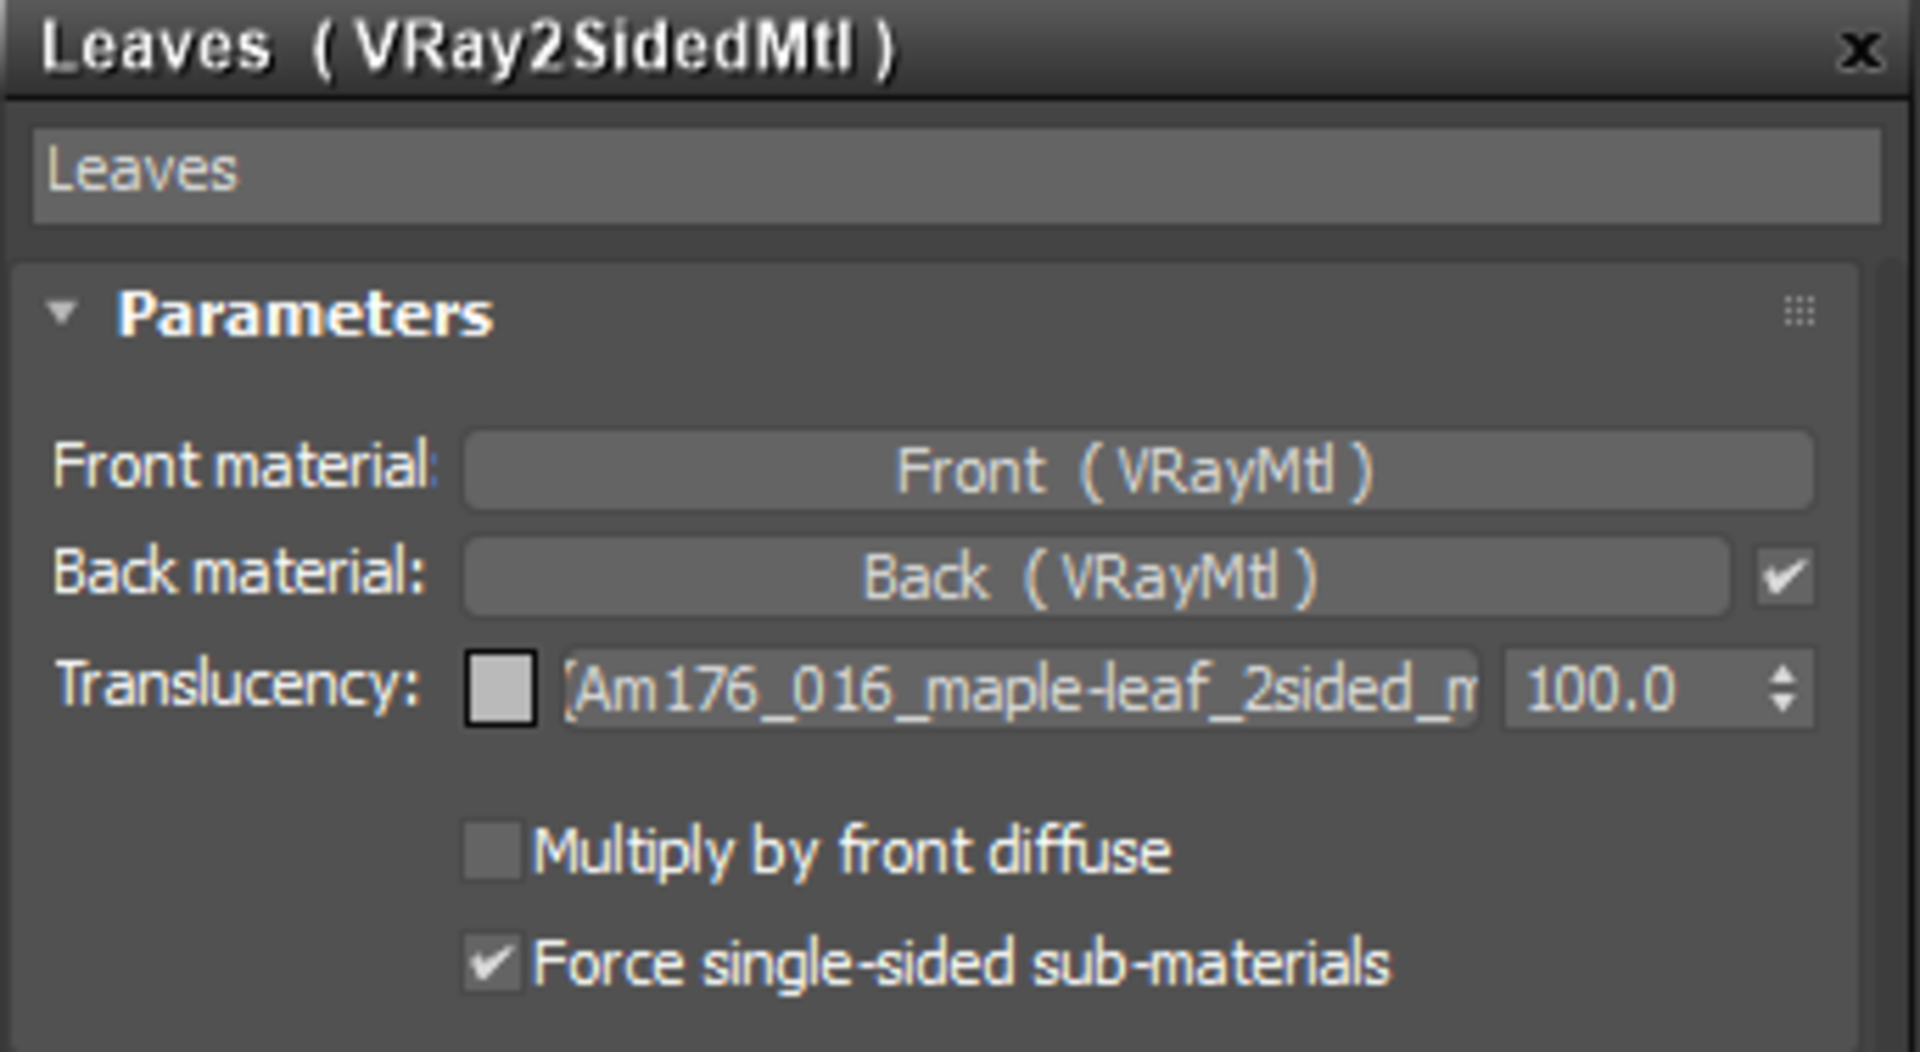
The benefit of this material is its ability to work on planes of single polys rather than volumes. The Front and Back materials are defined by the object’s normal.
Let’s first look at the Front material or top side of the leaves. This material is just like our previous material, but now refraction and translucency are not used, with their values set to black and none respectively.
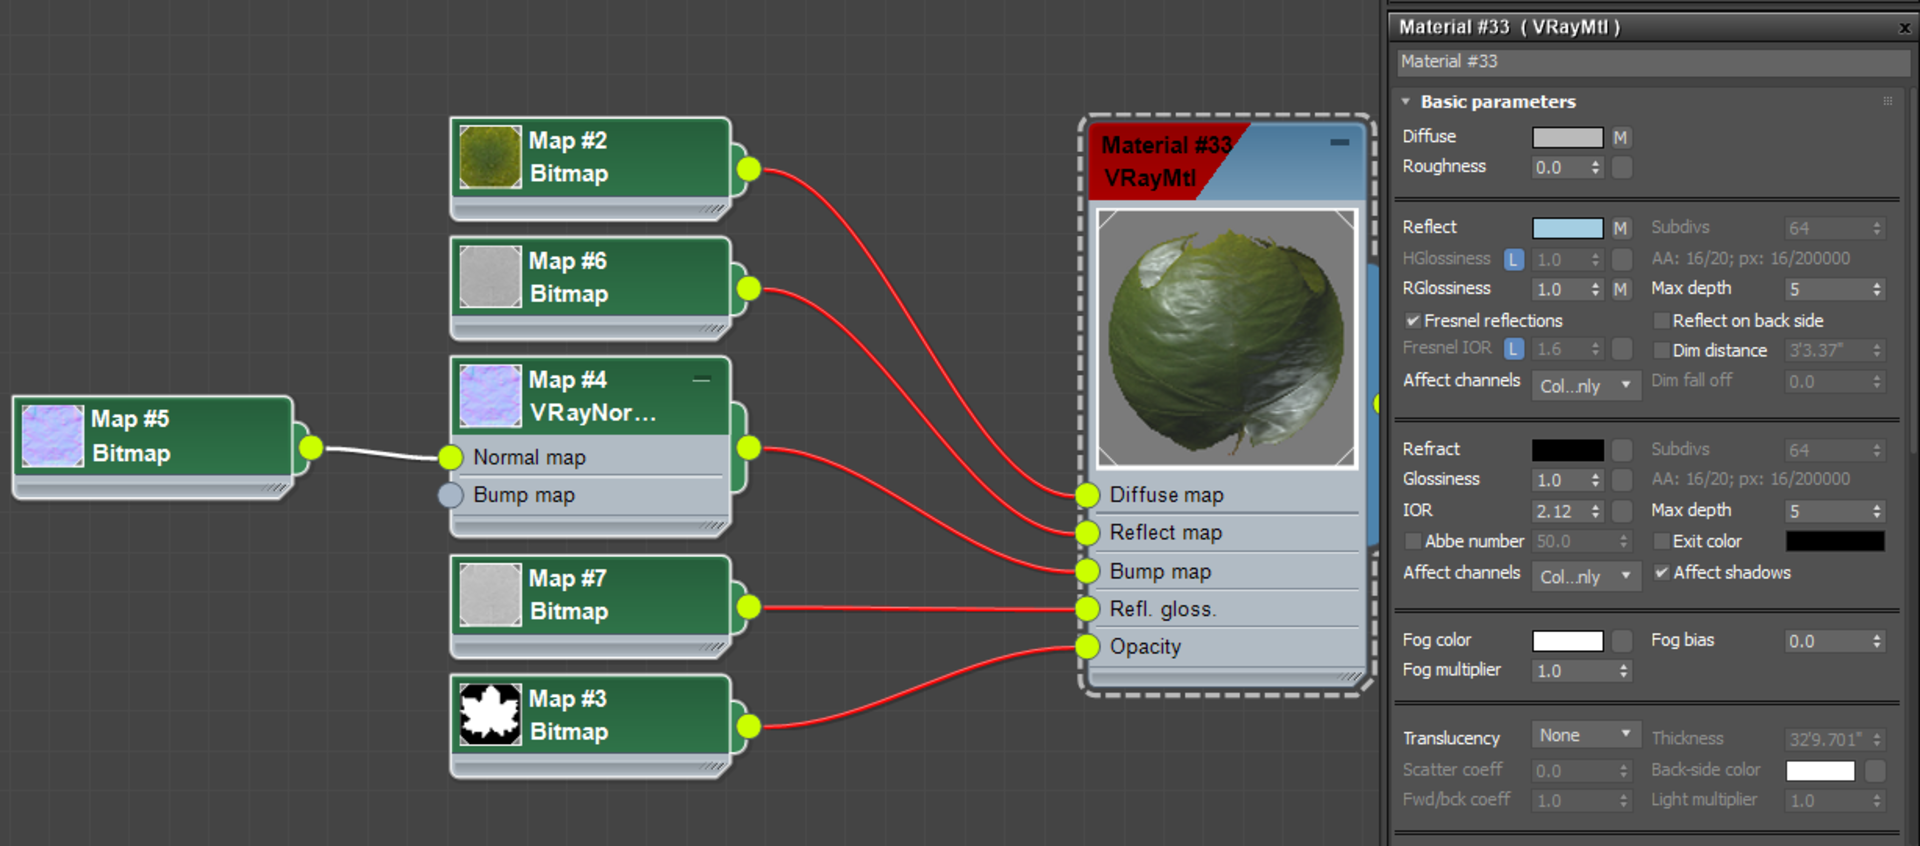
Applied to the leaves in this very generic lighting scenario, this material appears with the expected properties.

Front material
Now let’s look at the Back material or underside of the leaves. The setup is no different from the top side, but there is one major difference: the reflection is not as prevalent.
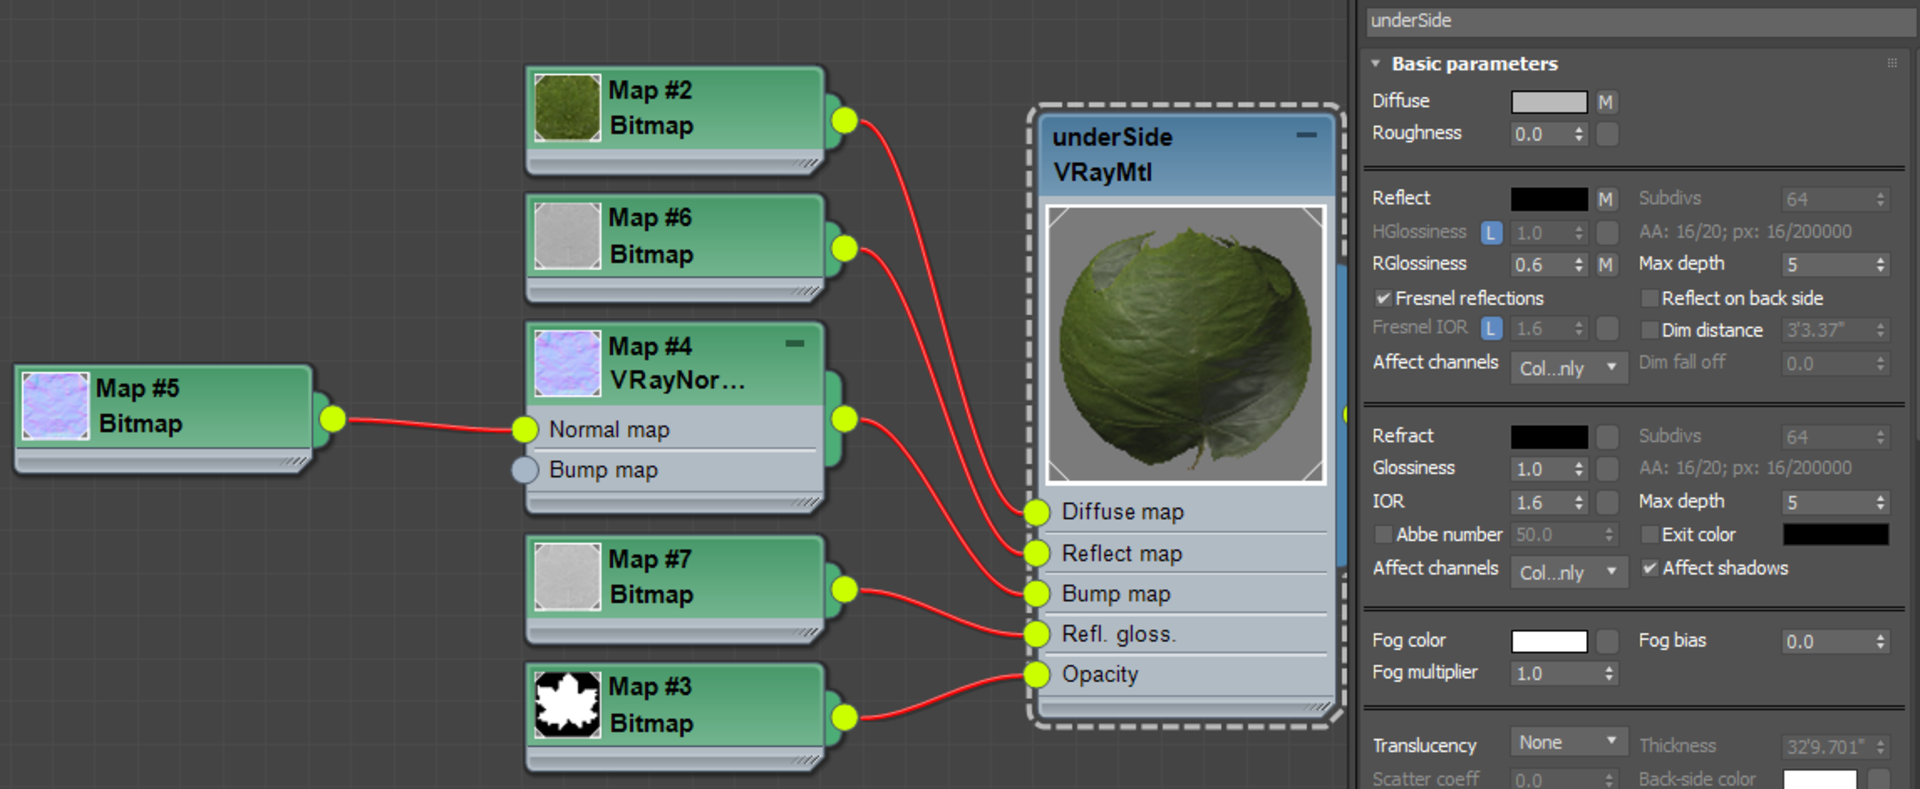
Notice how the underside appears darker than the top side of the leaves. This is because the underside is not reflecting its environment.
Back material
Lastly, the Front and Back materials are controlled by a Translucency element, typically 50% grey. In this case, we control the Translucency by using a greyscale image map of the leaves where the veins are darker than the leaf itself. When we turn the sun back on, we see the following result:
Vray2SidedMtl
Grass – VrayFur
Now let’s look at using VrayFur to create the same translucent effect on grass. This image is a closeup of VrayFur with simple green VrayMtl applied to it.
To create translucency, your inclination may be to apply a Vray2SidedMtl to the fur, but this would render incorrect results and increase render times. Below is the result of applying Vray2SidedMtl to VrayFur. It creates interesting but inaccurate results. Note that if you are rendering grass using geometry of single sided planes, this method would work just like the leaves of trees.
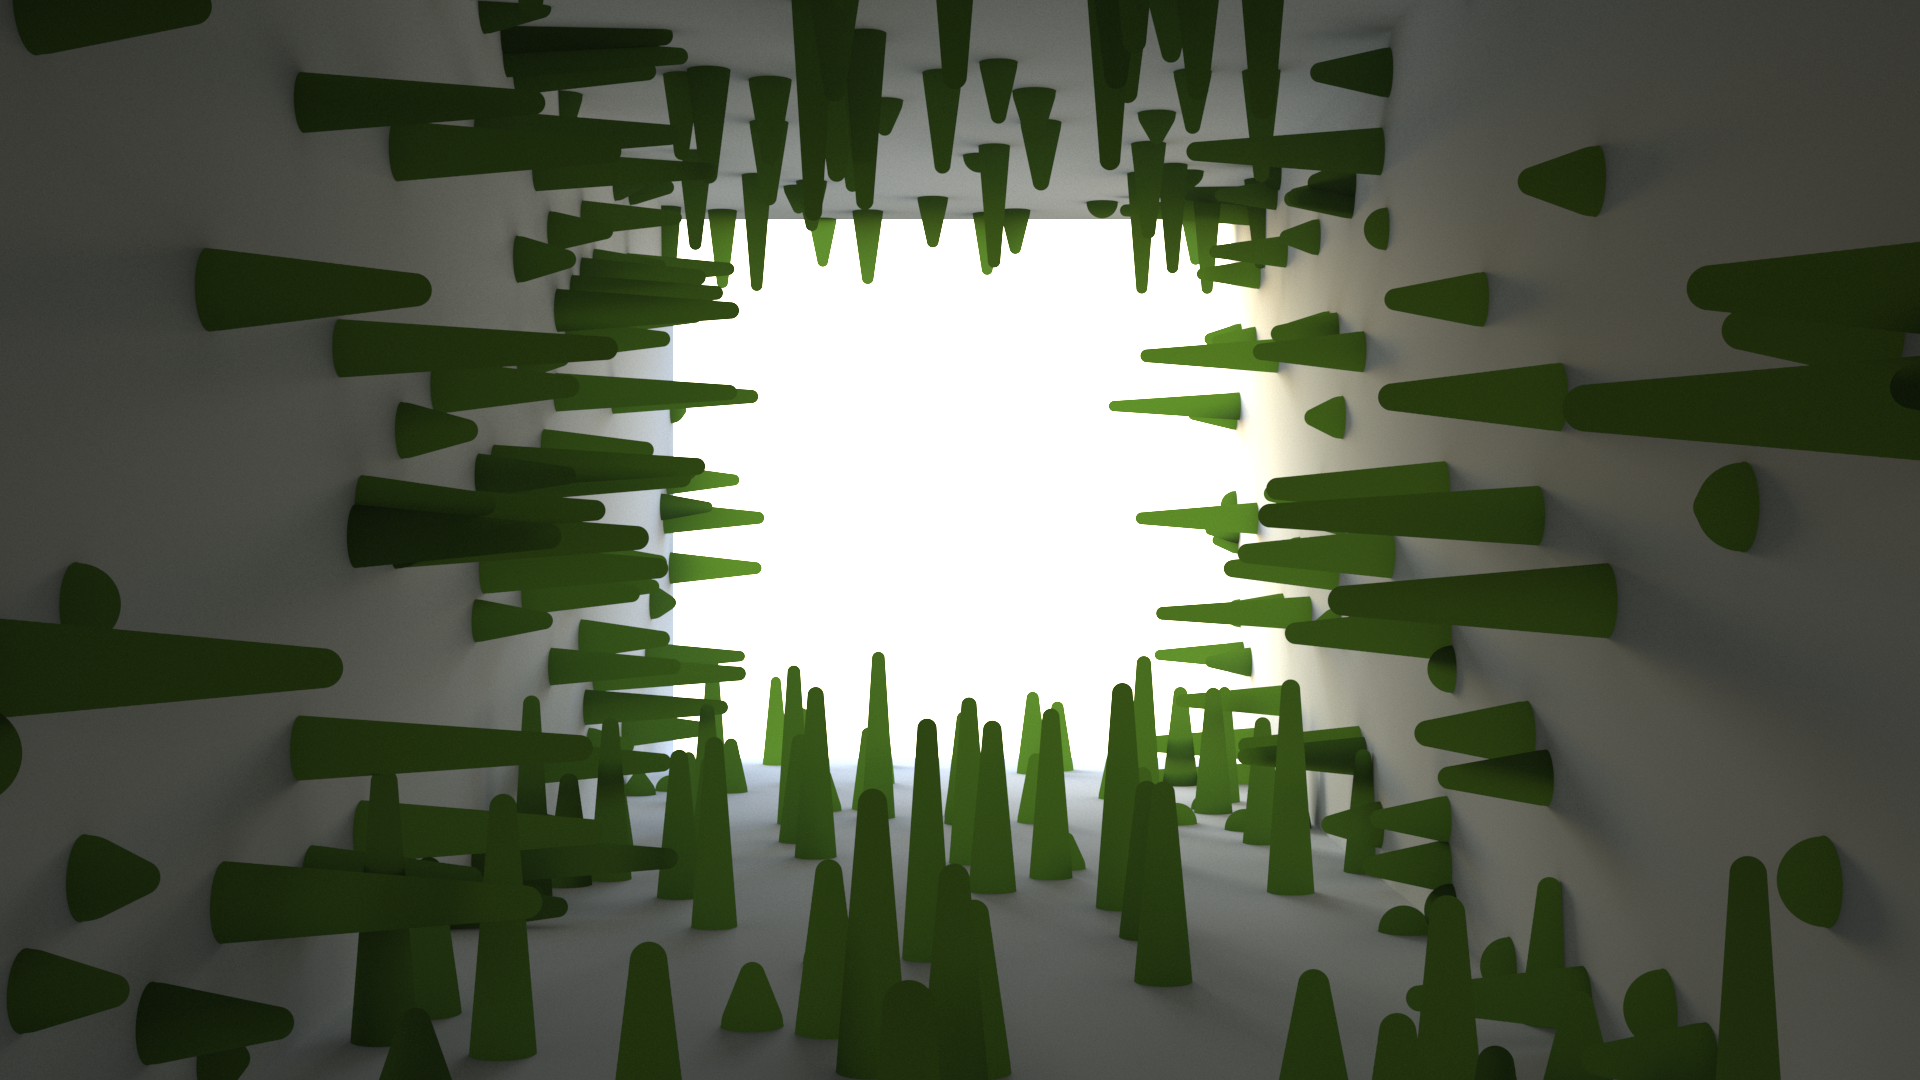
To render translucency correctly on VrayFur, the VRayHairMtl must be used. The below image is created by simply applying a VRayHairMtl and assigning the same green color to Transmission swatch.
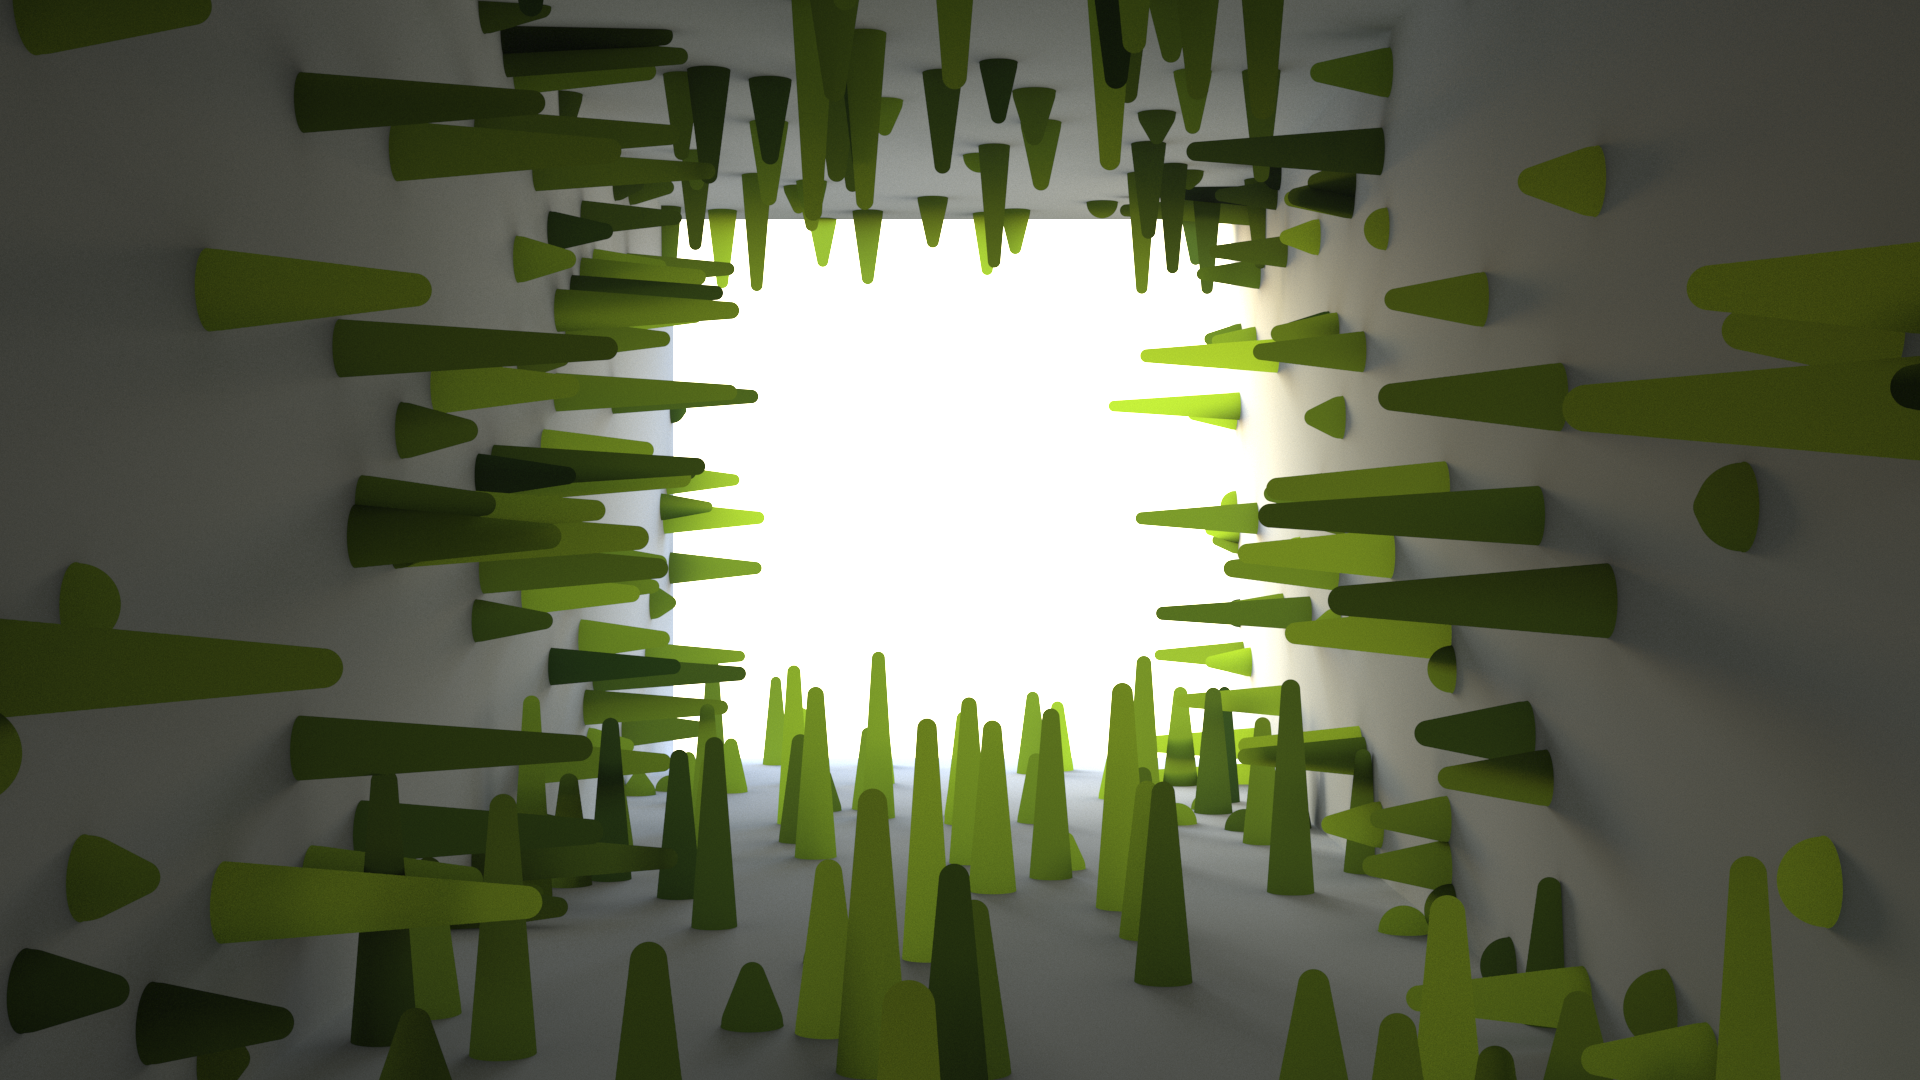
We can go one step further and create variation in the color of the strands by applying the VRayHairInfoTex map into the Transmission slot. You can change the output to position color from A to B along the strand. In this case, I switched it to Random by strand index, which creates a random color for each strand between color A and color B.
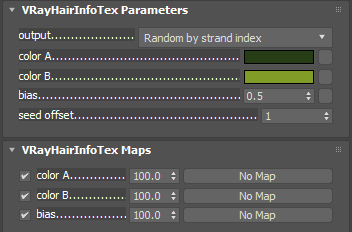
The result of applying VrayHairInfoTex to the transmission parameter creates a variation of color for the strands.
Now simply increasing the distribution and taper, and adding a bend to the VrayFur gives the expected and desired results.
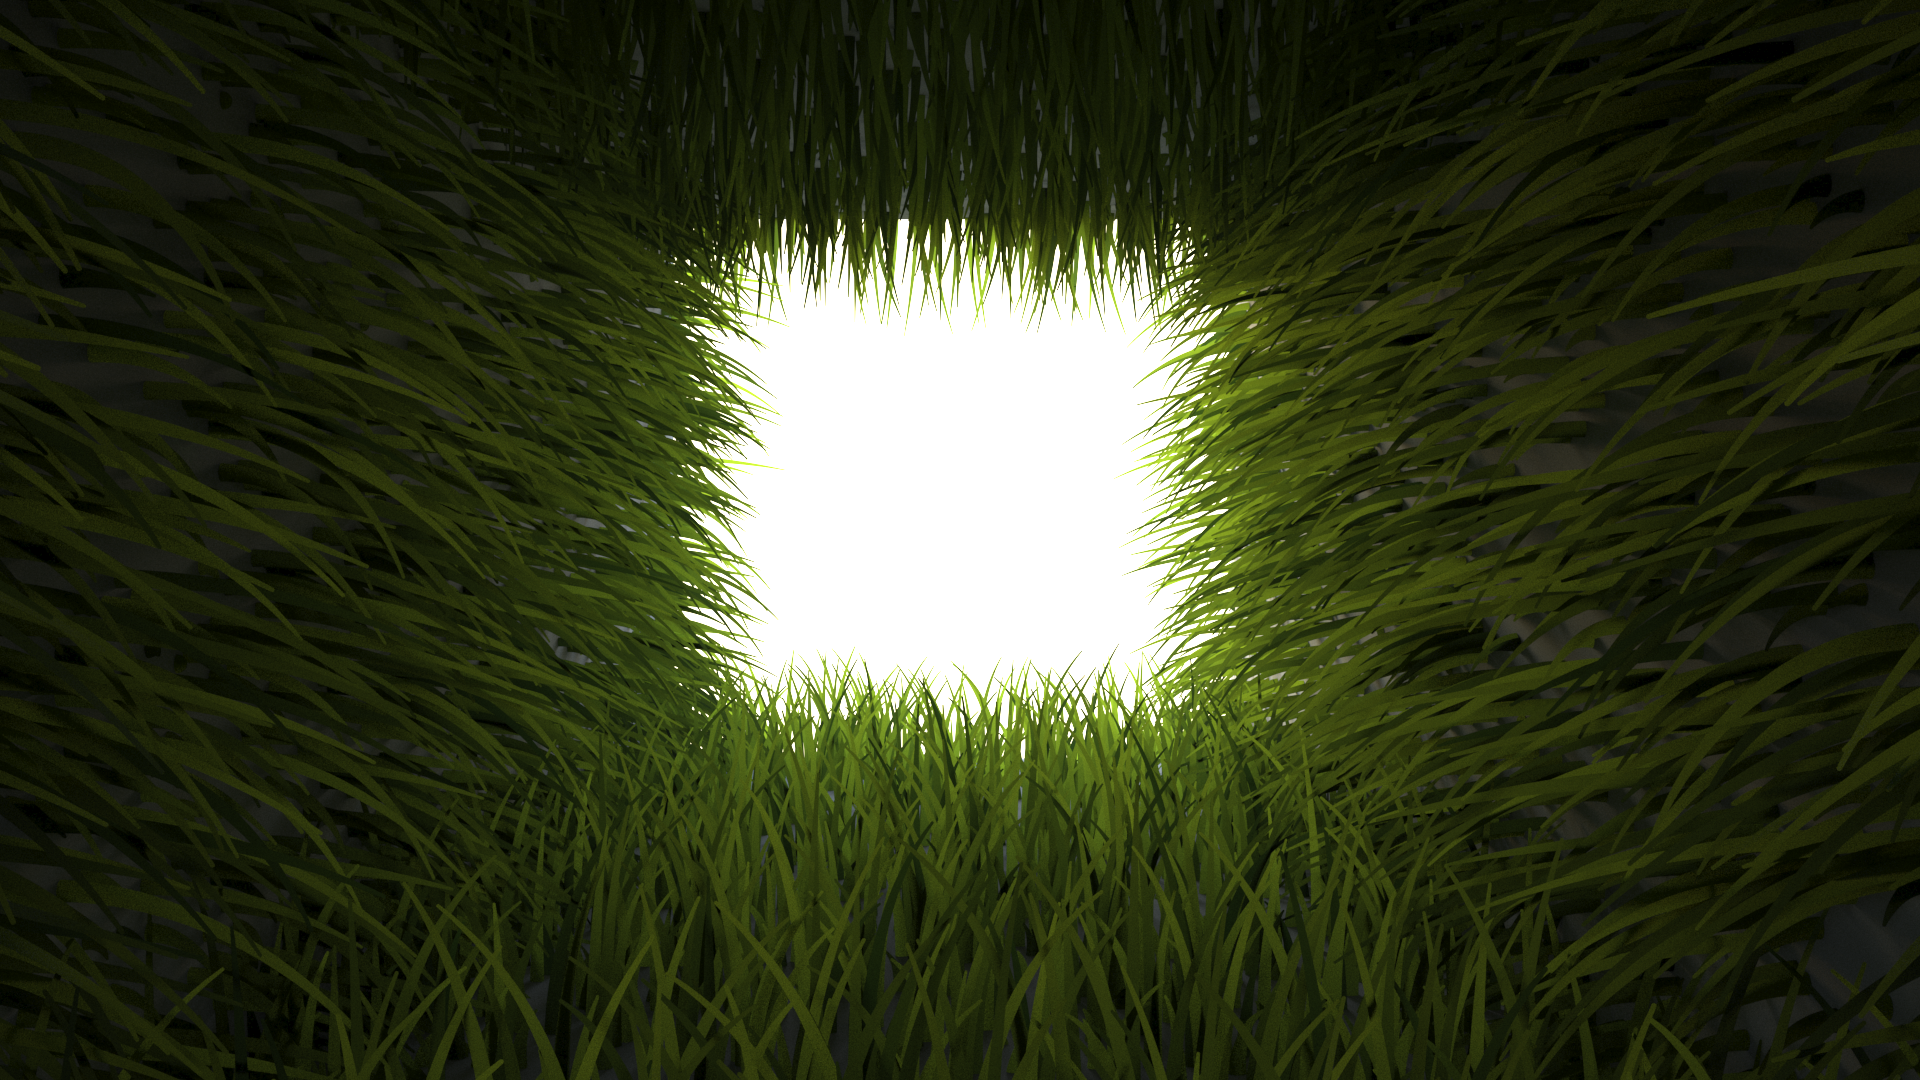
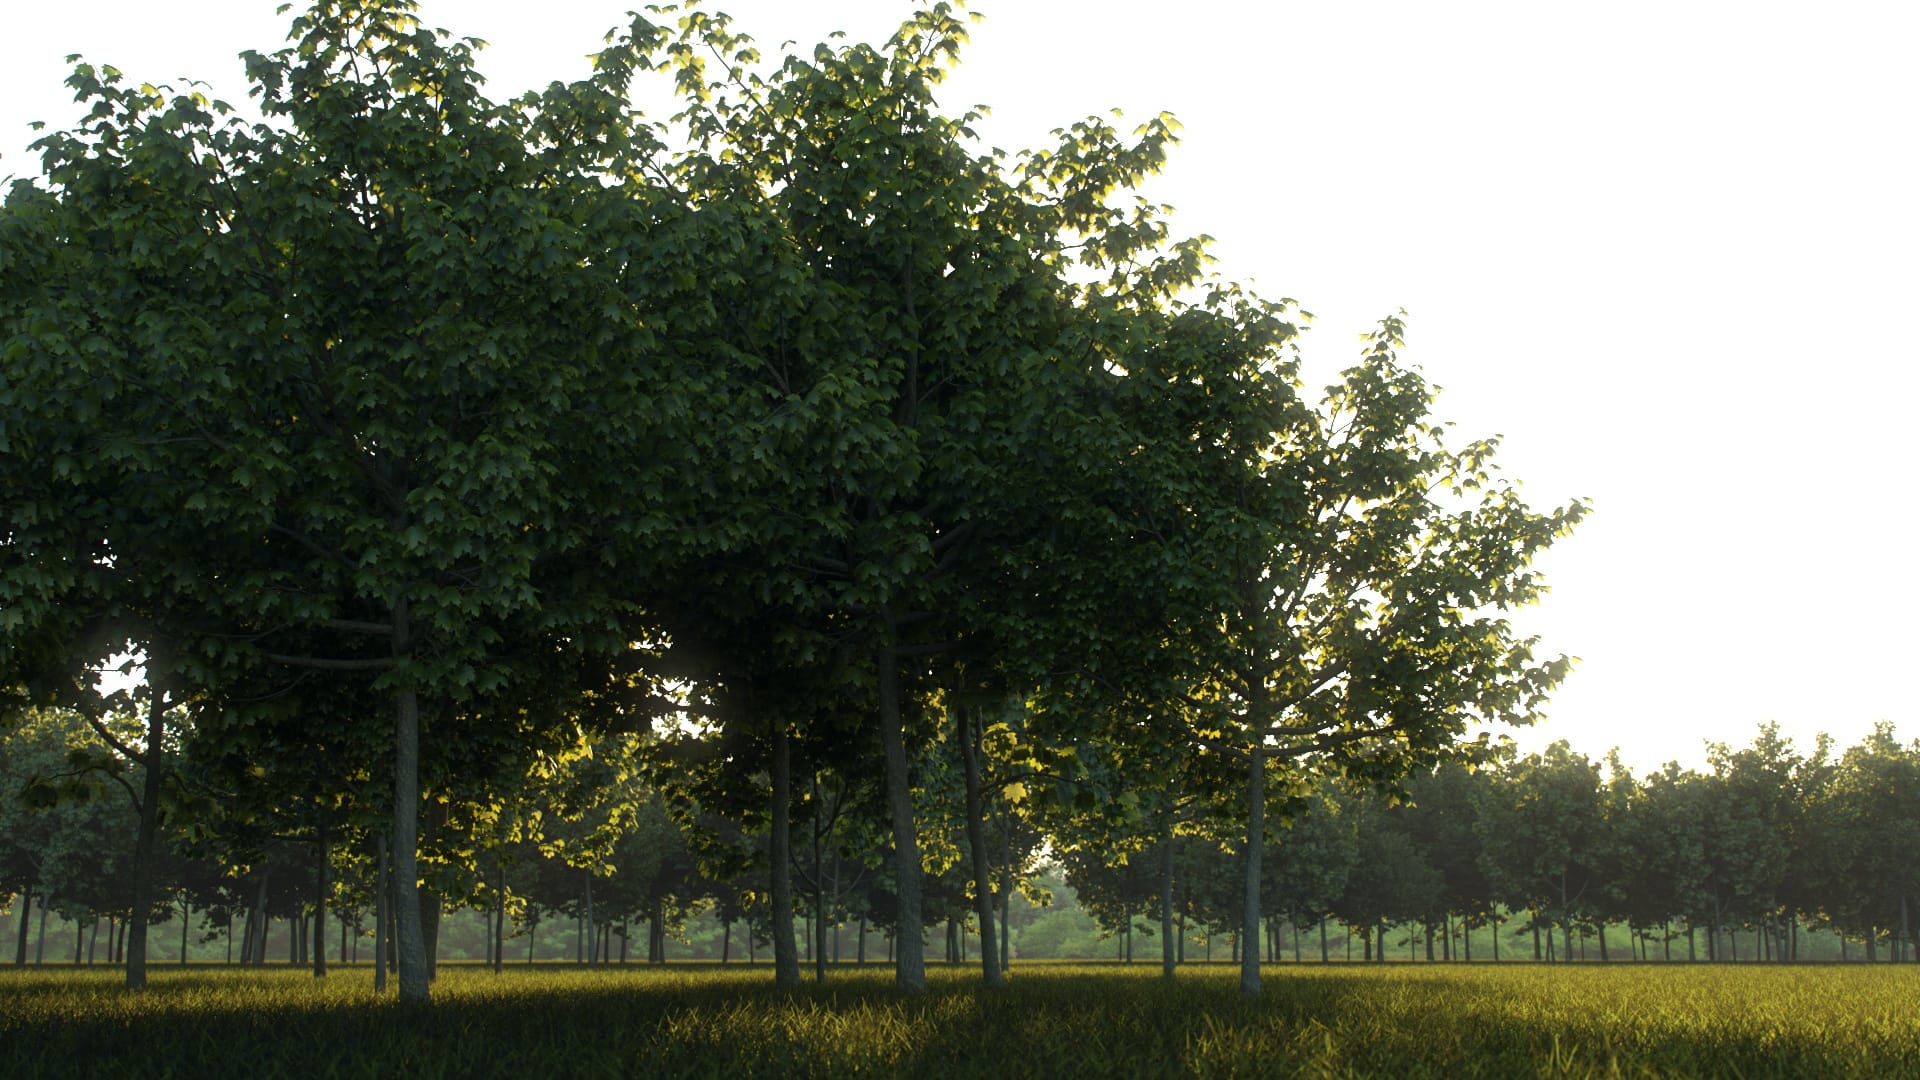
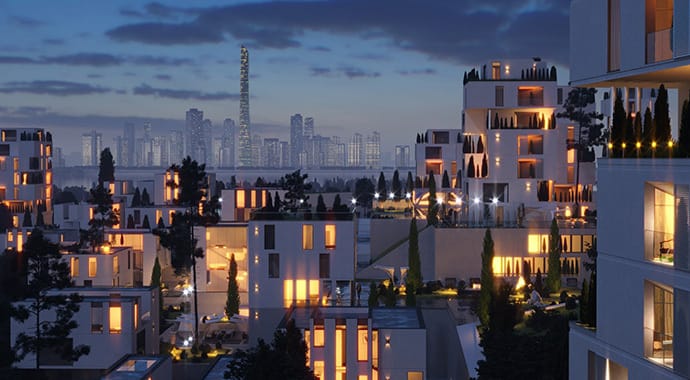
A rendering from the V-Ray frame buffer from 3ds Max, created using the tools and techniques described in this article.
With just a few tools and techniques, growing virtual plants with V-Ray is a straightforward process that delivers impeccable results.
Happy rendering!