
In the next part of your rendering journey in V-Ray for Cinema 4D, learn how to make materials bring your scene to life.
Congrats! You're one step closer to completing your scene in V-Ray for Cinema 4D and getting ahead in your interior design rendering journey. You’ve already built your scene, lit it, and now you’ve reached the third part: working with materials. I will now give you some tips on how to make the best of materials in V-Ray for Cinema 4D and make them stand out in your scene.
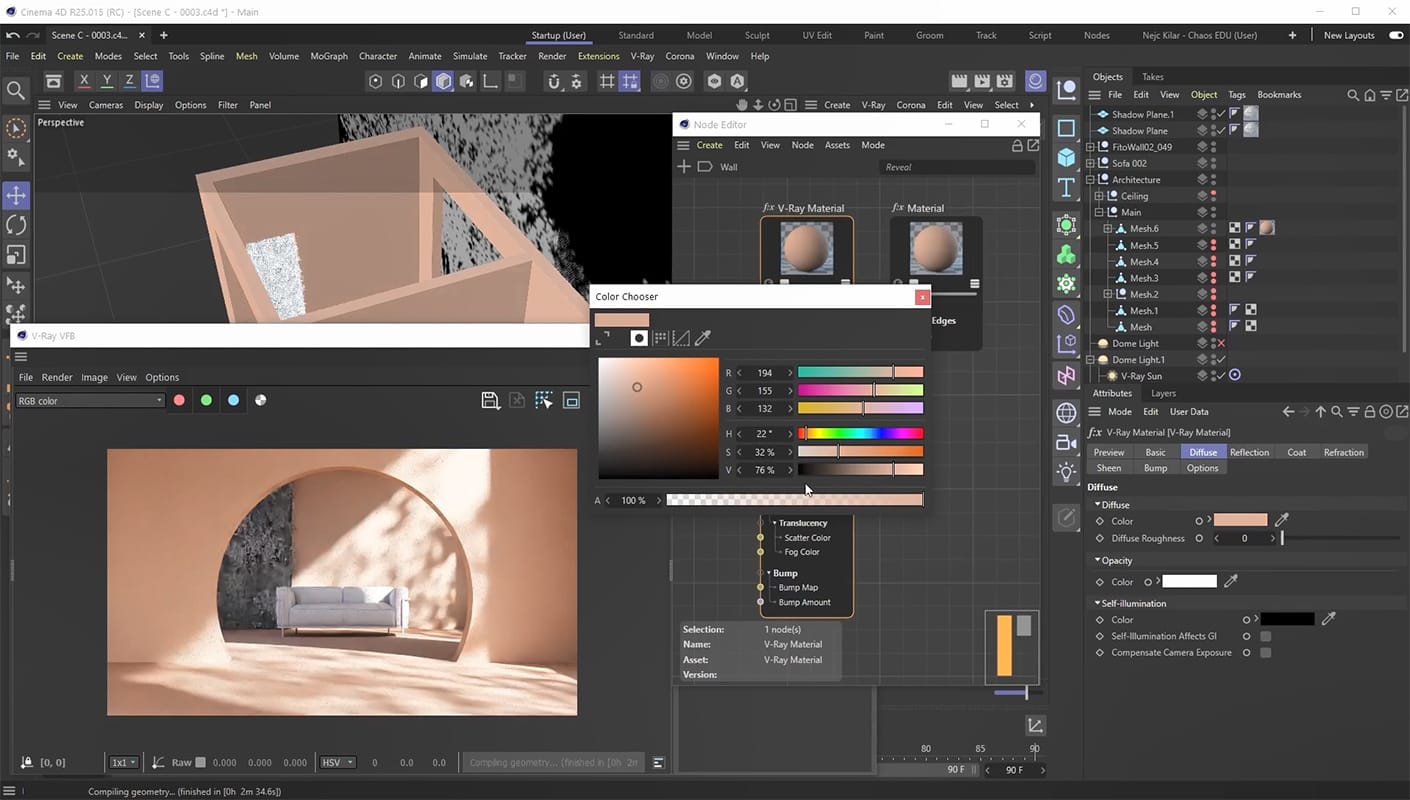

Tip #1: Avoid using extreme values for your diffuse colors
When you are setting the diffuse color for your materials it is important to know that there’s rarely any materials in the real world that are completely black or completely white. Even if you are setting up a snow material, which is one of the whitest materials out there, you would probably want to limit the value of your color to below 240.
The same can be said for the various colored materials because even if you’re creating a really intense red plastic material, you’d still probably want to keep the saturation below 95% and the value below 230. Obviously these values are just guidelines and a lot depends on what kind of materials you’re recreating and what your workflow is but generally speaking a fully saturated material with a value of 255 will be unrealistic to begin with.

Tip #2: Try focusing on the broad strokes first
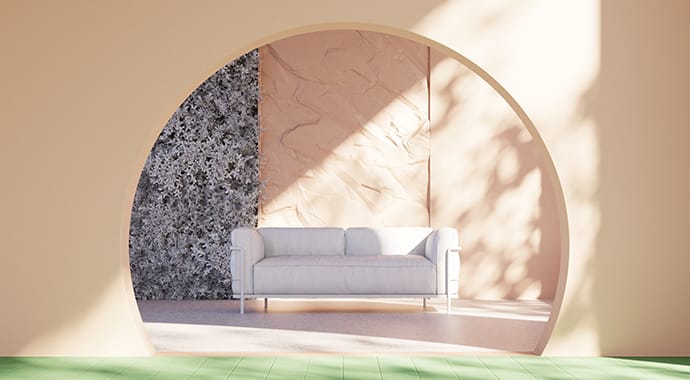
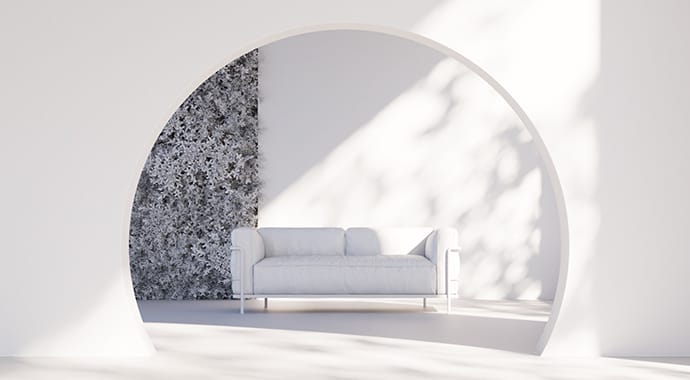
A lot of the time you’ll have your scene modeled to a point where you’ll start lighting it and introducing materials to it. If you’re in that phase of your project it sometimes makes sense not to fret too much about the details and instead just work on the overall look and feel. So by and large at this stage of the project you’re just trying to flesh out the concept in color. We did a similar thing in our tutorial. We placed the basic materials in the scene that generally had the right color, we introduced some minor details like the tiles but we didn’t really fret about finalizing anything.
The idea here is that once the concept is in place, then we can start adding details to things and making it look realistic. That said, this is a creative process and for some of you this approach might not feel intuitive - and that is perfectly alright. It works for some, as it is basically like coloring a sketch you’ve made where you add the details at the end but not everyone will find it to be a good way to tackle things. It is a creative field and everyone’s creative process is different.

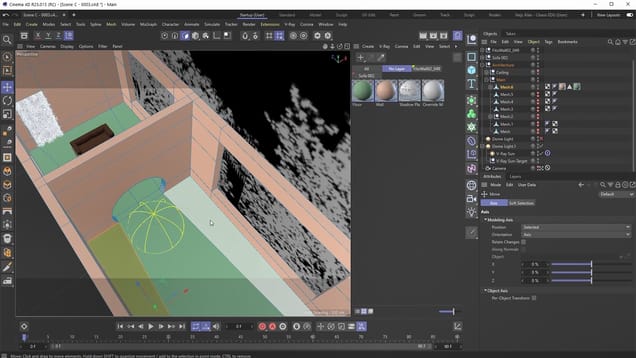
Tip #3: Use selection tags to your advantage
As we’ve seen, selection tags can be extremely useful whenever we are applying multiple materials to different parts on a single object. What is also really great to remember is that each material that is constrained by a selection tag can have its own projection mode. You can also tweak the “X,” “Y” and “Z” positions of that material and not only that but you can also rotate and scale it as you please. So depending on the object you are working on, you can use selection tags to drive different mapping for different parts of the same object.
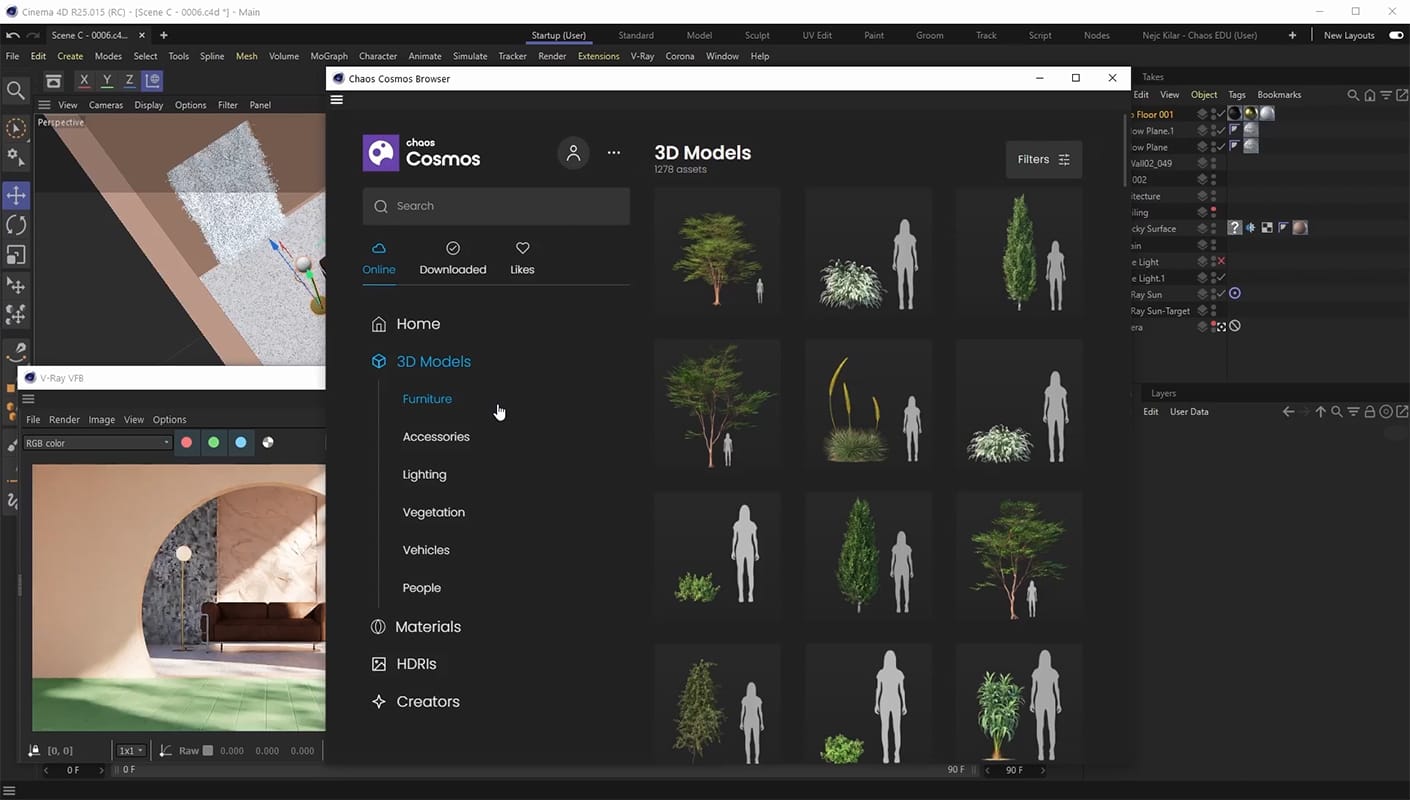
Tip #4: Edit Cosmos materials to get the desired look
All the Cosmos assets are incredibly useful because not only can you just drag and drop them into your scene, but you can also edit them as you see fit. As we’ve shown in the tutorial, you can make adjustments to your models so that they complement your scene well. In our case, we made the curtain rail shorter and we deleted the parts we didn’t need. You can also edit materials as you please which means you can download a Cosmos material, or a 3D model that has materials, and then you can change its hue, reflections, add dust and grime to it or whatever you want.
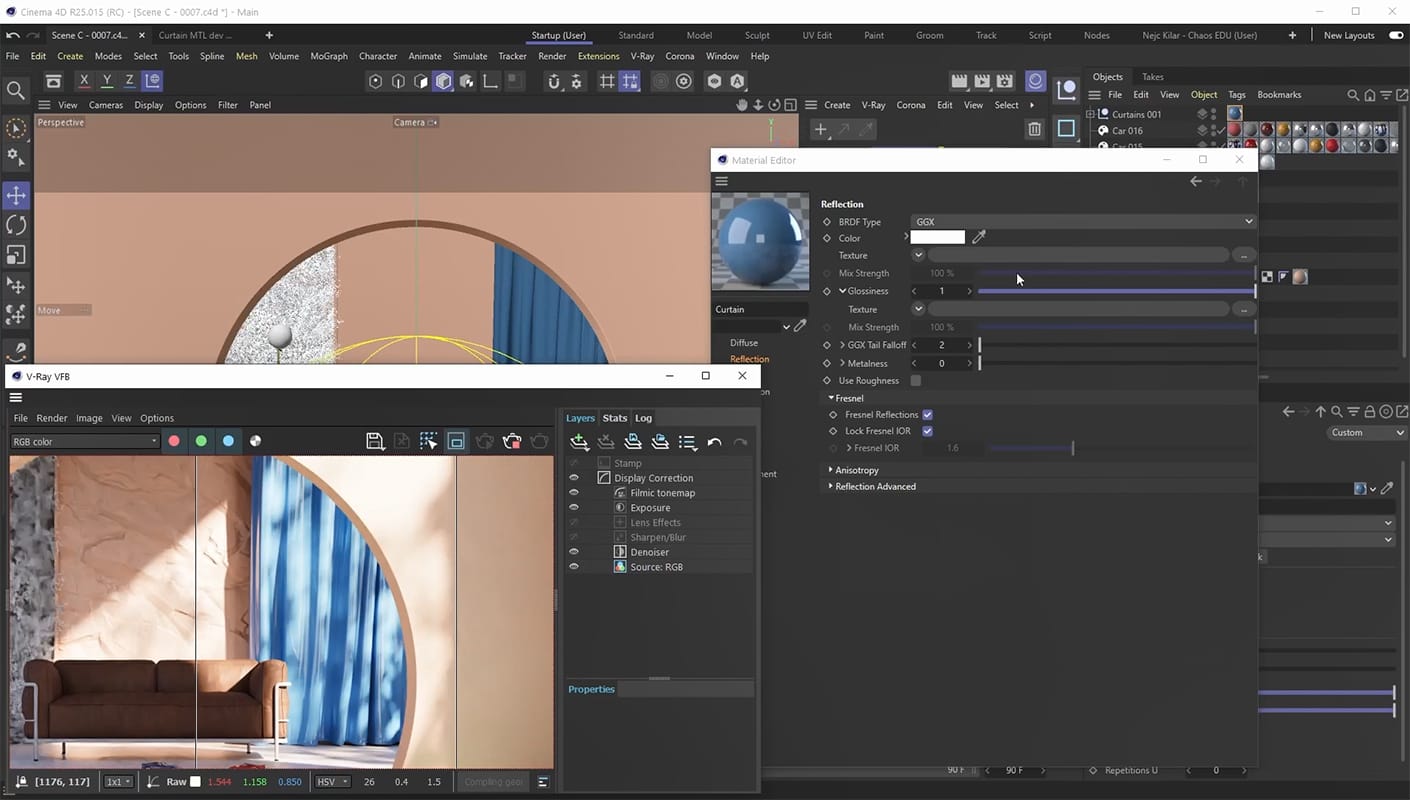

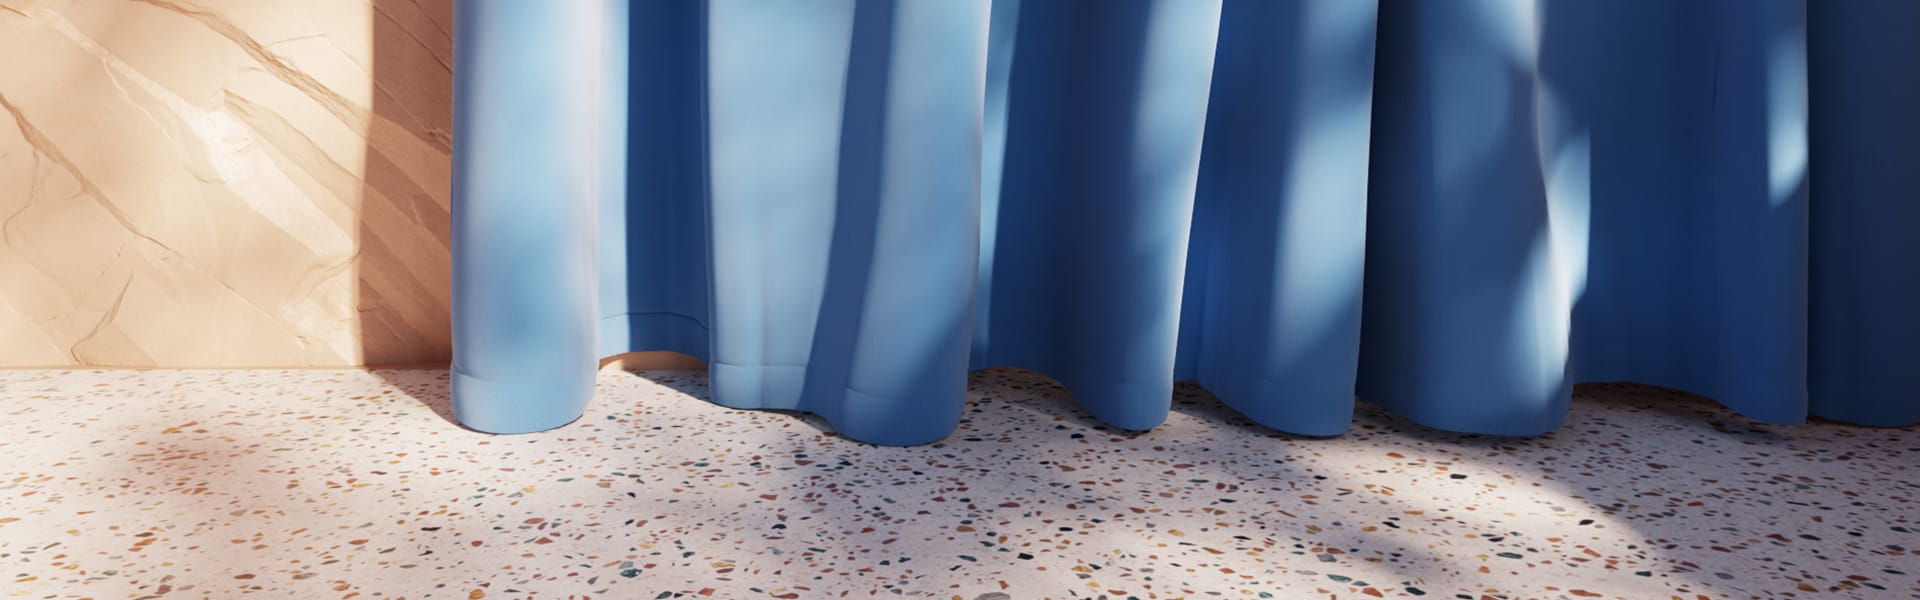
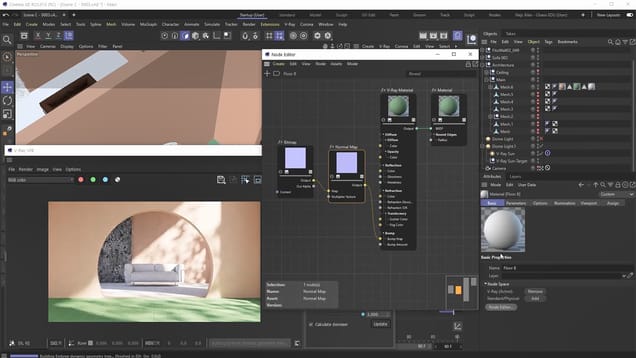
Tip #5: Keep your material’s reflection in mind
It is really important to know that most of the materials in the real world have a reflection component to them. If an object appears like it doesn’t have a reflection, it might just be that the reflections are very rough or not glossy, as we like to call it. Typically when reflections are really rough they tend to get harder to discern as opposed to when they are very mirror-like. So if you’re into creating realistic materials you’ll typically want to have the reflection color be set to completely white, and then you’ll adjust your glossiness accordingly instead. That is also why the curtain material we’ve created in the tutorial has fully enabled reflections to it.