Learn how to create a mesmerizing tile pattern in V-Ray for 3ds Max using the Enmesh modifier and V-Ray GPU. Join us as we create, scatter, apply materials, and render with speed-boosting texture caching.
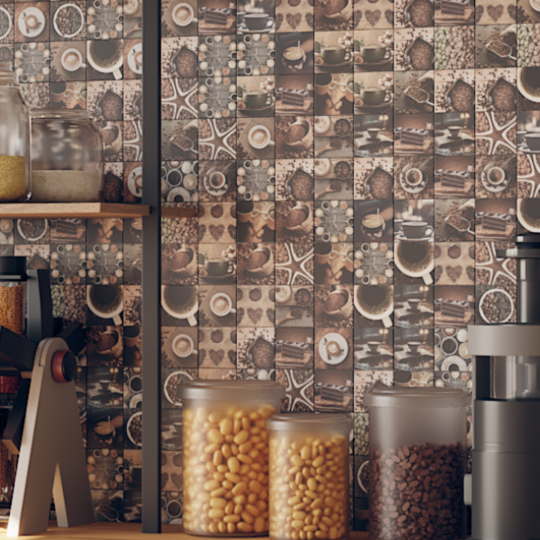
In this tutorial, we'll create a repeating tile pattern using the Enmesh Modifier and the V-Ray GPU. Follow along with Chaos 3D artist Veso’s video tutorial below as we create an object for the tile, scatter them using the Enmesh Modifier, apply a material, and utilize the VRayMultiSubTex node to load different images onto the tiles.
Finally, we'll render a fly-through camera animation on the V-Ray GPU, benefiting from faster rendering with texture caching. Ready to get started? Let's dive right in!
Setting the scene
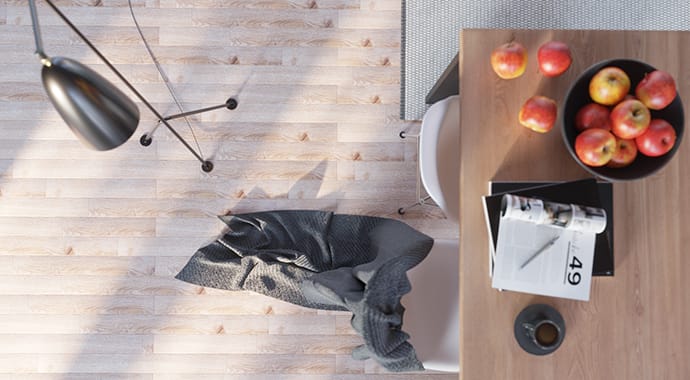
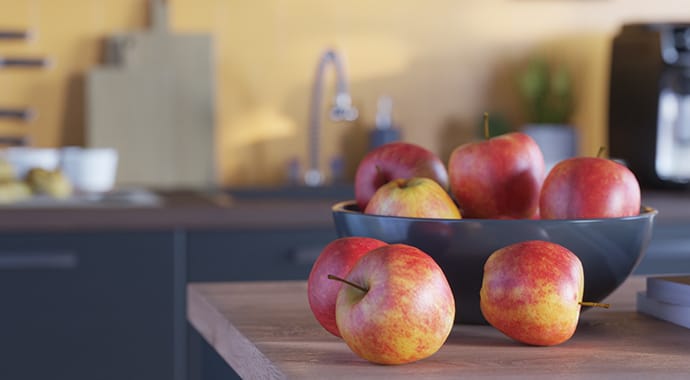
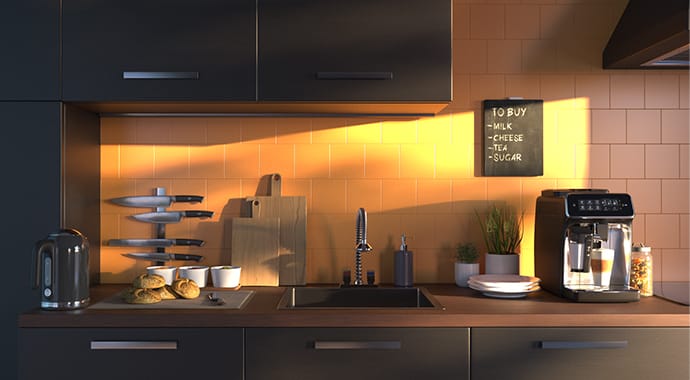
Veso has set up a charming kitchen scene using assets from Chaos Cosmos, complemented by a V-Ray Sun and Sky lighting system. Feel free to draw inspiration from his creation to craft your own unique scene.
Creating the pattern
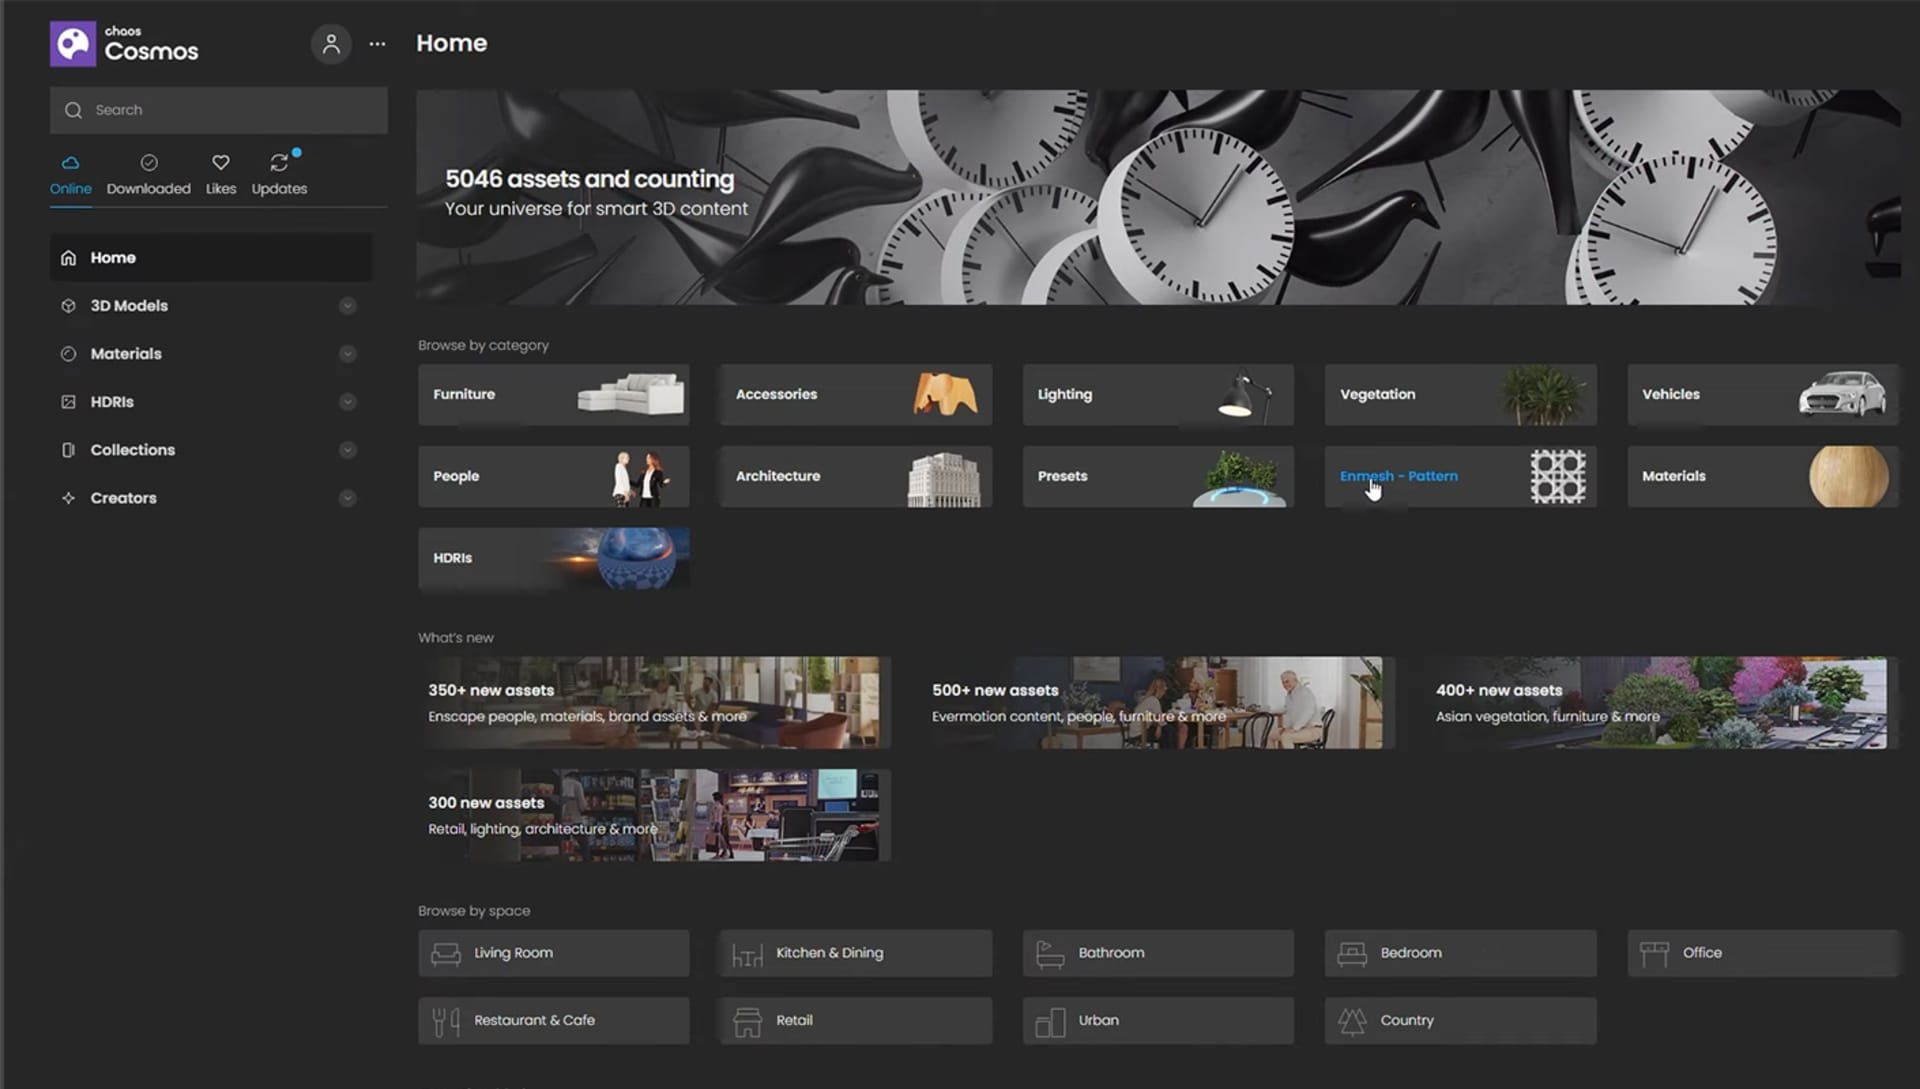
With V-Ray, you can create any kind of object that is of a repetitive nature and use the Enmesh Modifier to create a repetitive pattern. There are some preset patterns in the Chaos Cosmos Library under the Enmesh Pattern category that you can browse through. You will find all sorts of wire fences, brick patterns, and sofa cushion patterns. You can also make your own pattern if you decide to. So, let's try creating a very simple pattern.
Designing the tiles
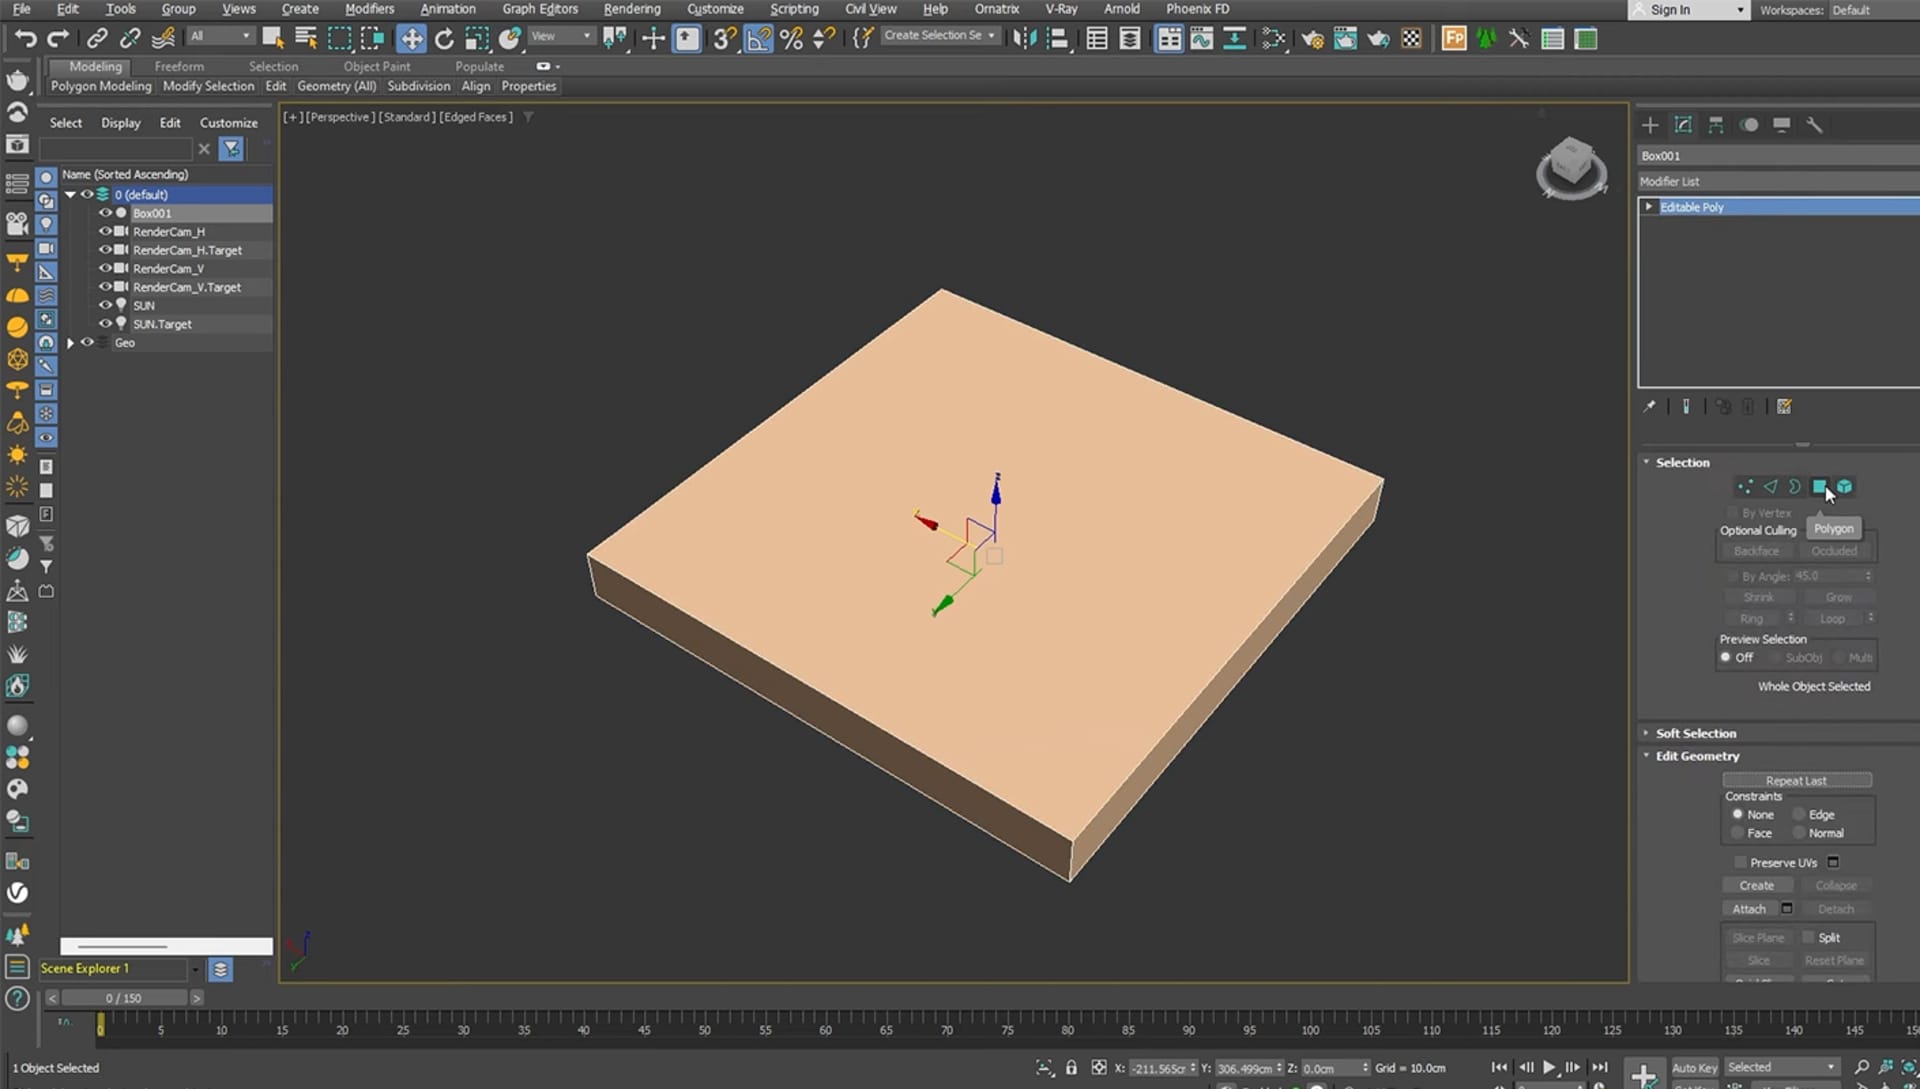
To create a mosaic pattern using square-shaped tiles, you can follow these steps:
- Create a simple box primitive: Start by creating a simple box primitive and set its size accordingly.
- Convert to editable poly object: Convert the box primitive to an editable poly object and delete the polygon on the bottom that won't be needed.
- Add edge chamfering: Go into Edge mode, select all of the edges, and use the chamfer tool to add a small chamfer amount and increase the segments to two.
Setting up the tiles
Now it’s time to set the stage for scattering tiles on the plane, creating a visually striking mosaic pattern.
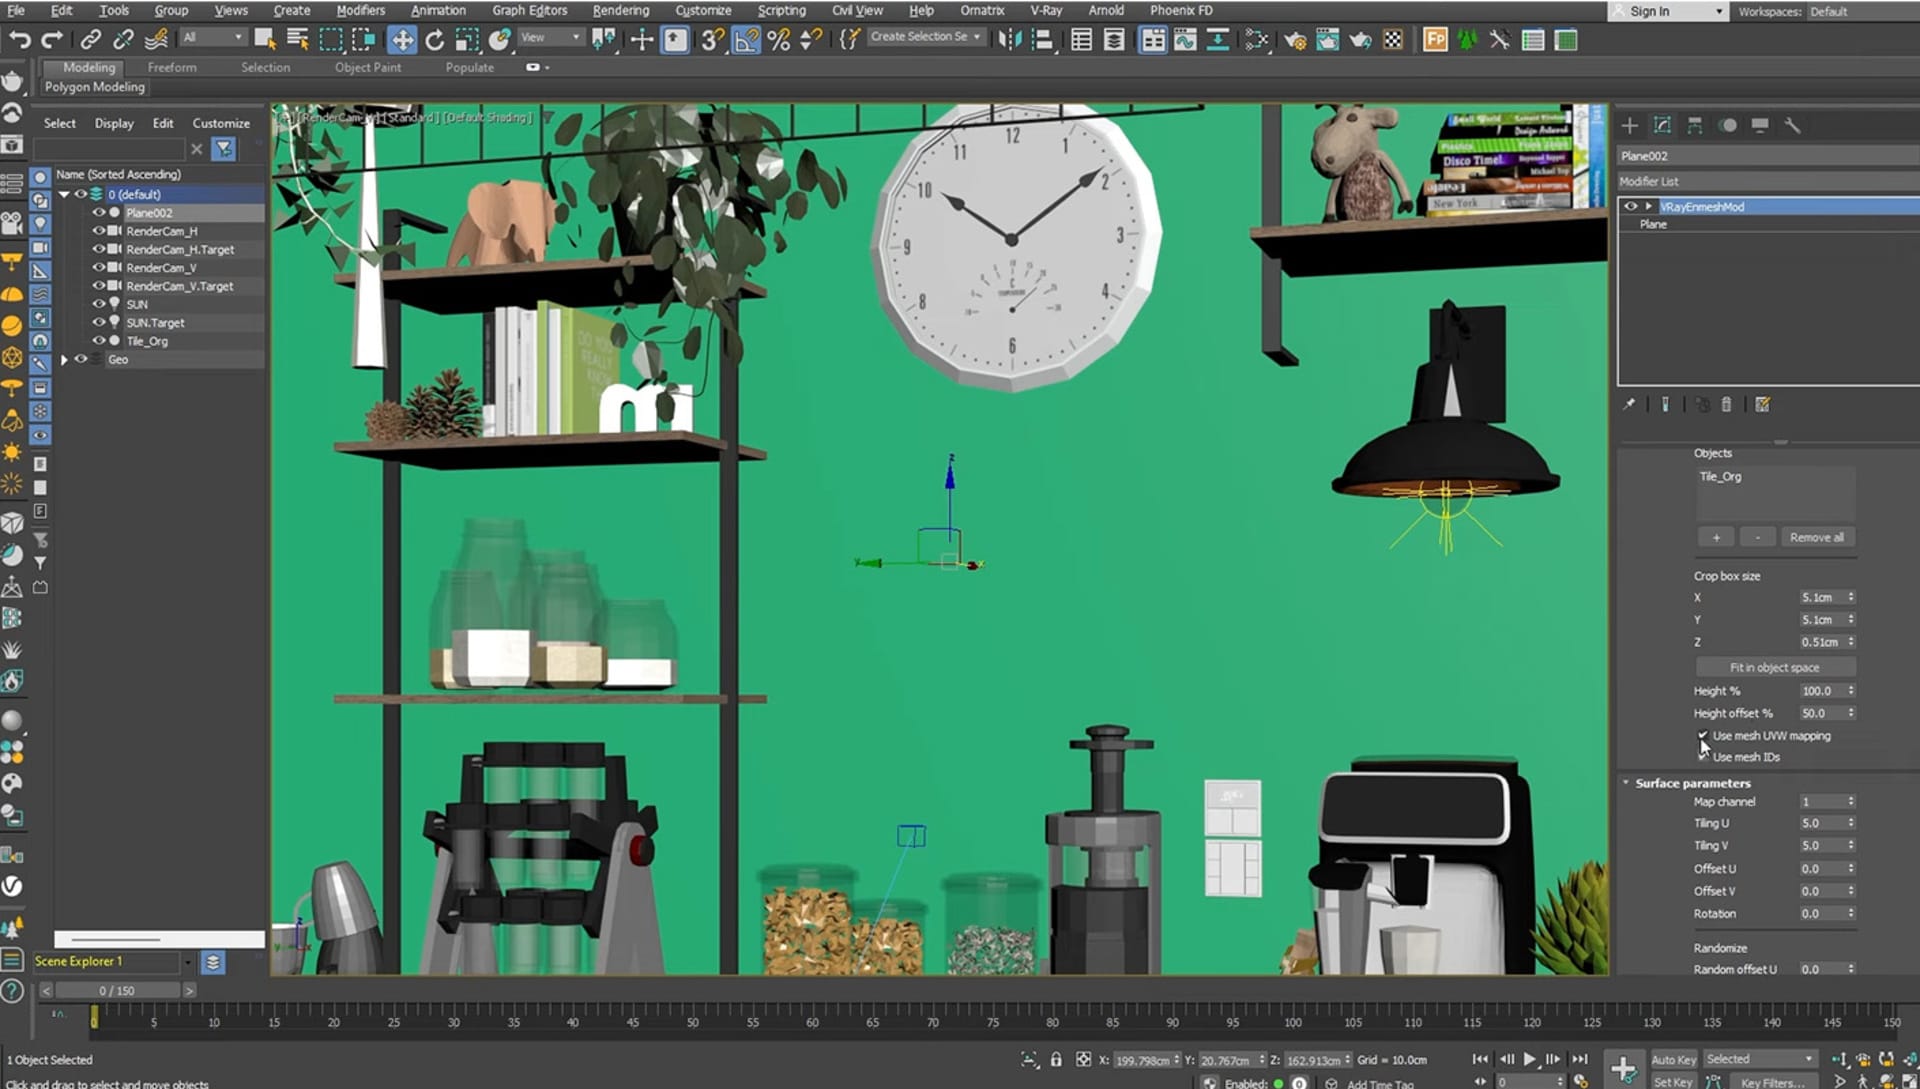
- Create a plane: Use the autogrid option to create a plane that automatically aligns with the wall. Make the plane slightly larger, for example, 300x300 cm.
- Position the plane: Place the plane in the middle of the image and move it slightly towards the camera to avoid interference with the wall behind it.
Applying the Enmesh Modifier
Do the following to add a V and Mesh Modifier from the modifier list and apply the tile to the object section.
- Add V-Ray Enmesh Modifier: Add the V-Ray Enmesh Modifier from the modifier list. Then, add the tile to the object section within the modifier.
- Adjust crop box size: In the crop box size section, adjust the values for x, y, and z to be slightly larger than the size of the tile object. This will create a small gap between the tiles when they are scattered.
- Enable mesh UVW mapping: Enable the use mesh UVW mapping option to ensure that the tile UVs are used instead of those of the plane.
- Set render engine and render: Set the render engine to V-Ray GPU and start the interactive rendering to visualize the grid of tiles.
- Adjust tiling U and V Values: Use the tiling u and v values under the surface parameters row to change the number of tiles. Experiment with different values to achieve the desired tile size and spacing.
Setting up material for tiles
To set up the material for the tiles, follow these steps.
- Open the material editor and import a standard V-Ray material.
- With the Enmesh plane still selected, apply the material and enable reflections by setting the reflection color to white.
- Optionally, adjust the reflection glossiness to achieve the desired effect, such as creating a blurry type of reflection by lowering the glossiness amount to 0.75
Addressing the diffuse component
To address the diffuse component and achieve a randomized effect with different images on the tiles, make sure you do the following:
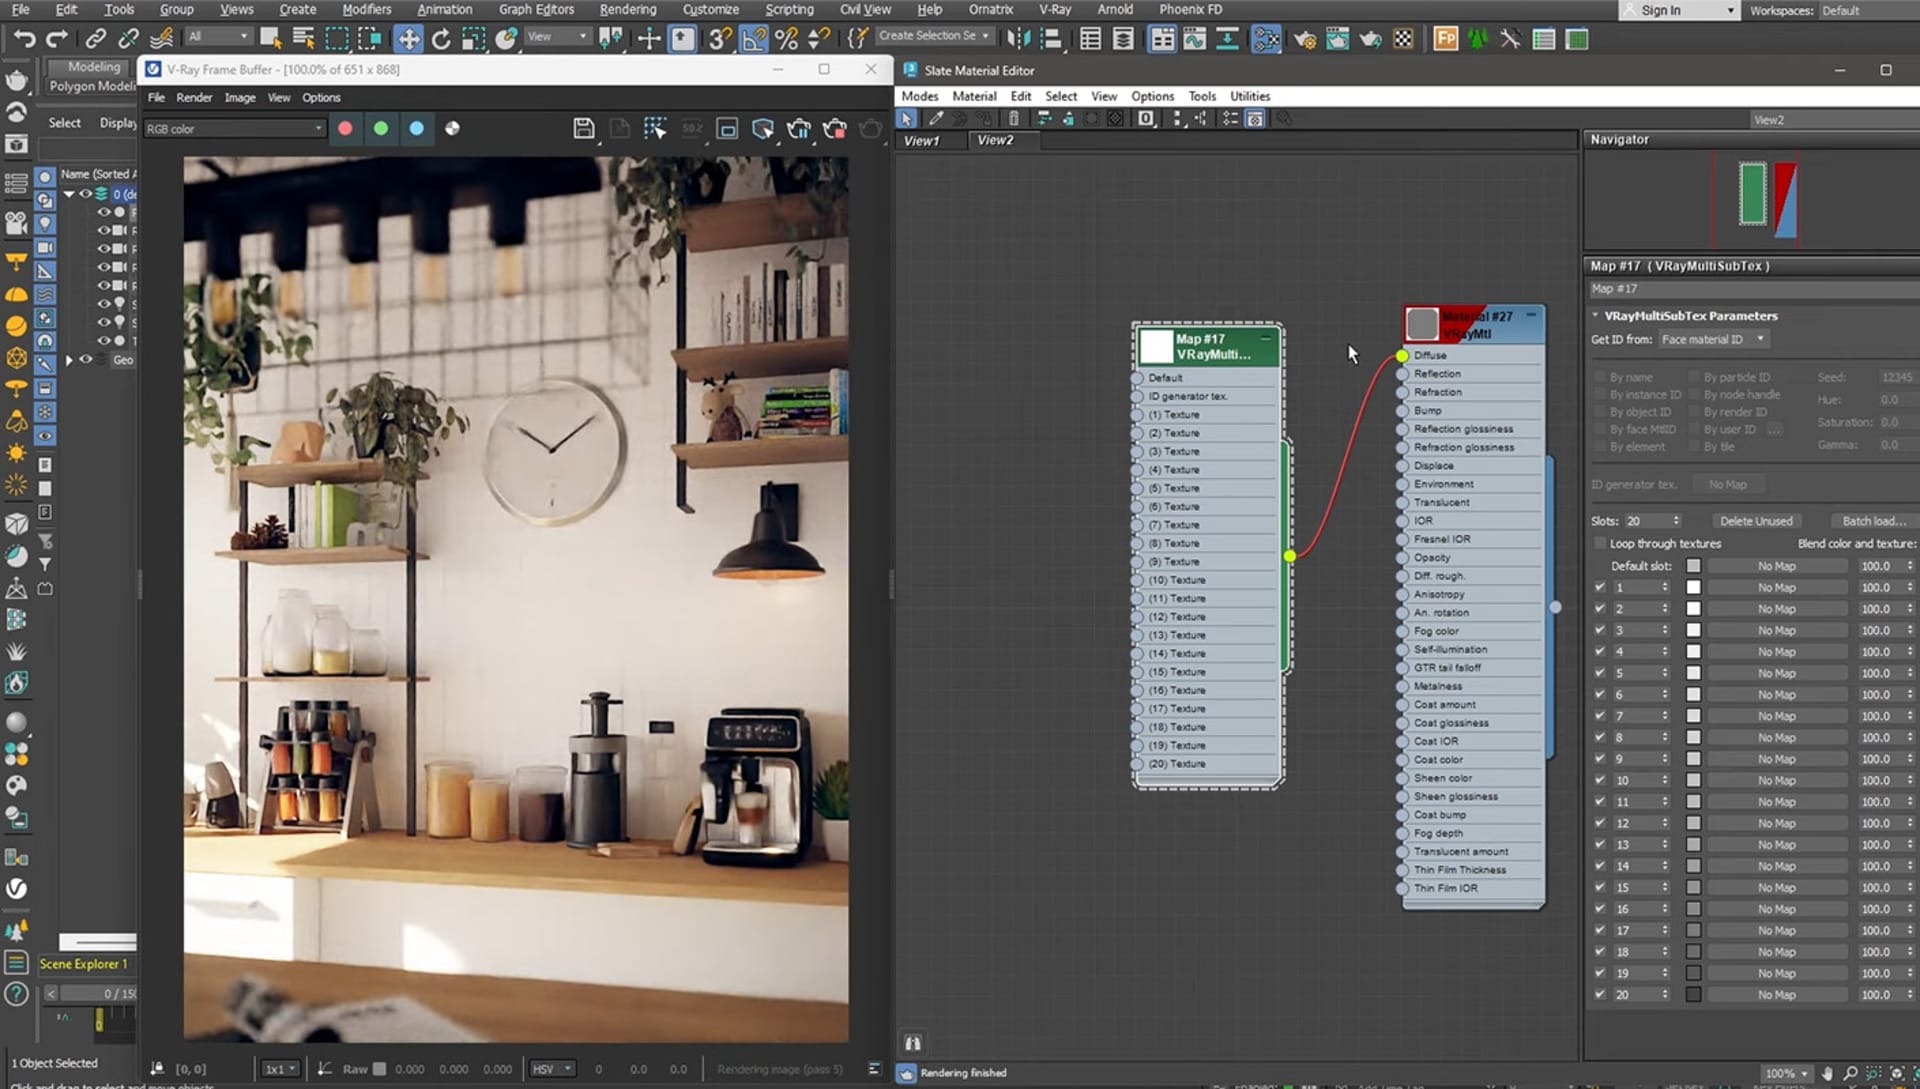
- Use a VRayMultiSubTex node and plug it into the diffuse slot to enable the randomization of solid colors or textures on each object, face, or material ID.
- Take advantage of the batch load functionality built into the VRayMultiSubTex node to load a variety of textures efficiently.
- Randomize the images on the tiles by specifying the randomization method, such as by instance ID, and adjust the Hue, Saturation, and Gamma as desired.
- Enhance the images by desaturating the color using a color correct node between the VRayMultiSubTex node and the material, adjusting the saturation and contrast as needed.
Final rendering and speed comparison
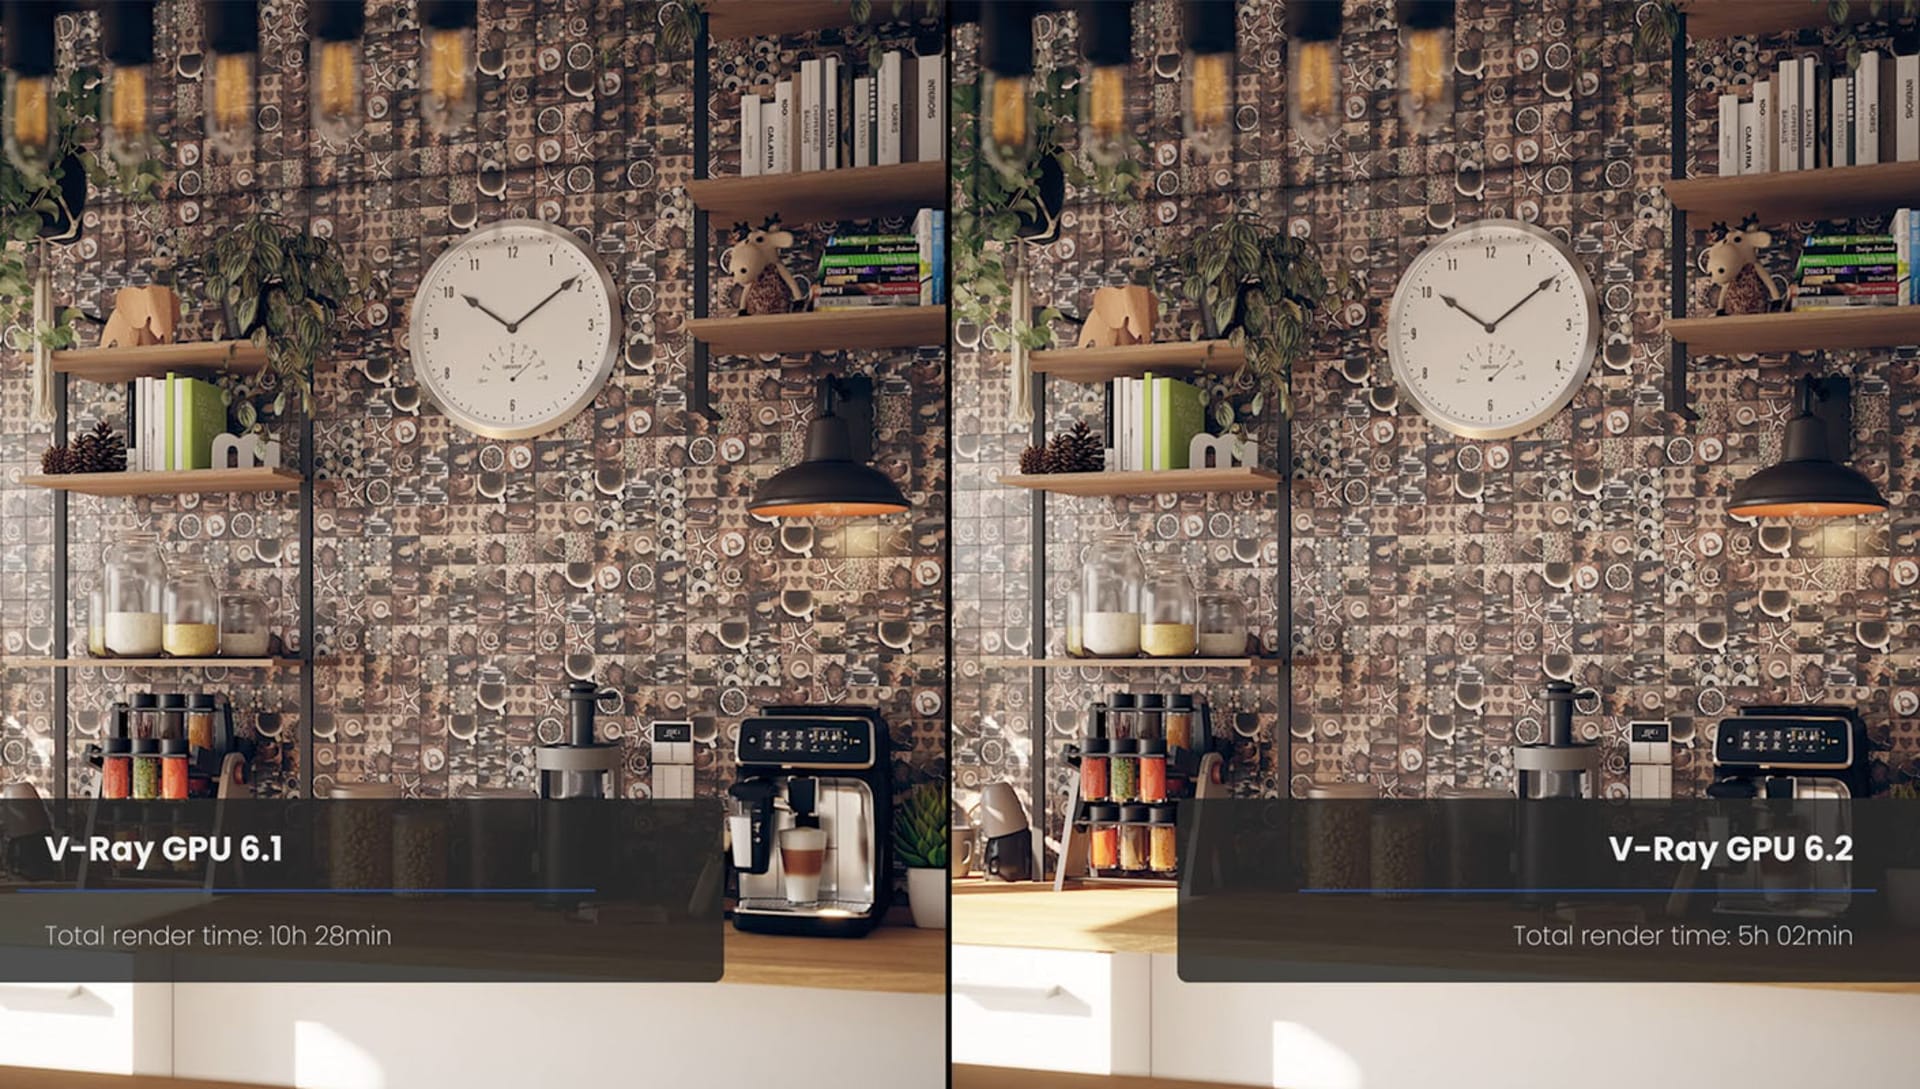
- After setting up the tiles and addressing the diffuse component, proceed with the final render. You can play around and animate the camera to create a flythrough animation like Veso’s. Make sure to use the V-Ray GPU engine with default settings to render the entire sequence.
- Take advantage of the caching of images between animation frames, which substantially increases the rendering speed.
- For comparison, you may note that rendering the same sequence using a version of V-Ray prior to 6.2 took significantly longer, highlighting the speed improvement achieved with the updated version.
One step closer to mastering tile pattern creation
And that’s a wrap. We hope you enjoyed the tutorial and feel well on your way to mastering the creation of tile patterns!
We covered the process of creating a repeating pattern of tiles using the V and Mesh Modifier, including modeling a style object, setting up the modifiers, and creating a material for the tiles with random textures. We rendered an animation sequence using the V-Ray GPU render engine and leveraged the new functionality of caching bitmaps between frames.


