
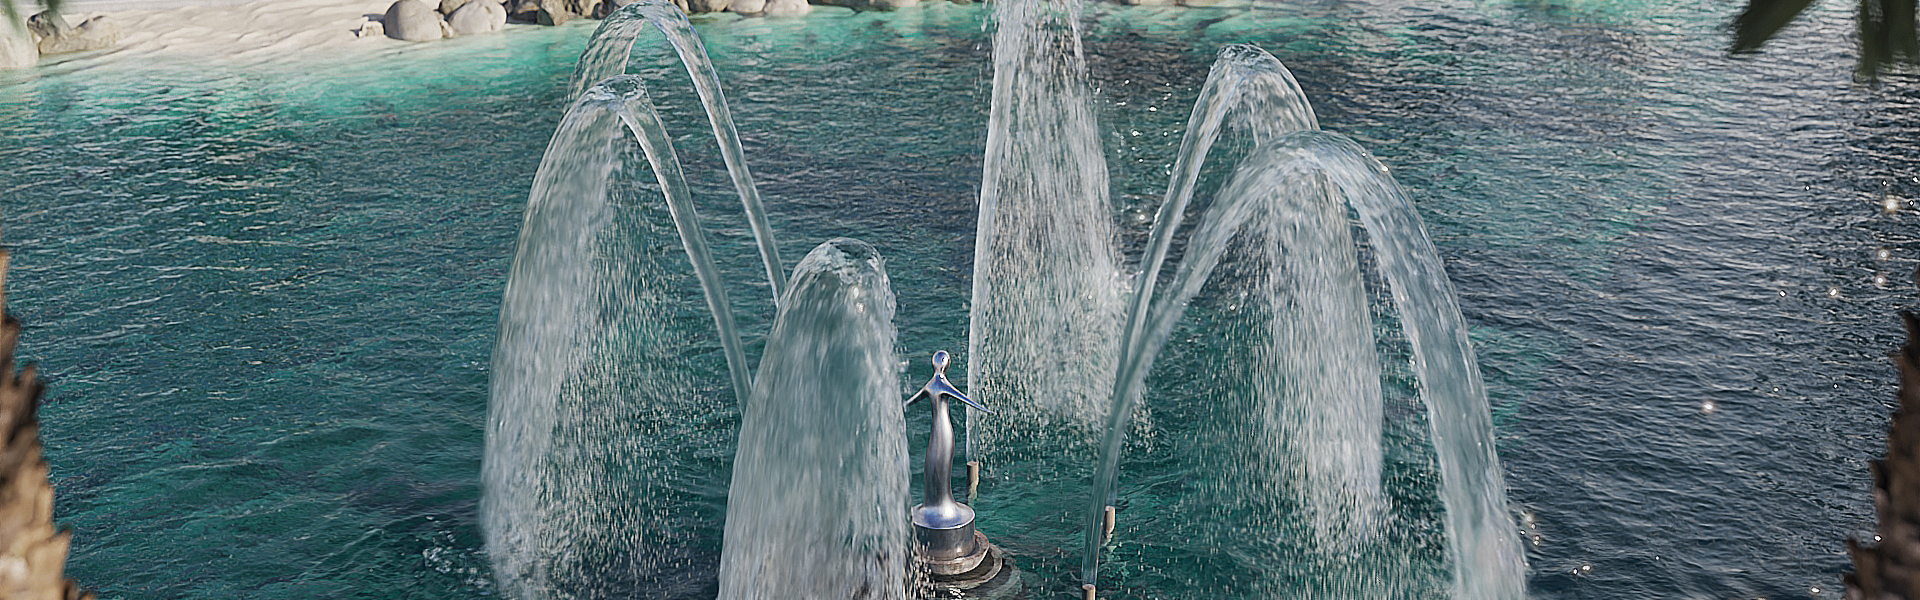
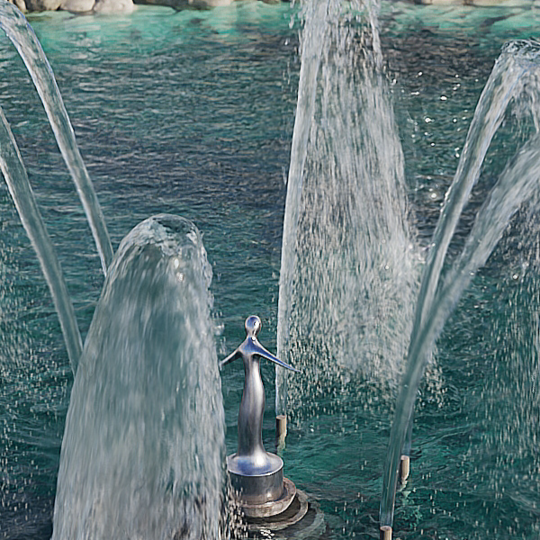
Create a harmonious and captivating visual experience by following this 7-step tutorial that goes over the manipulation of directed velocities in Chaos Phoenix.
In this tutorial blog post, we will explore some of the cool new features offered in Chaos Phoenix 5.2 by setting up a simple but powerful simulation. We'll cover topics such as the Adaptive Grid in Ocean Mode, floating and docking simulator rollouts for easy access, analyzing simulation times for improved calculation speed, and controlling liquid's directed velocity to create eye-catching effects.
Follow along with the steps below, and be sure to watch the video to see the sample simulation in action.
Need some inspiration?
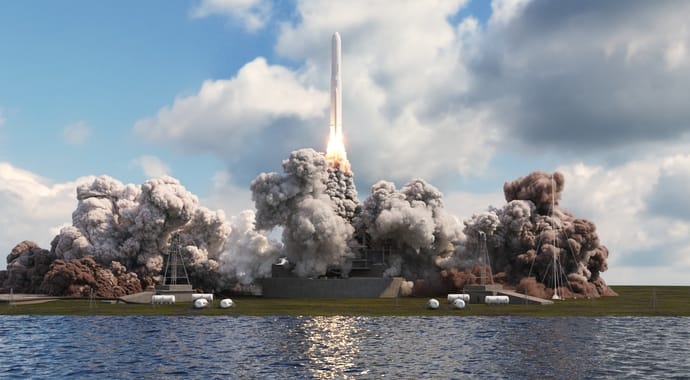
Before you dive into the tutorial, take a moment to get inspired by what Chaos Phoenix can do. Discover the fascinating story behind director Christian Debney's SpaceX-inspired short film and learn how 3D artist Oliver Kentner simulated and visualized The Ocean Cleanup's trash-collecting systems. These stories will spur your imagination and motivate you to push the limits of Chaos Phoenix in your next project.
Eager to proceed on to the tutorial? Download the sample scene and let's get started!
Step 1: Setting up the scene
Check the scene and confirm that it does not contain a simulator. Apply the Ocean preset. This will automatically create a helper sphere if no other reference object for the preset is selected. Next, delete the helper sphere that was created by the Ocean preset.
Additionally, delete the V-Ray plane that was created as the sea floor by the Ocean Preset since you already have a suitable geometry for that. Finally, move the simulator to the absolute zero position.
Step 2: Adjusting settings for better visibility
Go ahead and simulate. You will notice that the simulator is currently considered too small, and the ocean is not clearly visible. As a solution, a few settings will be adjusted to rectify this issue. Opening the Phoenix main window, which is a new feature in Phoenix 5.2, and docking the necessary rollouts there for quick access is recommended. The rollouts can be docked side by side, top to bottom, or in tabs, according to personal preference. It should be noted that this arrangement will be saved together with the 3ds Max file, ensuring its presence when the scene is reopened in the future. In the Preview rollout, switch on Show Mesh in order to see the ocean.
Step 3: Fine-tuning liquid parameters
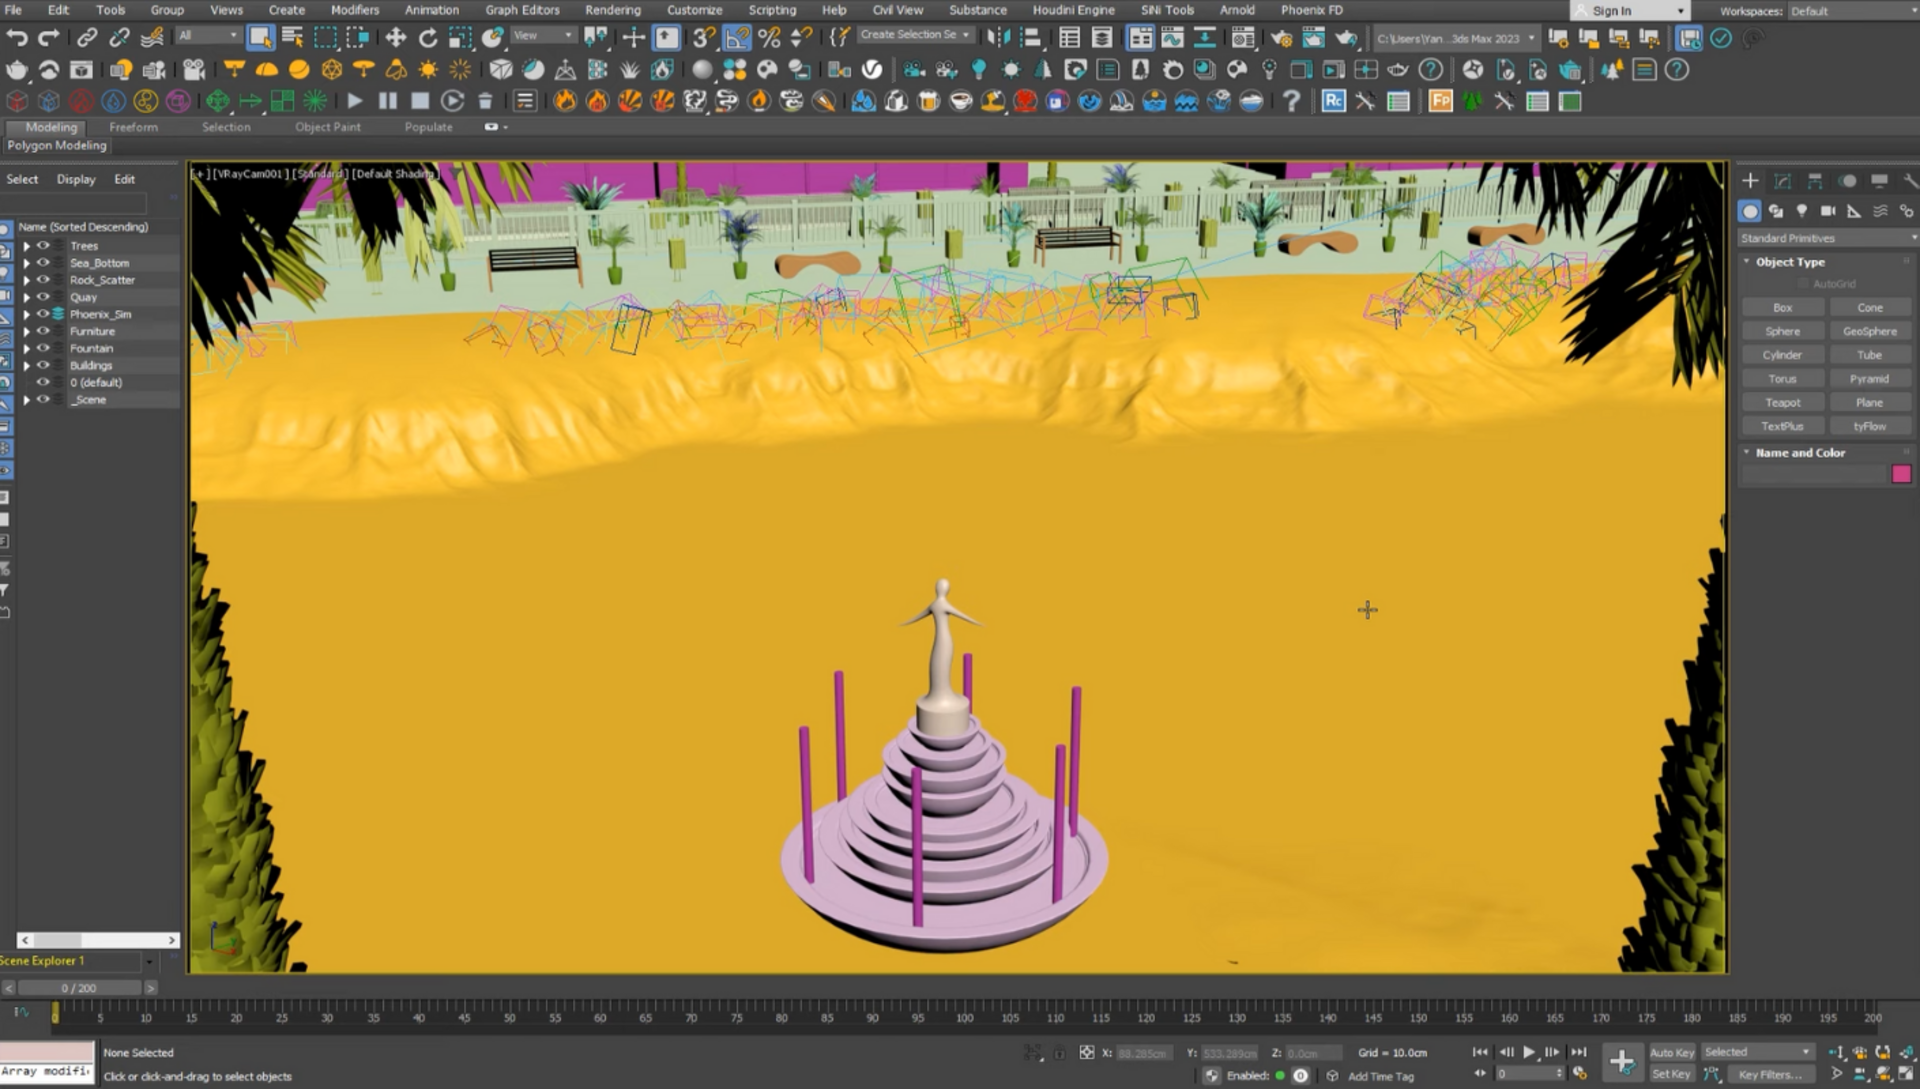
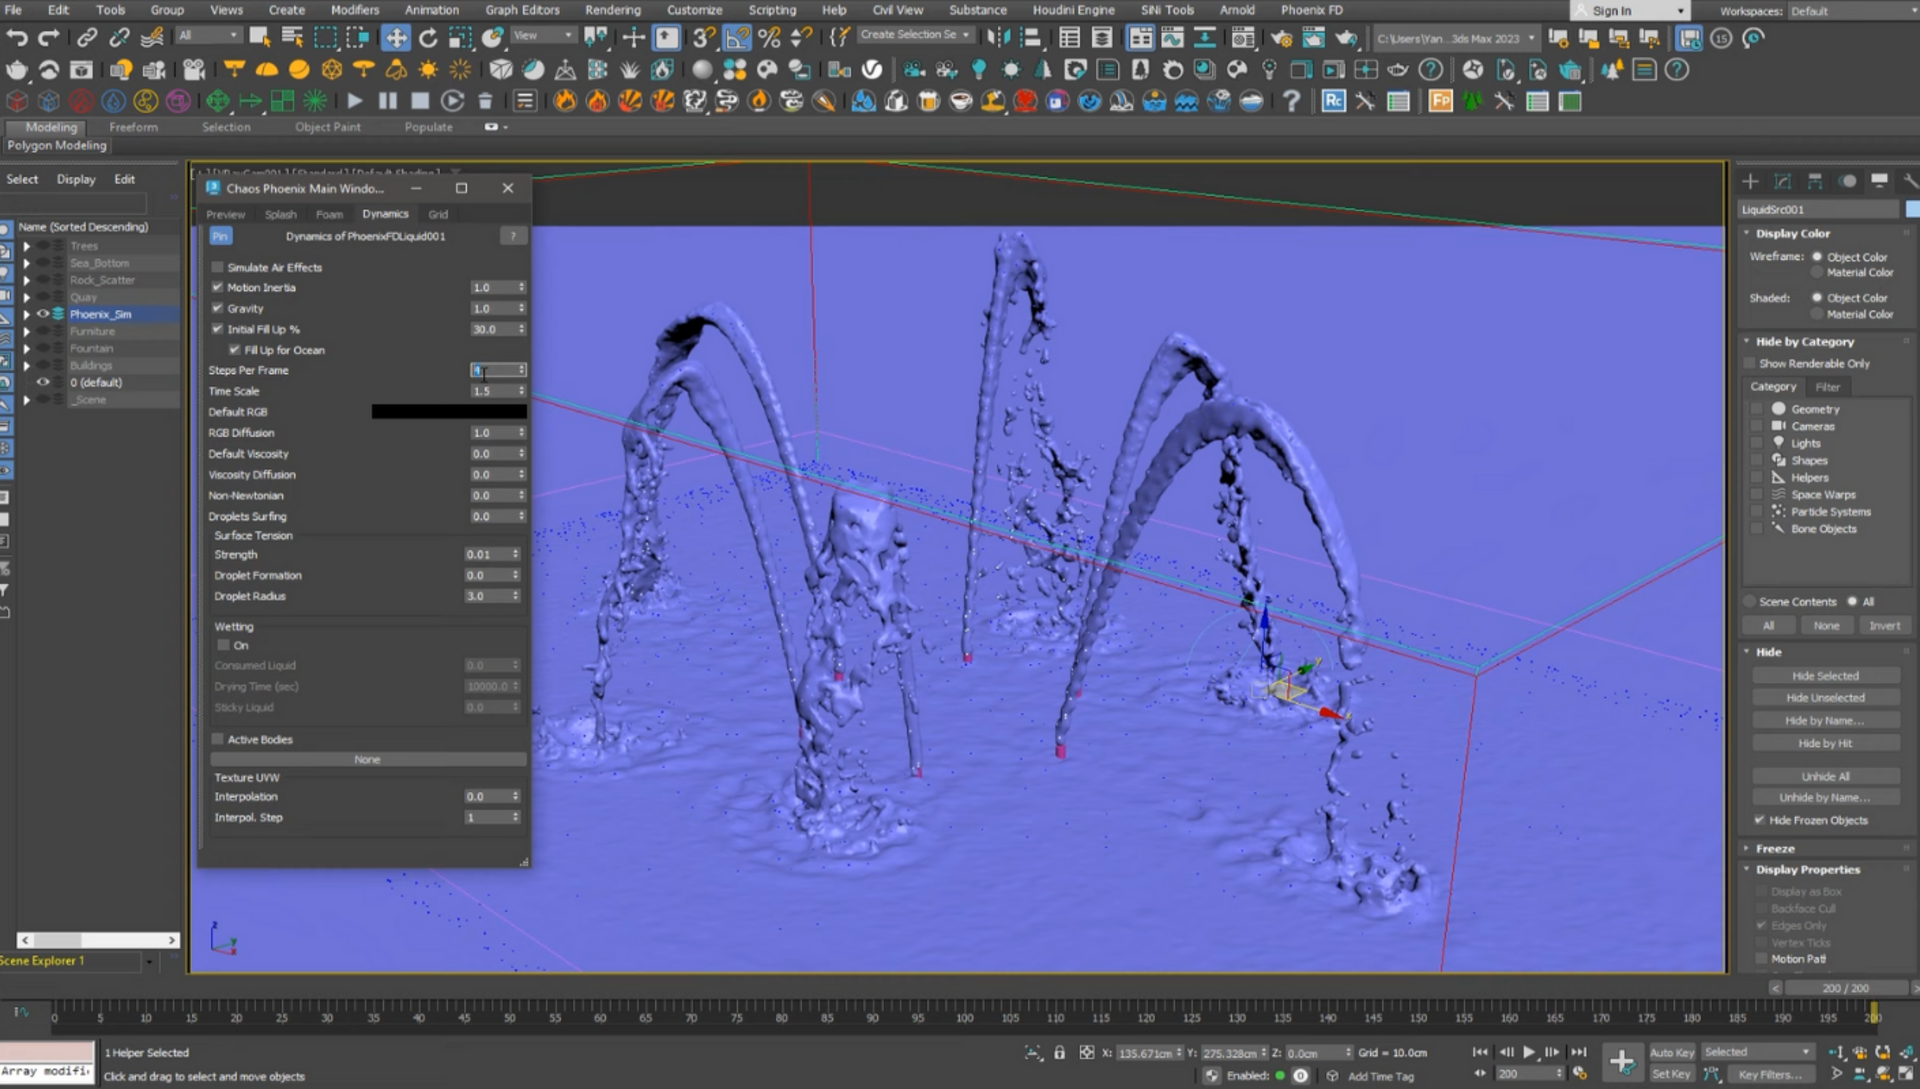
Adjust the scene scale to 1 to create a smaller-scale fountain. Temporarily decrease the Grid Resolution by making the Voxel size 3 cm for a faster preview, and up-res it later to accommodate the fountain splashes. Increase the frame steps slightly for a smoother flow of the fast liquid, and adjust the time settings to run a bit quicker for a more dynamic flow.
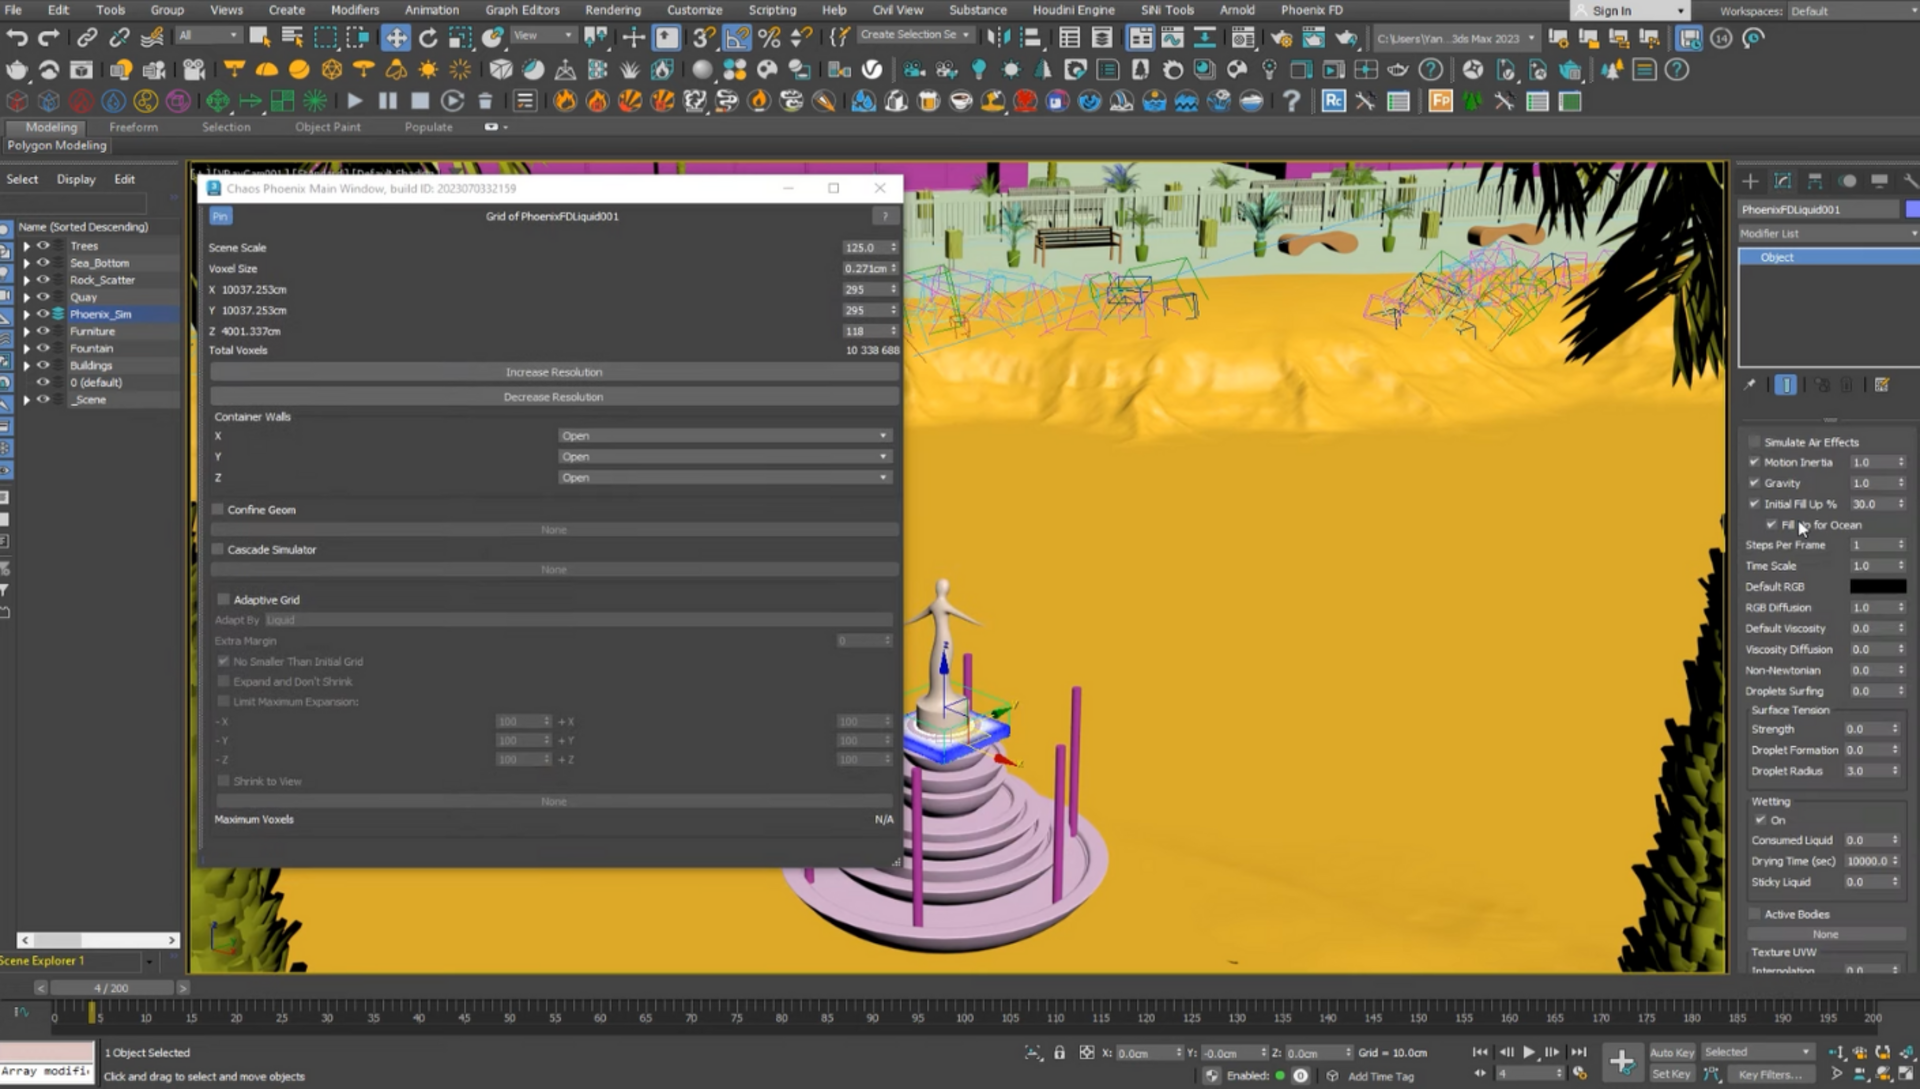
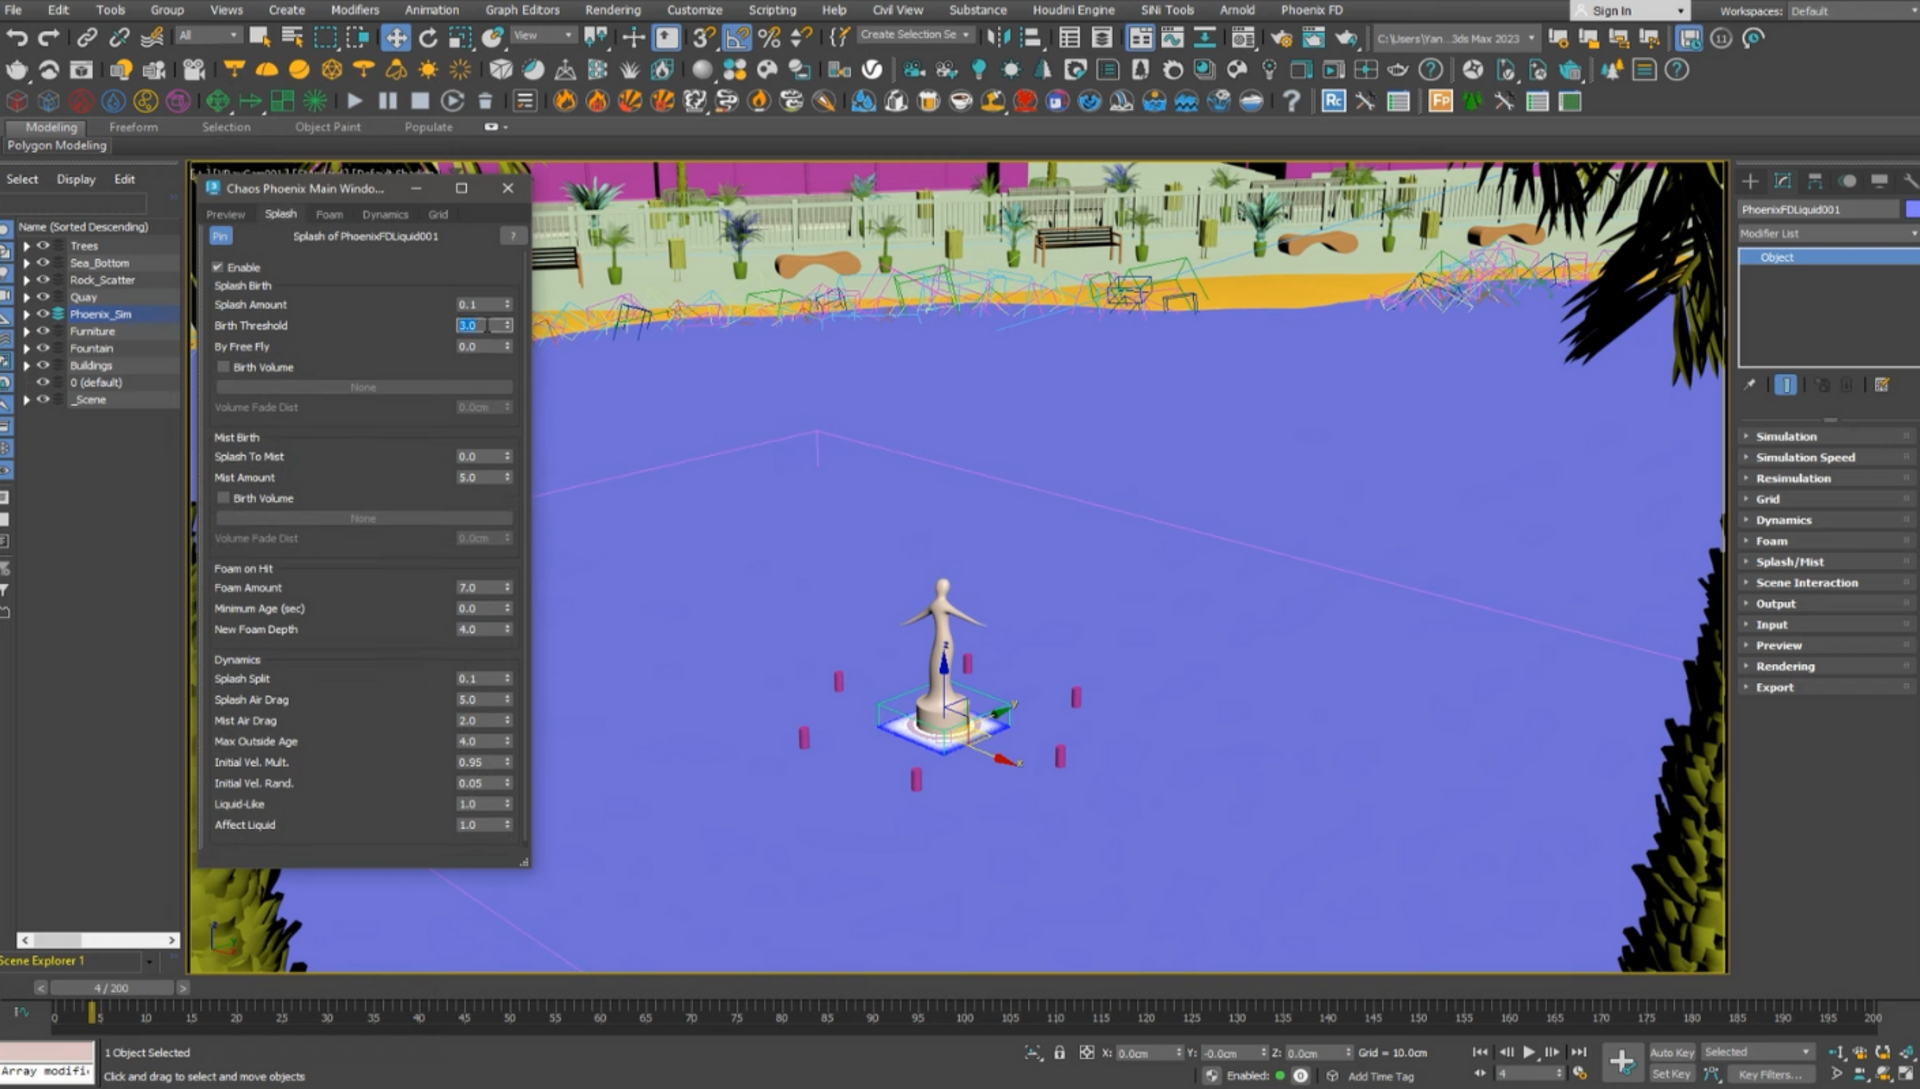
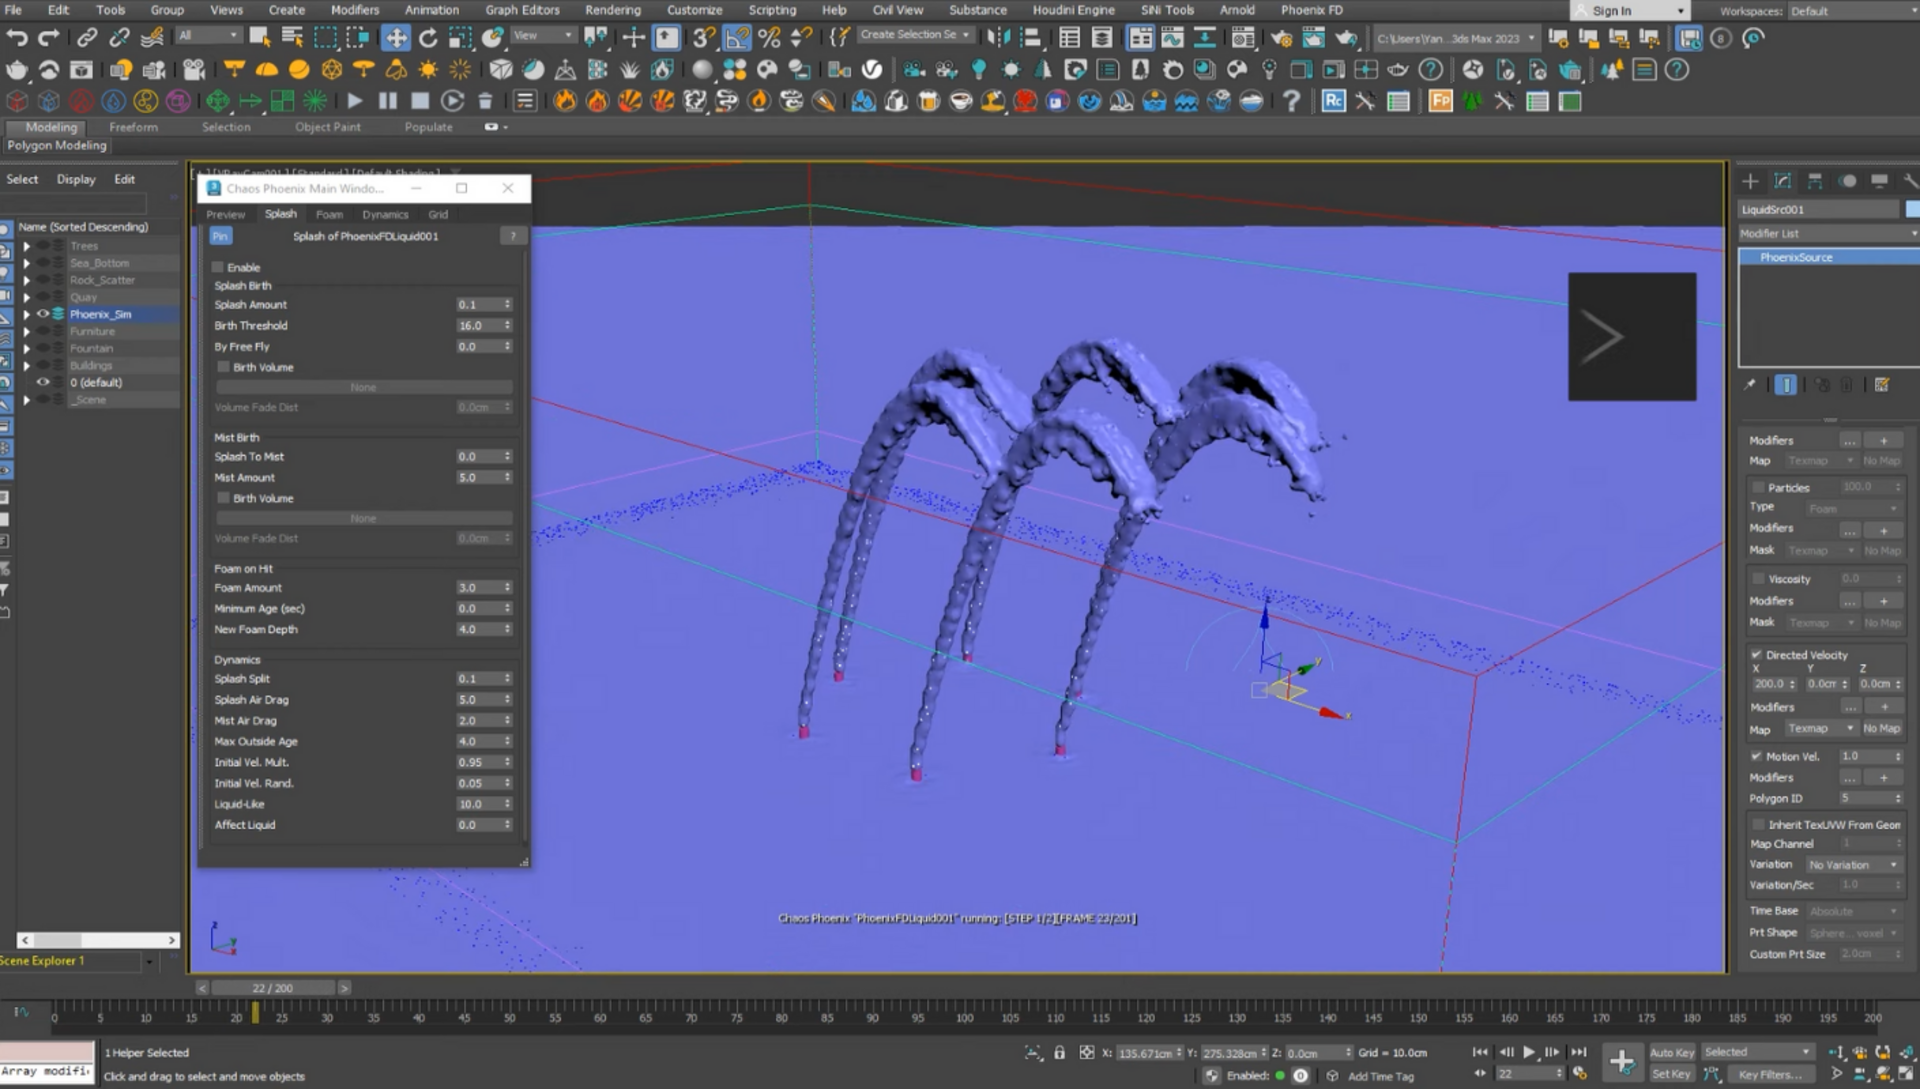
Increase the surface tension to keep the liquid together, and turn off wetting as it is unnecessary. Then, decrease the foam amount and increase the threshold to prevent its generation. Increase the falling speed to 60 for a more water-like behavior, lower the splash amount, and increase the threshold, similar to the adjustments made for the foam.
Also, we should aim for the splashes to be more liquid-like and not affect the liquid, as it won't have much effect in our case, and to save some simulation time.

Step 4: Creating the liquid source object
You can now select the liquid source object and choose your fountain nozzles' geometry. Increase the outgoing velocity to 800 and set the Polygon ID to use ID five for the top face of the nozzle. Then, go ahead and simulate.
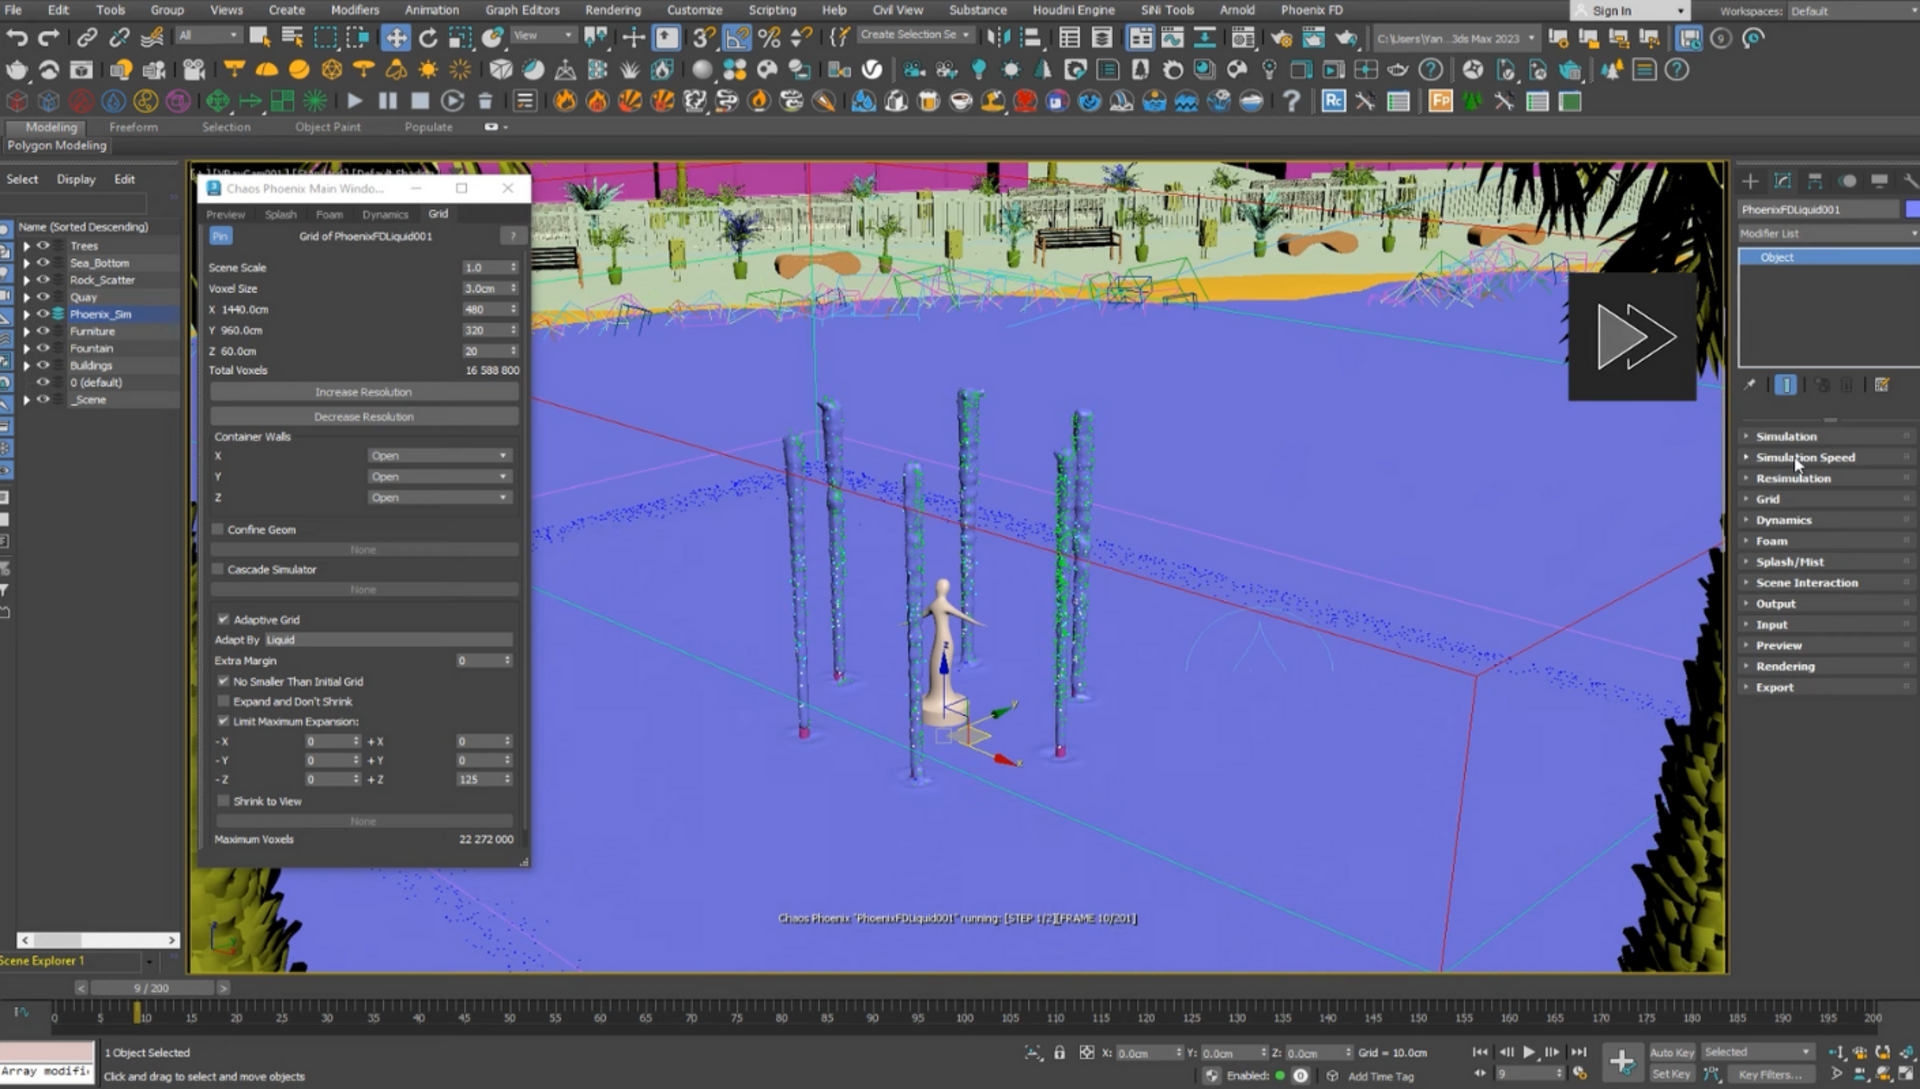
Step 5: Fixing the grid height and optimizing the simulation
Now, let's address the issue with the grid height in the working fountain. To fix this, enable Adaptive Grid but limit its growth to only the height dimension. In Phoenix 5.2, the Adaptive Grid height will no longer affect the ocean level, even as the grid height increases (with the level being a percentage of it).
Next, it's time to simulate again. This time, the fountain can grow freely. While simulating, pay attention to the new simulation speed rollout, which provides valuable information about which parts of the simulation are taking the longest. In our case, we can observe that scene interaction, export cache, foam, and splash generation are at the top of the chart. We also receive useful tips on improving the calculation time for these aspects. To achieve a quicker simulation preview, hide any unnecessary geometry and temporarily disable the foam and splash effects.
Step 6: Playing around with the liquid source and texture
It’s time to experiment with the liquid source now. Enable the new directed velocity option and push the liquid in the X direction. Observe how these changes impact our simulation. It should be faster now because of our optimizations, and you will see the fountain gushing water towards you. To make this effect even more captivating, use an RGB texture for the direction guide. In your case, all the nozzles of the fountain are combined into a single geometry object, which is correctly mapped with the texture. Ensure the animated texture is applied to the source object Directed Velocity texture slot.
Step 7: Finalizing the simulation
To push the animation direction in the opposite direction, animate the RGB level from 1 to -1. Already connected to the appropriate slot and we can observe the result. If you're satisfied with the effect, we can proceed to the final simulation. Enable the foam and splash effects and further increase the frame steps. Additionally, double the grid resolution for more detail. Now, let's run the simulation one last time.
It's time to explore Phoenix 5.2
With this latest Phoenix update, we've significantly improved the speed and effectiveness of our simulations, providing you with an even more immersive and realistic experience. We encourage you to experiment with the sample scene from the video we’ve linked right below and test things out for yourself!
For a comprehensive look at all of the updates and improvements, we encourage you to explore our detailed change log. It's your go-to spot to dive into the latest developments. Don't forget to subscribe to our blog newsletter below to keep updated on the latest inspiring stories, helpful tips and tricks, and more!