
Product design and architectural renderings can transform the presentation of your ideas. Discover how 3D renders are easy to create with V-Ray for SketchUp.
Whether you’re an artist, architect or designer working in SketchUp, you’ll understand how important it is for your ideas, designs and projects to be interpreted easily and correctly. But you’ll also know it can be hard to give clients the best possible understanding of a project directly from SketchUp.
That’s where V-Ray for SketchUp comes in. And, just like SketchUp, it’s designed to keep things simple. What’s more, it supports you throughout your entire SketchUp visualization workflow, from rendering early concepts and exploring design iterations through to your final marketing shots and portfolio pieces.
Did you hear?
Trimble recently ranked V-Ray Next as the number 1 SketchUp extension tool to boost productivity.
Download a 30-day free trial of V-Ray Next for SketchUp to see why >
Render SketchUp designs with V-Ray Materials
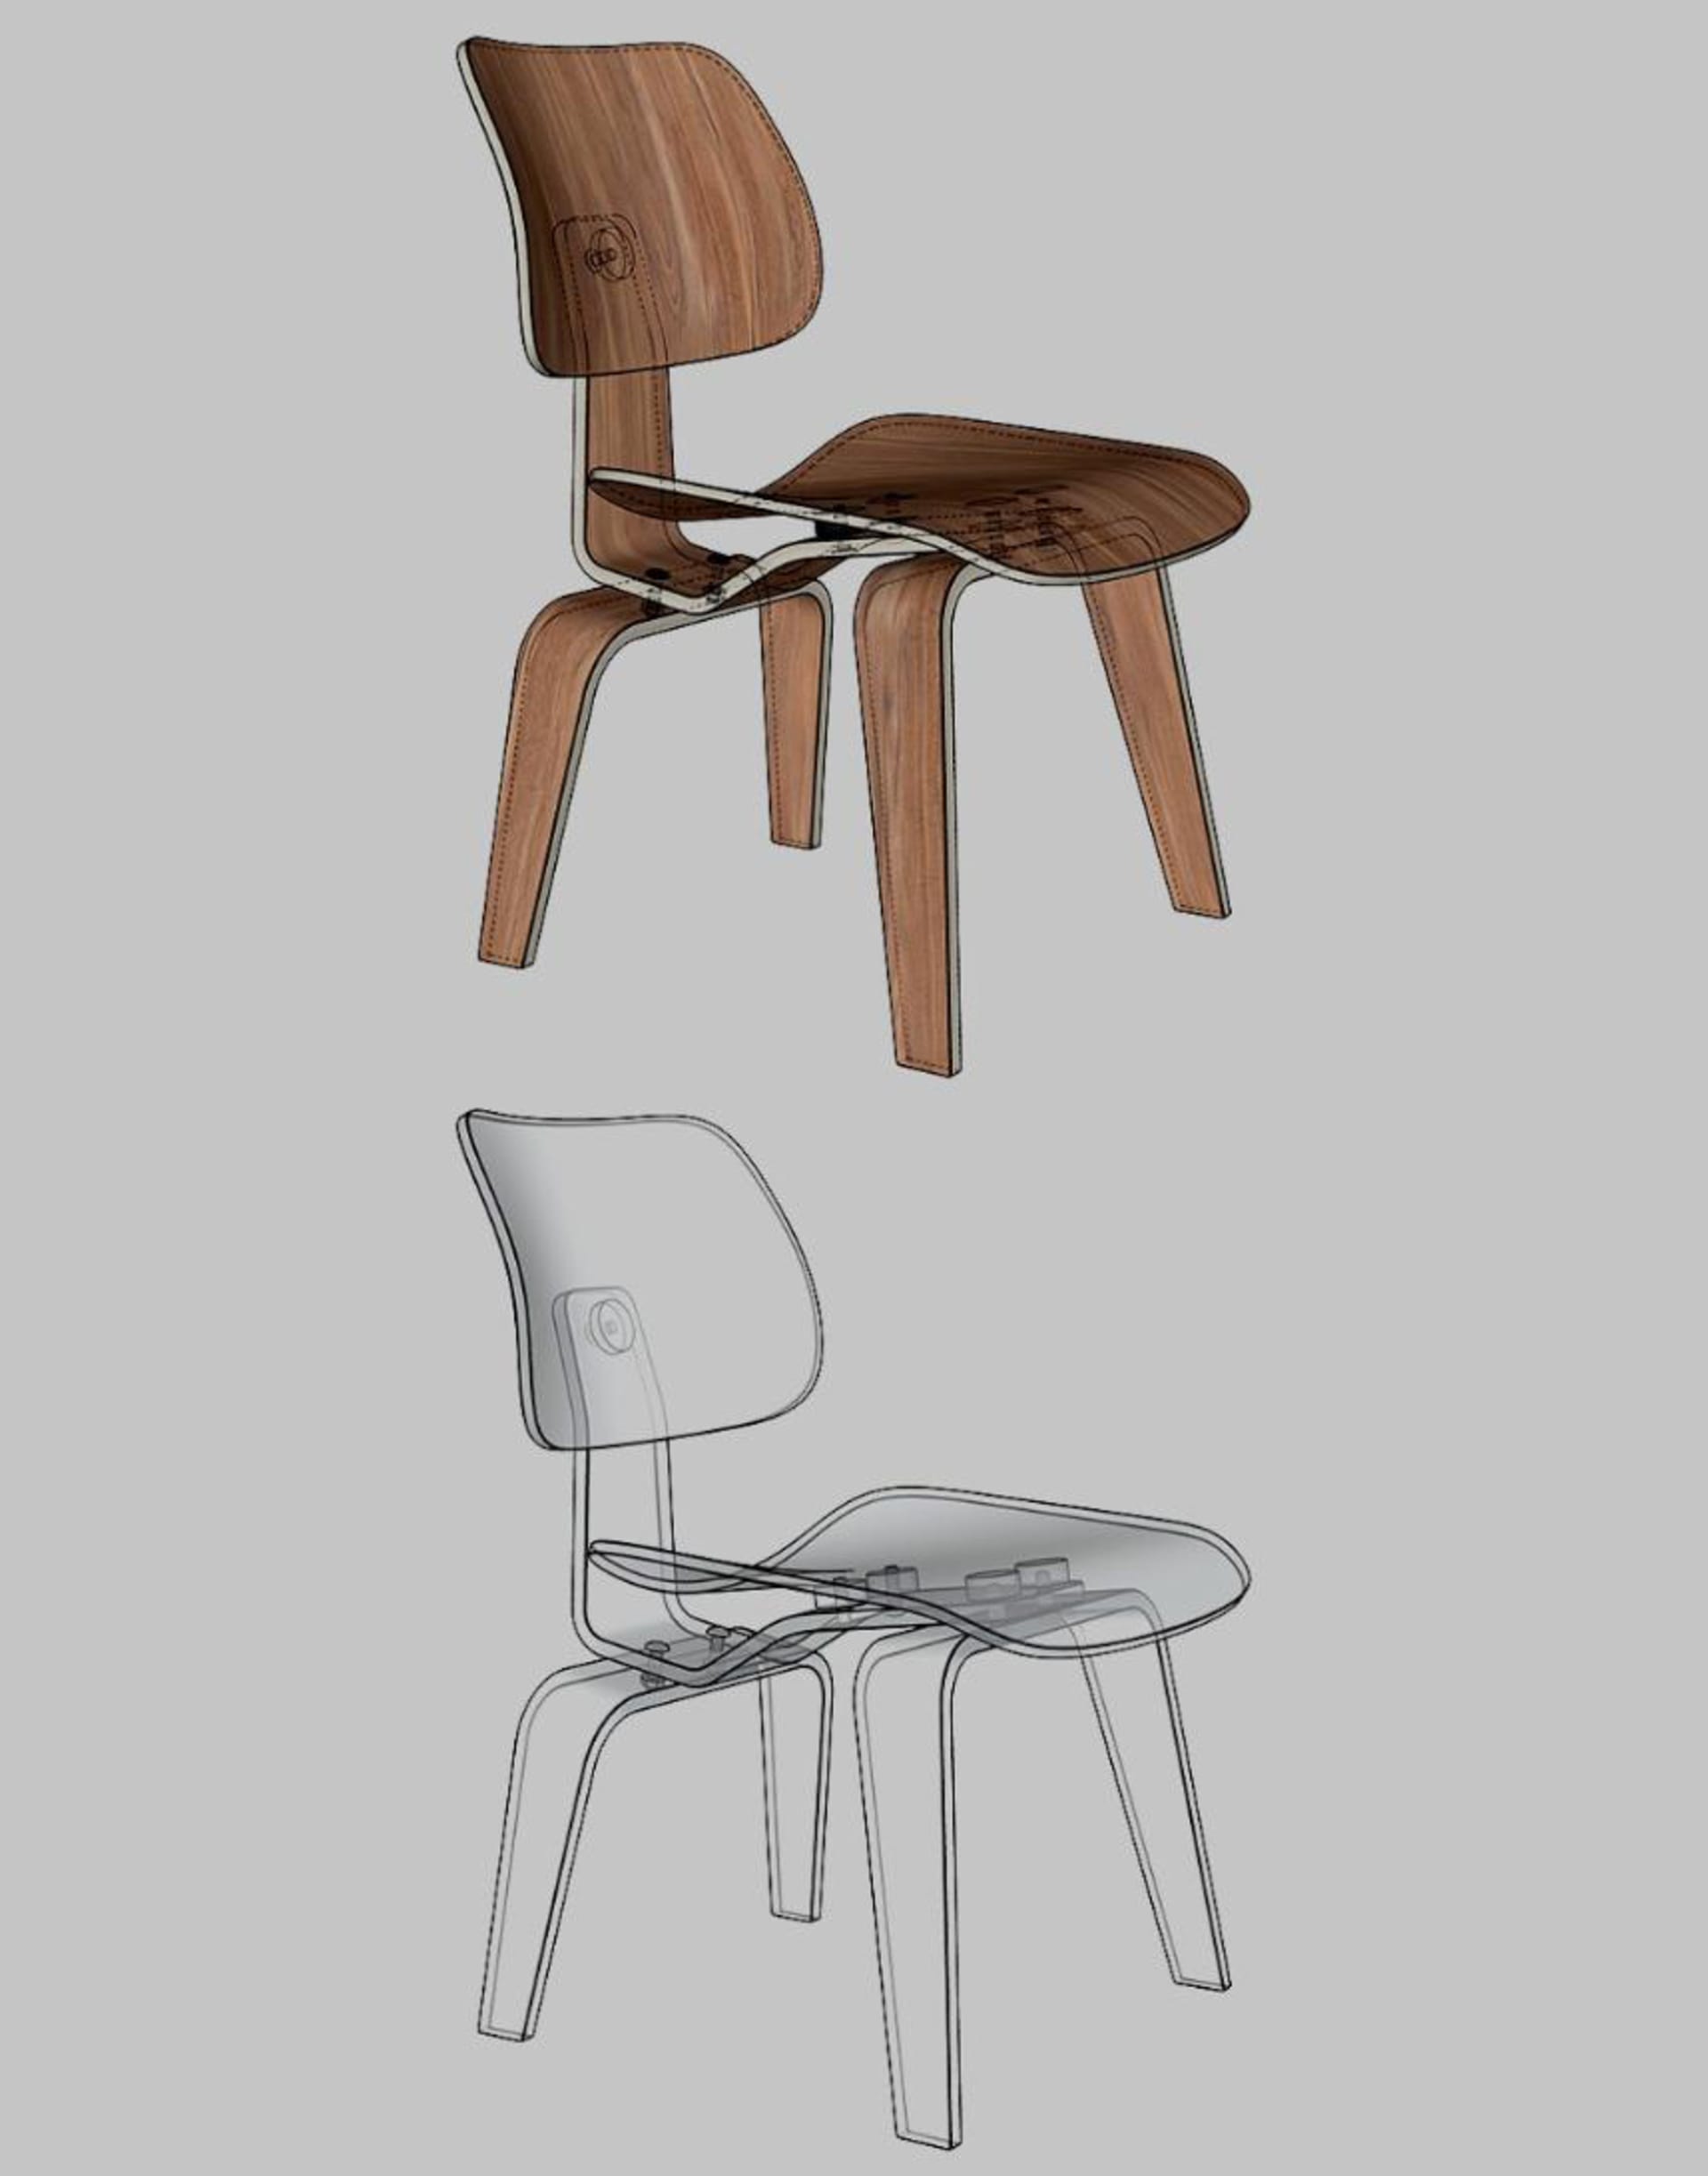
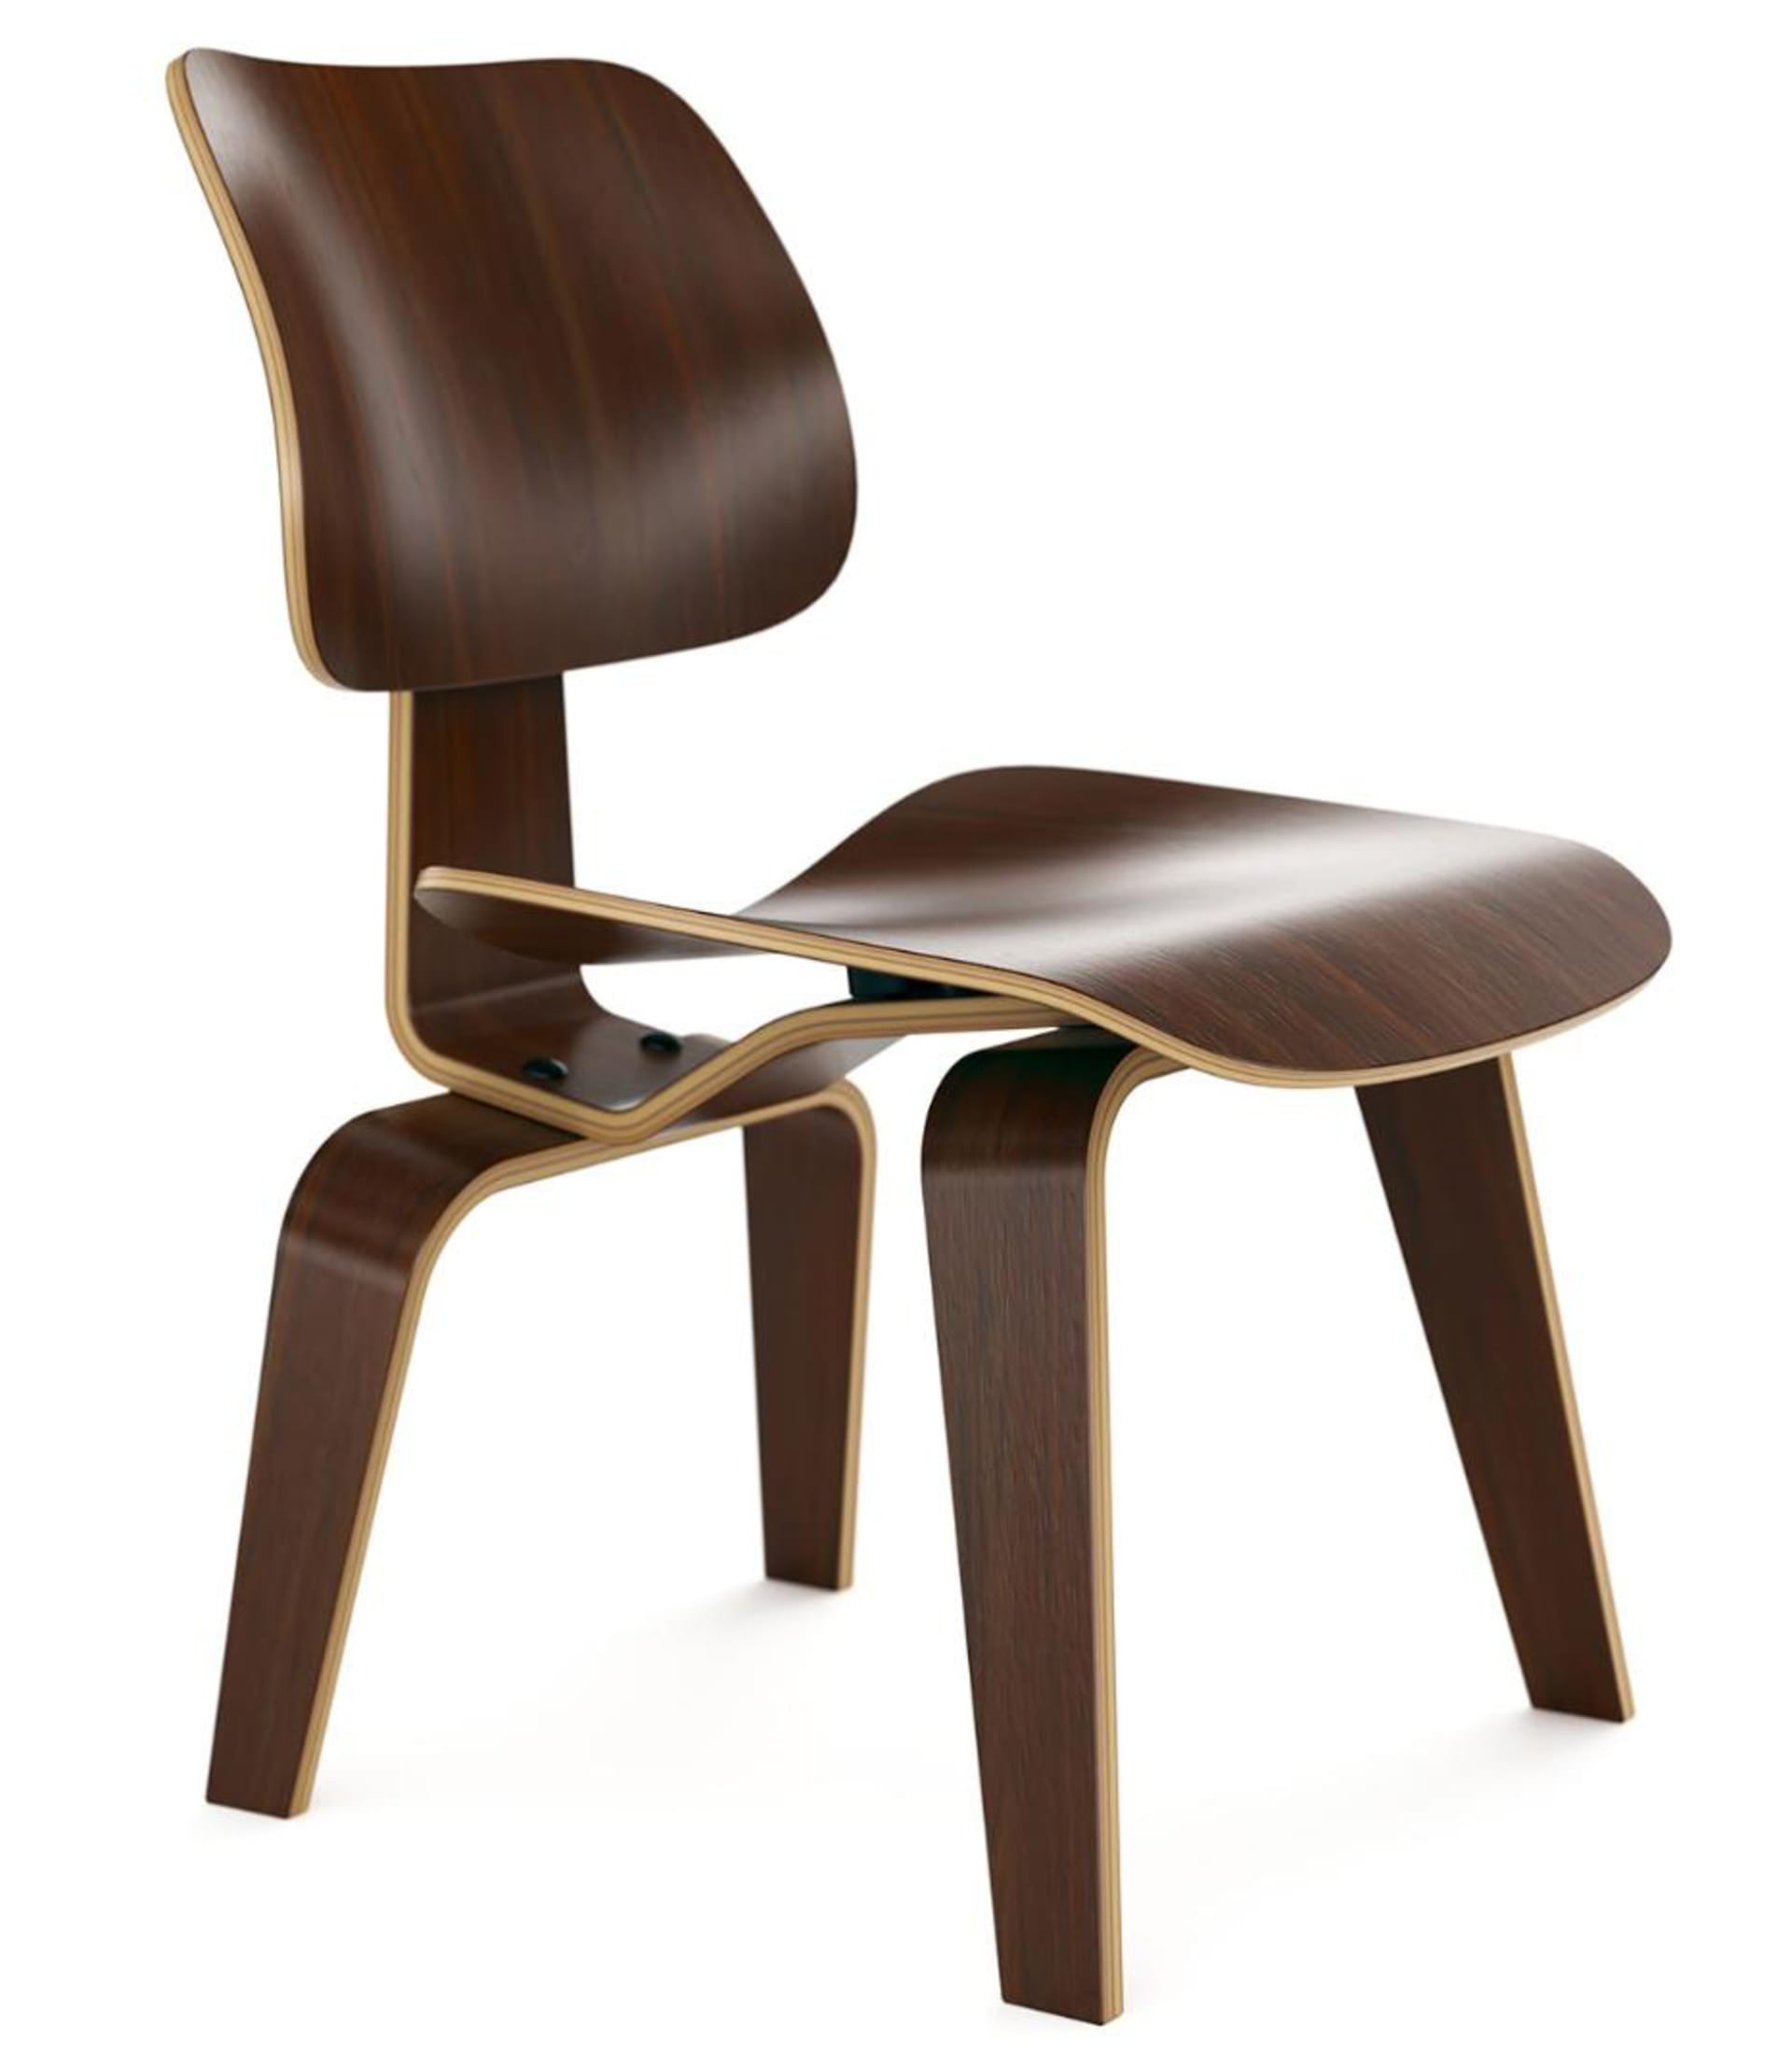
So you’re designing a product — let’s take this chair, for example:

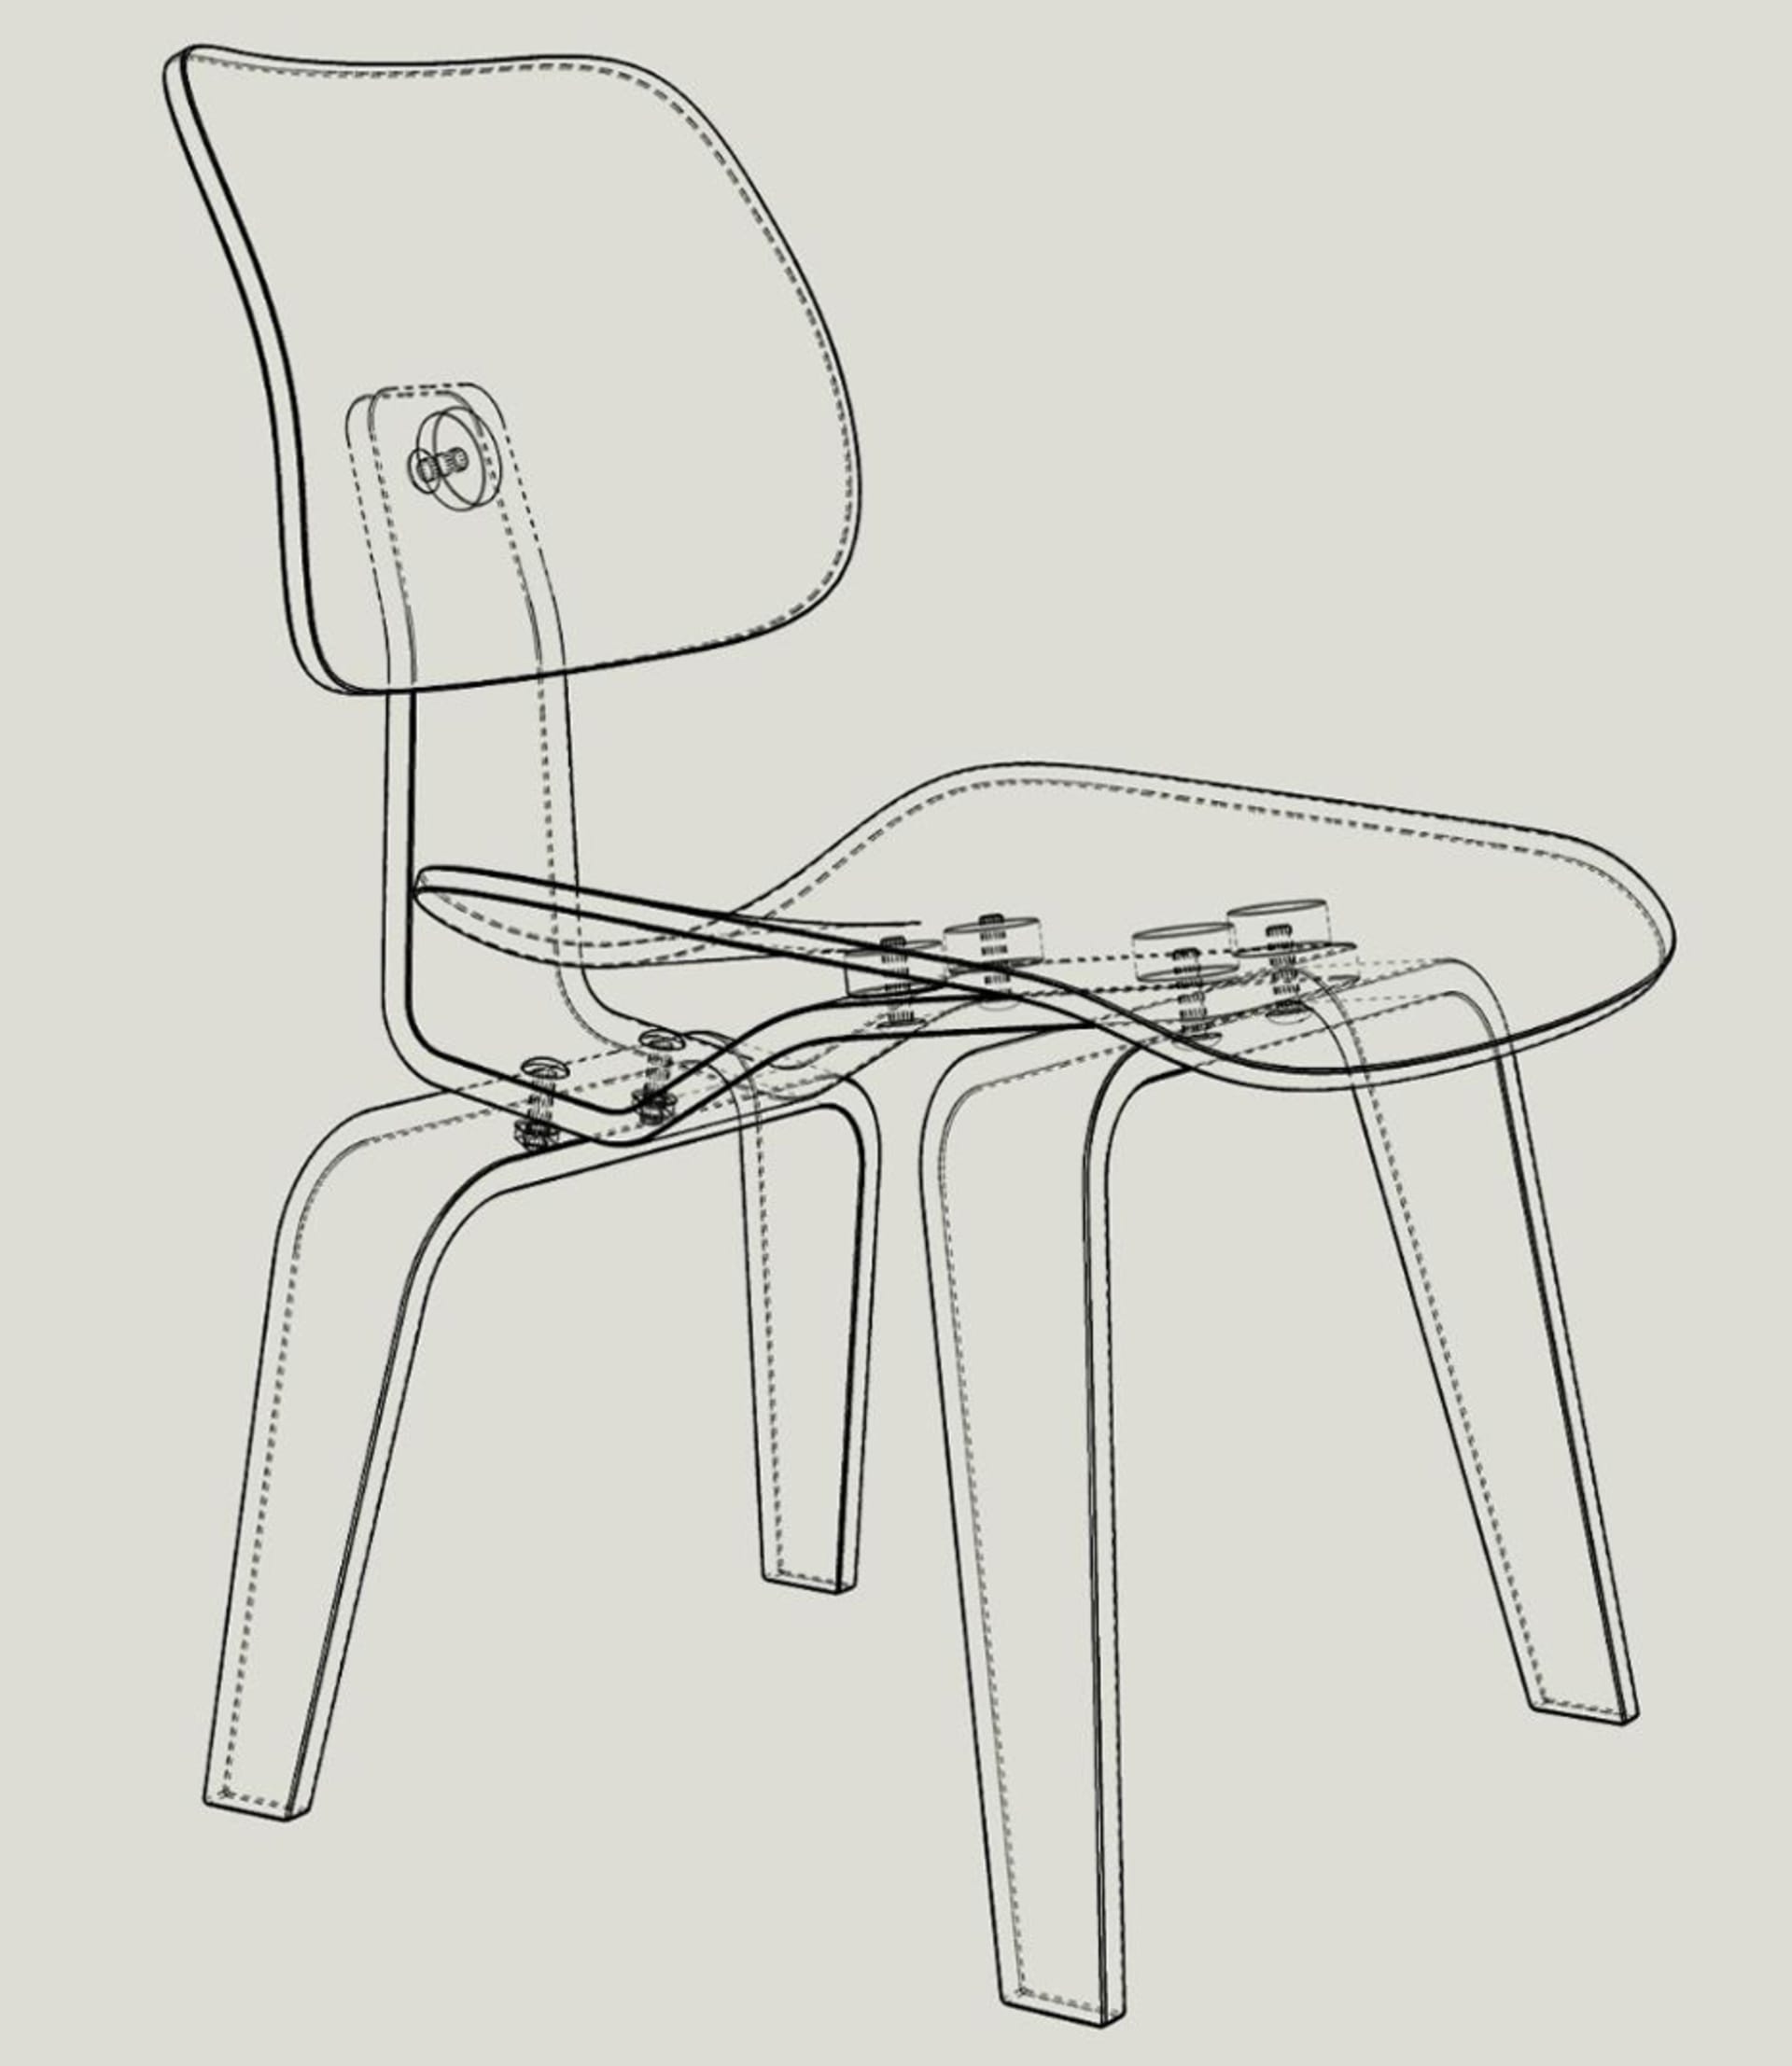
You’ve expertly modeled it in SketchUp and these viewport captures of the chair are a common schematic presentation that looks great and shows the functionality of your design. But what if you could easily add realistic materials to transform your presentation?
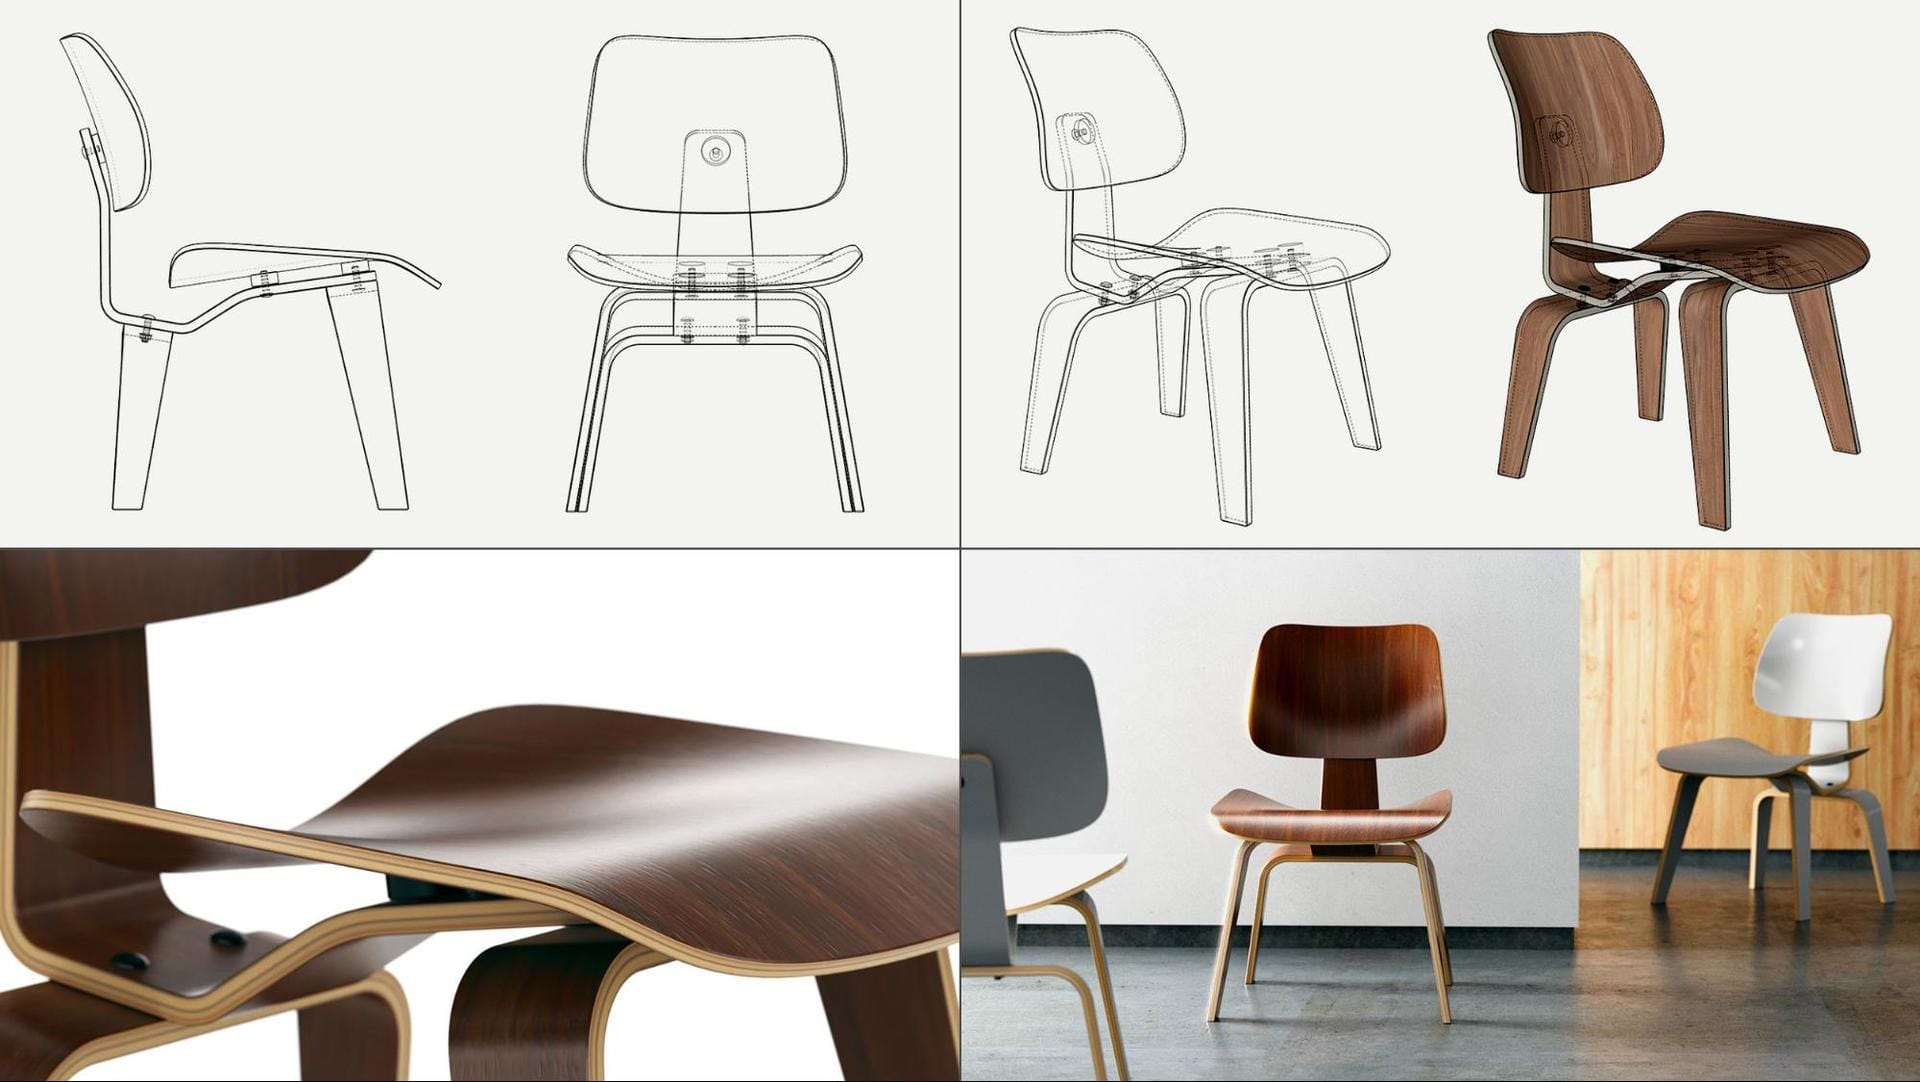
Here’s the same design shown with two material options — wood and plastic.
Now, by adding some V-Ray Lights and rendering in V-Ray for SketchUp, you’ll give your client or buyer the opportunity to understand the surface of the material as well as the look of it.
Here we have a smooth, laminated wooden chair — and the reflections from the lights show off the beautiful curves perfectly:
A render like the above right would take around one hour of set-up time with V-Ray materials and V-Ray lights. But the rewards of being able to share such a realistic-looking design with a client or buyer should far outweigh that set-up time.
And if you really want to show off your skills — or perhaps you’ve been asked to prepare a render for a furniture catalog — you can quickly and easily host your own photo session in SketchUp with the help of V-Ray Next. Add your chair — or multiple chairs — to a scene along with some background elements that showcase your design. Be sure to think about how the lighting will reflect off of and create shadows on and around your chair. And render!
Let’s imagine you’re asked to change the material. No problem! Simply update the materials and re-render. Different angle? You’ve got this. New background? Sure! You can become your own set designer and photographer with SketchUp and V-Ray. All it takes is a few clicks.
Architectural renderings can get a boost with V-Ray for SketchUp, too
Nowadays, it can be hard to tell the difference between photorealistic renders and real photographs. It’s completely acceptable for a customer to buy a product — or even a house — without seeing it in person. The renders we create at the design and marketing stages can help people make decisions on purchases well before a product is made or a house is even built.
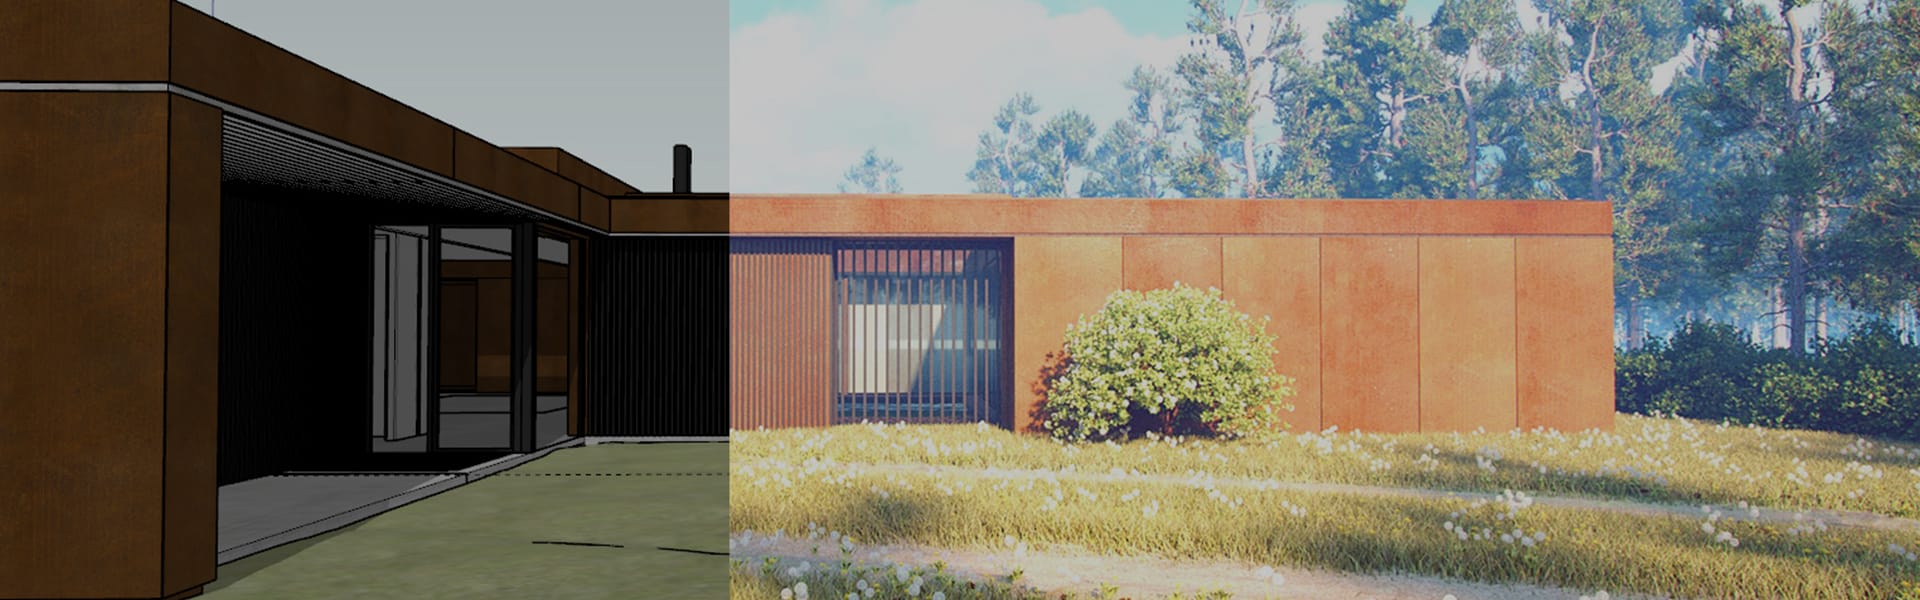
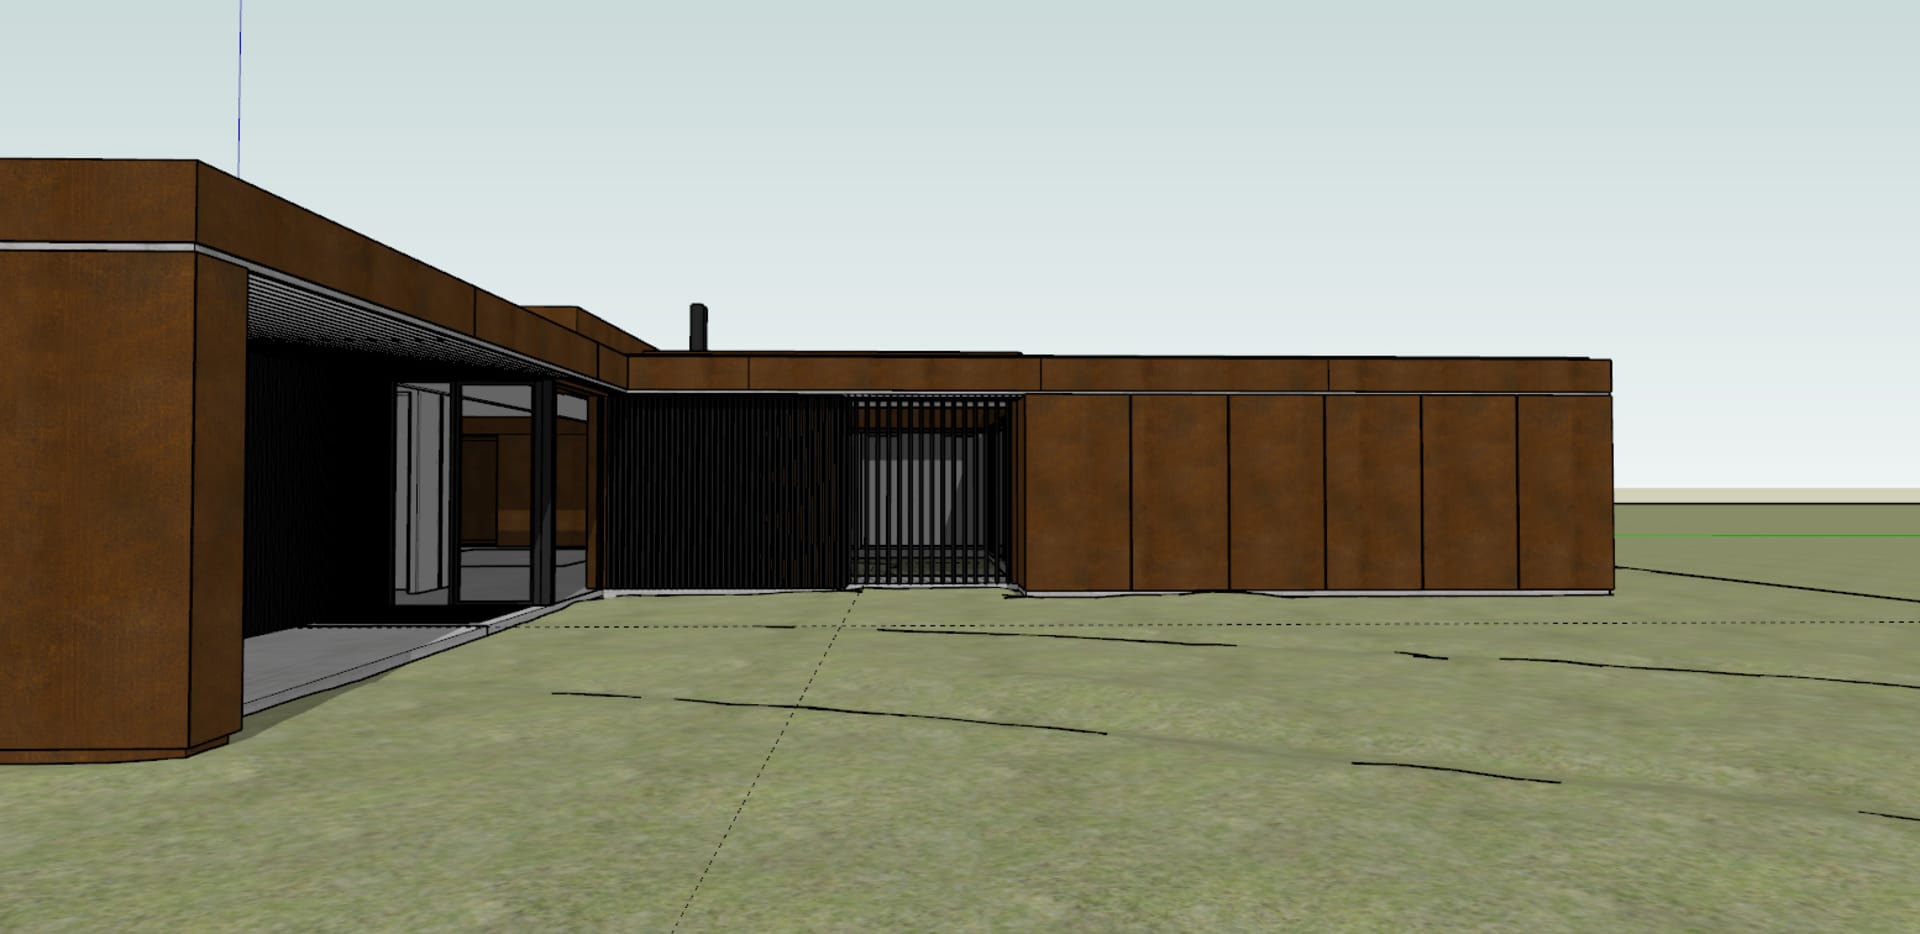
If you’re working in architecture, the same workflow applies. Let’s take as an example the design of a client’s dream house in the woods. You’ve designed the perfect space that answers the client’s brief and you’re almost ready to share your concept.
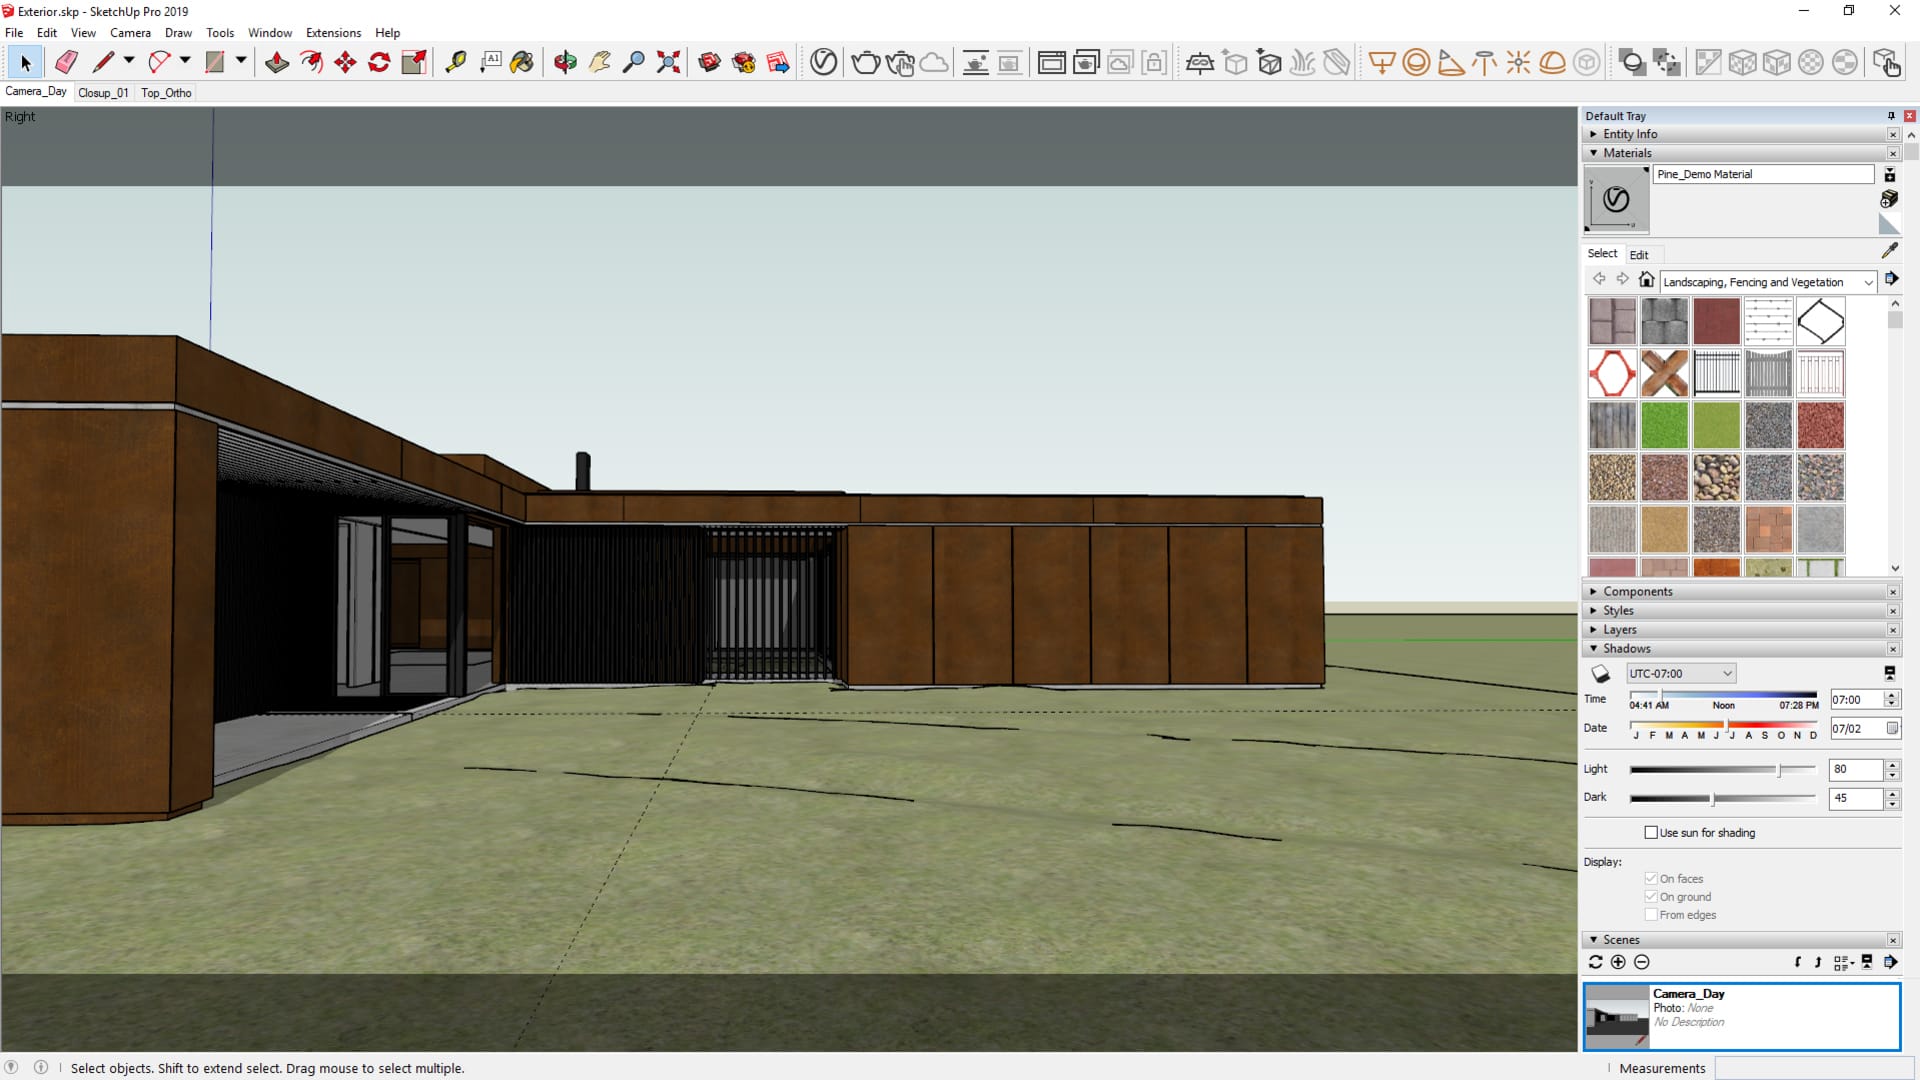
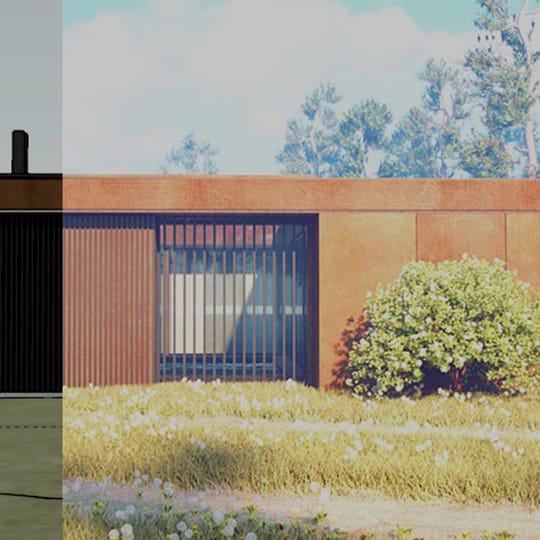
Sharing your SketchUp model as a simple drawing with basic shadows, colors and materials might illustrate some of the qualities of your design. But because SketchUp’s basic lighting setup doesn’t process realistic lighting or reflections, it’s going to be hard for the client to really imagine themselves living in this house.
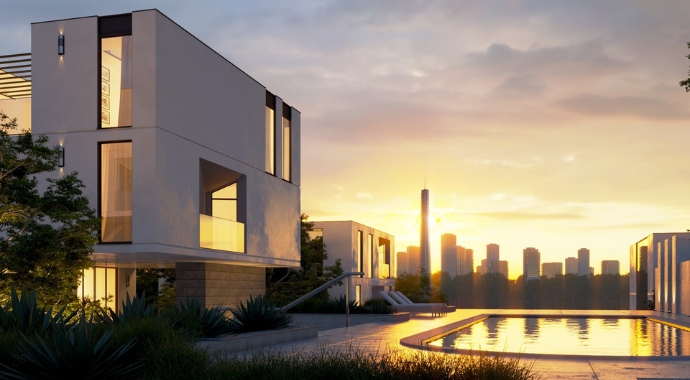
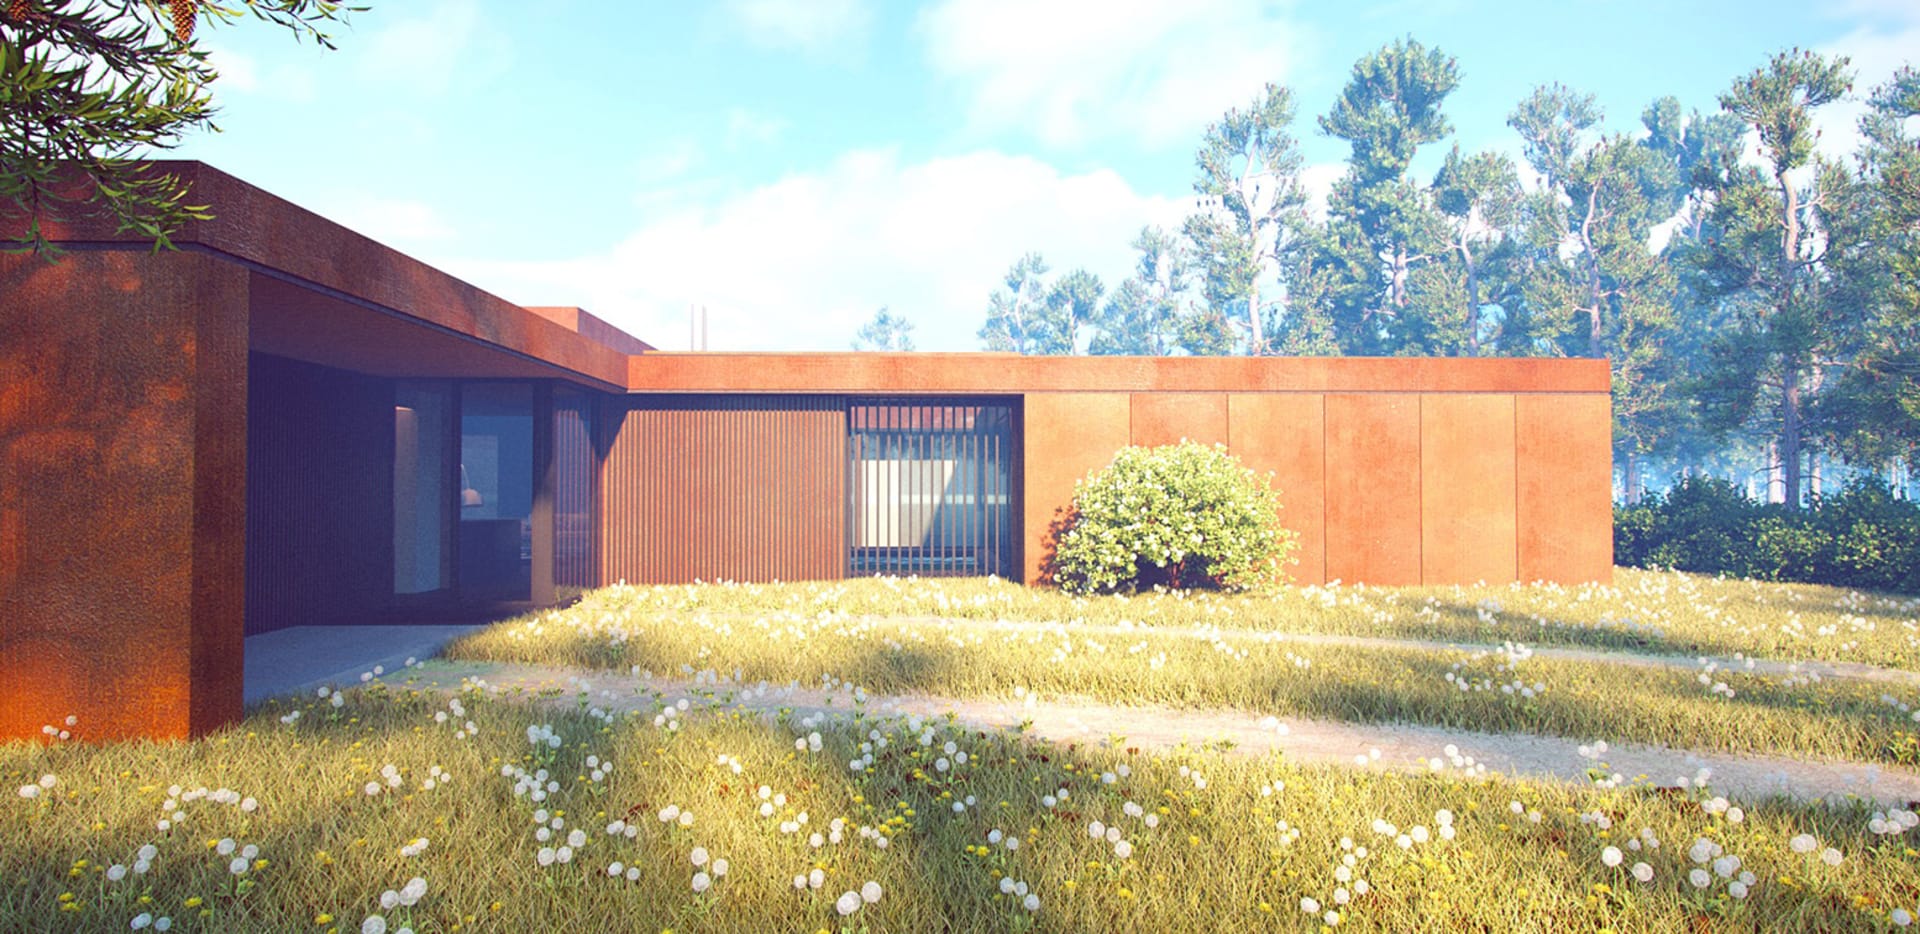
What if you could show your client a rendered vision of how the house might look in reality? We’ve designed V-Ray to work seamlessly in SketchUp to add physical light and materials to 3D models, designs and scenes to produce highly realistic visualizations.
Like this:
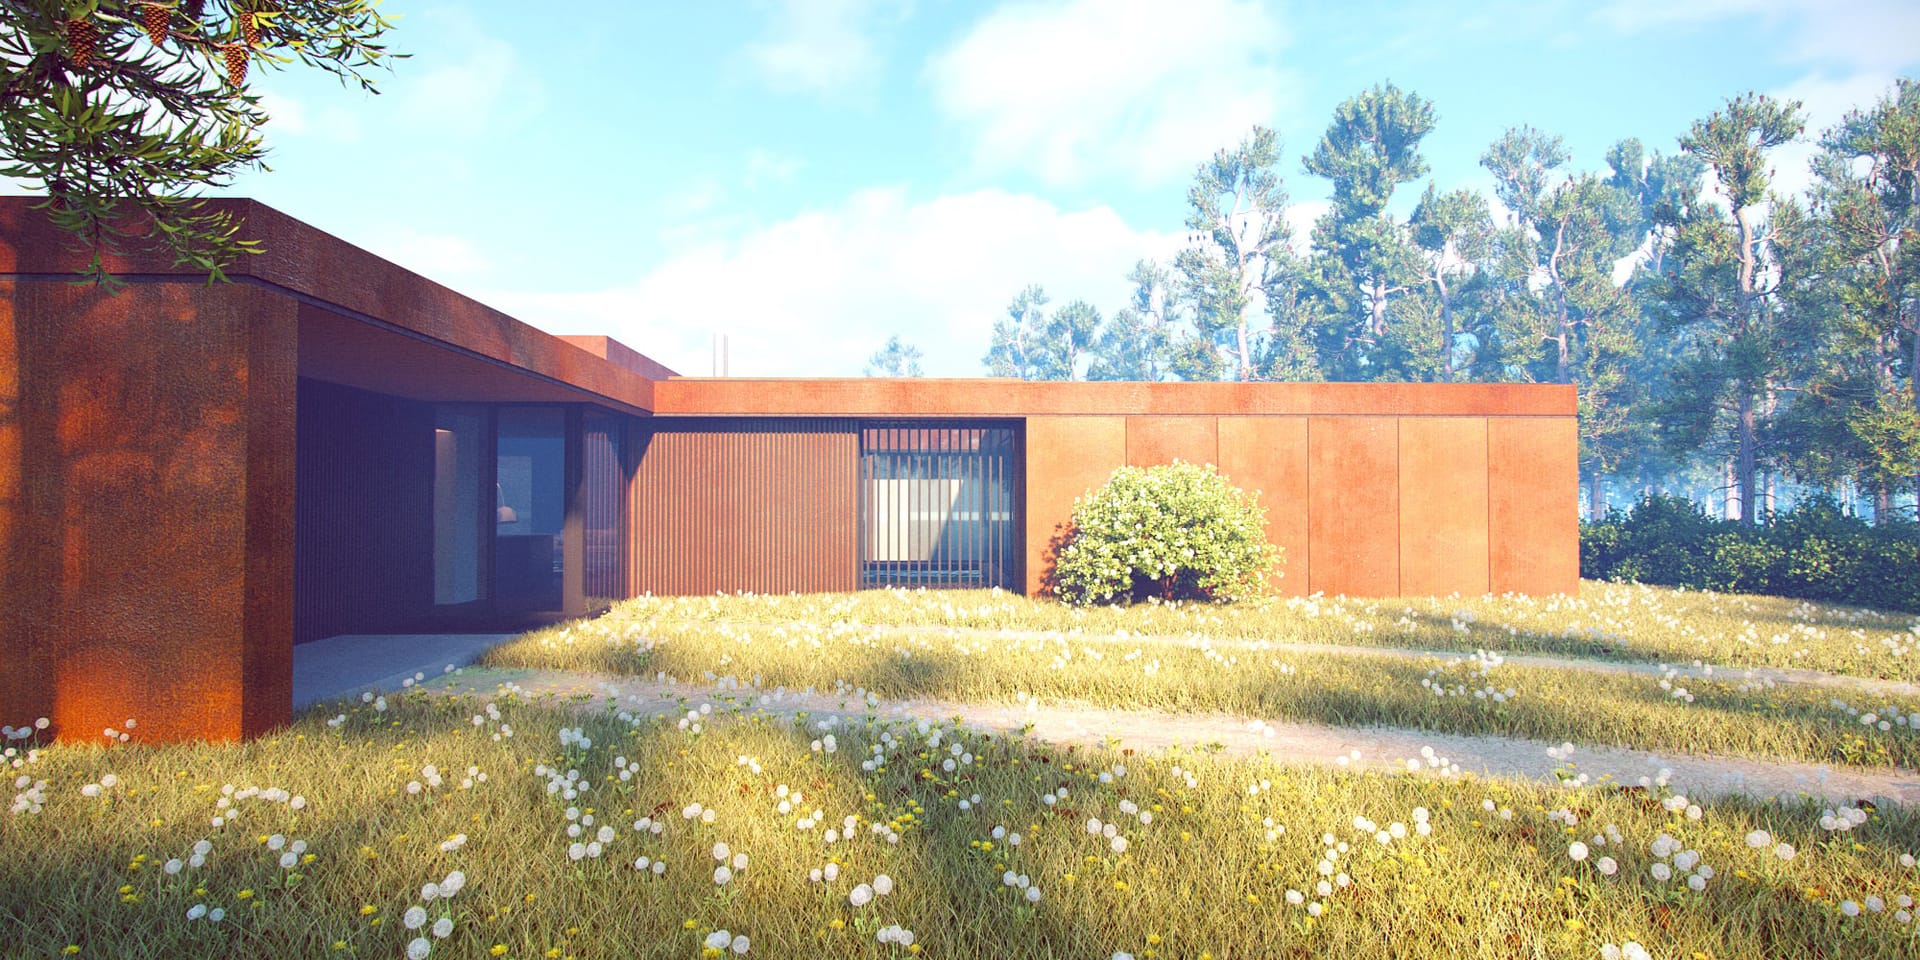
It may look like a complicated render, but V-Ray’s job is to make the complex stuff simple — it really does the hard work for you. And you don’t even have to leave your beloved SketchUp UI to use it. V-Ray has been tightly integrated into SketchUp ensuring users never have to leave the program to set up scenes, apply materials or tweak lighting conditions on the fly. You can render directly in the SketchUp viewport and see the results straight away.
With V-Ray inside SketchUp, you’ll discover a variety of versatile materials to apply to your scene. You’ll also find an extensive library of photorealistic, ready-to-use V-Ray materials. Simply choose the closest brick, ceramic, concrete, fabric, glass, leather, metal, stone, paint, wallpaper, tiles, wood, or ground (and so many more!) materials that match your concept — and breathe some life into your designs. Right-clicking on any material slate from the Preset Material Library will give you the option to apply it directly to the currently selected object or add it to the scene. It’s really that simple.
In this case, adding trees, grass and flowers to the scene also helps the client get a better understanding of your vision. A single tree model can easily be made up of 100 to 5-million polygons, but V-Ray can handle multi-million polygon models without overloading SketchUp. No worries.
Did you notice the haze effect — or more technically, the atmospheric volume/aerial perspective effect — in the V-Ray render above? That was enabled with just a single toggle in V-Ray for SketchUp. It’s that easy.
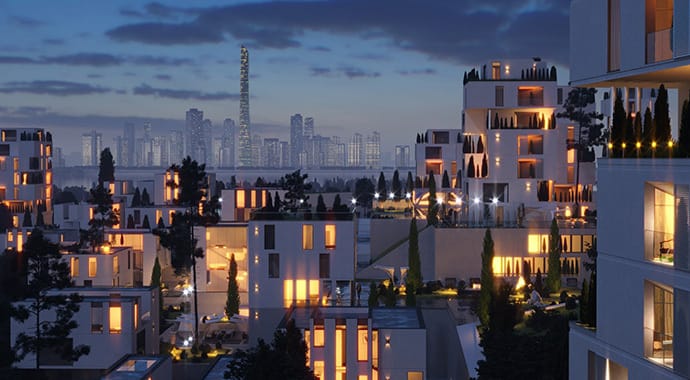
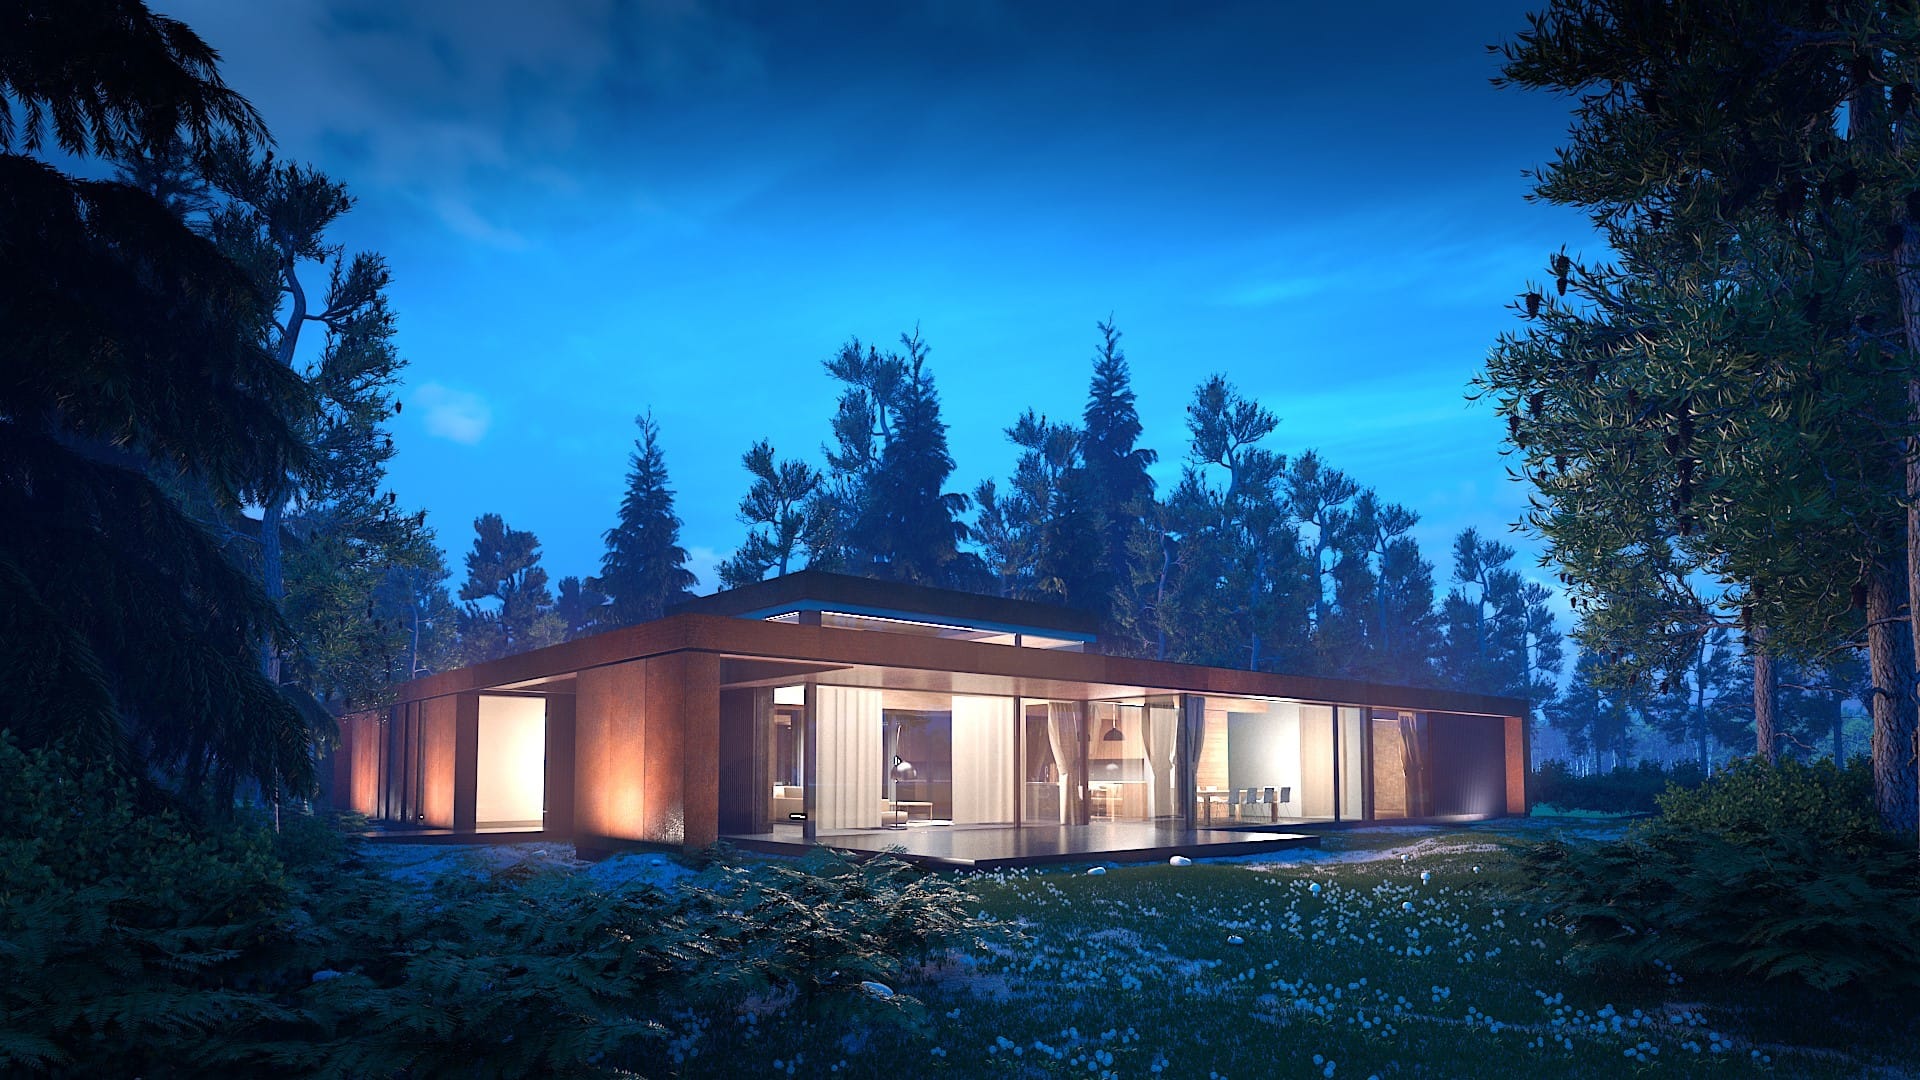
You can also go one step further and show your client how their dream home may look at night, and from different angles. One of V-Ray’s greatest strengths is its ability to render tens of thousands of physical light sources — from multiple natural and artificial light sources — in no time at all.
Could you imagine living here?
Feeling inspired? Try these 2 lighting tutorials
For expert tips on how to render day and night scenes using V-Ray for SketchUp, check out these helpful tutorials from the experts at Chaos: