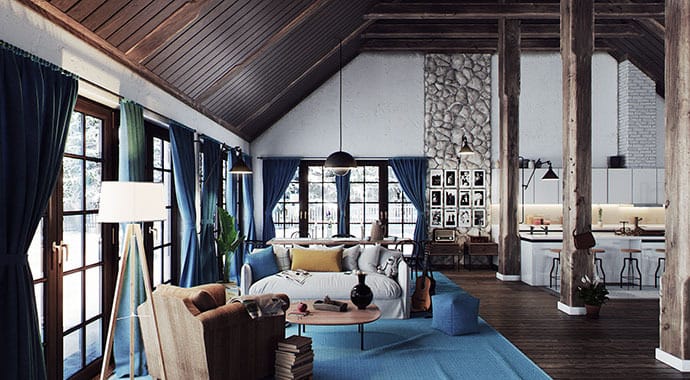

Improve your design skills by creating a cozy living room design in V-Ray for SketchUp with expert guidance from Chaos 3D artist Anastasia Zhivaeva.
Welcome to another exciting archviz tutorial! In this one, you will be joining Chaos 3D artist Anastasia Zhivaeva to create a cozy living room design in V-Ray for SketchUp. So get a warm drink ready, and let’s dive right in!
What you will learn
- Anastasia will guide you on how to set up a camera view, work with settings like field of view and auto exposure, and set the lighting with the help of Light Gen.
- Add Cosmos geometry, material assets and customize them.
- Set up additional light sources, adjust the settings for a production render, and finally edit the image in Frame Buffer.
Setting up the scene
If you would like to follow along with this tutorial, take a moment to download the practice scene. To ensure that the camera can be positioned and the scene can be navigated without interruption, make sure to add the SketchUp section plane and position it. After that, go ahead and set up the camera view and adjust it to fit the scene better.
You can change the camera's field of view to adjust how much of the room you see. Larger numbers will result in a narrow field of view, while smaller ones will create a wider one.
Interactive rendering and material setup
Before starting interactive rendering, ensure that the section plane does not let light pass through it. To accomplish this, navigate to the Geometry tab in V-Ray Asset Editor, and in the section plane options, uncheck "effect light" and "clip light geometry," and enable "camera raise only."
Next, enable the denoiser. You have the option to choose between V-Ray Denoiser, which is consistent when denoising render elements and is recommended for production rendering, and the NVIDIA AI Denoiser, which requires an NVIDIA GPU and is best suited for interactive rendering. Meanwhile, the Intel Open Image Denoiser works with your CPU device and does not use hardware acceleration. The NVIDIA and Intel denoisers are recommended for interactive rendering. After selecting a denoiser, set the update effects to “rapid.”
At this point, you can also adjust the aspect ratio and resolution. It's advisable to enable “Safe Frame” to ensure nothing is left out, especially if there is a difference in aspect ratio between the viewport and image size. Finally, enable “Material Override” to ensure everything is rendered with a gray override material.
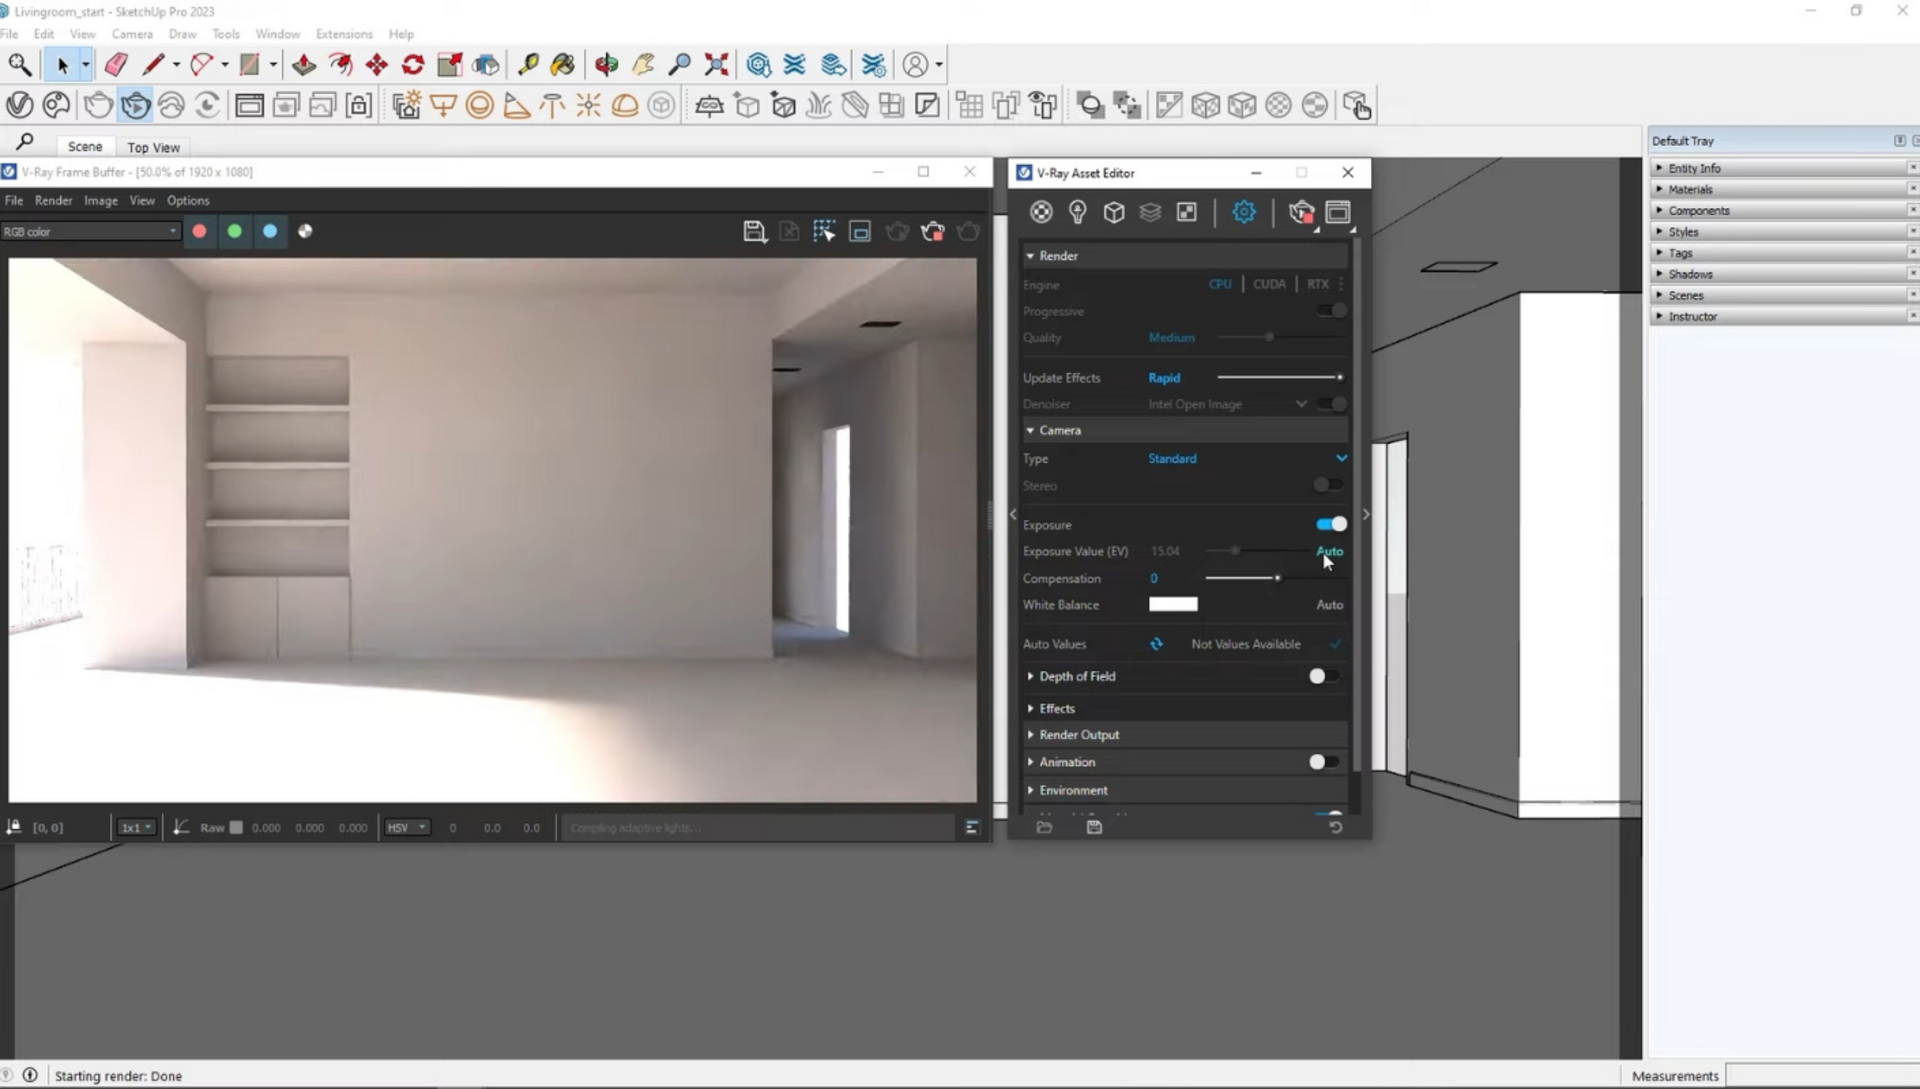
Camera exposure
With the initial setup completed, it's time to start interactive rendering. Initially, the result may appear very dark. However, before adding any light sources, you should play around with the camera's exposure value. Lower values will produce a brighter result, while higher values will result in a darker outcome.
You can adjust the slider until you find the best setting, or you can enable auto exposure, which will immediately balance out the exposure in the scene. Additionally, you can add a filmic tone map to tone down overexposed areas and enhance contrast in the image.
Adjusting the lighting
There are three different approaches to consider when adjusting the lighting in the scene. You can tweak the sun's position from the Shadows panel of SketchUp, and V-Ray will render the changes. Alternatively, you can enable “Custom Orientation” in the Asset Editor for more precise control over the sun's position.
You can also use Light Gen to generate multiple options for the sun's position and automatically apply them to the scene. V-Ray will adjust the sun's position and camera exposure accordingly, allowing you to test different lighting scenarios without manual adjustments.
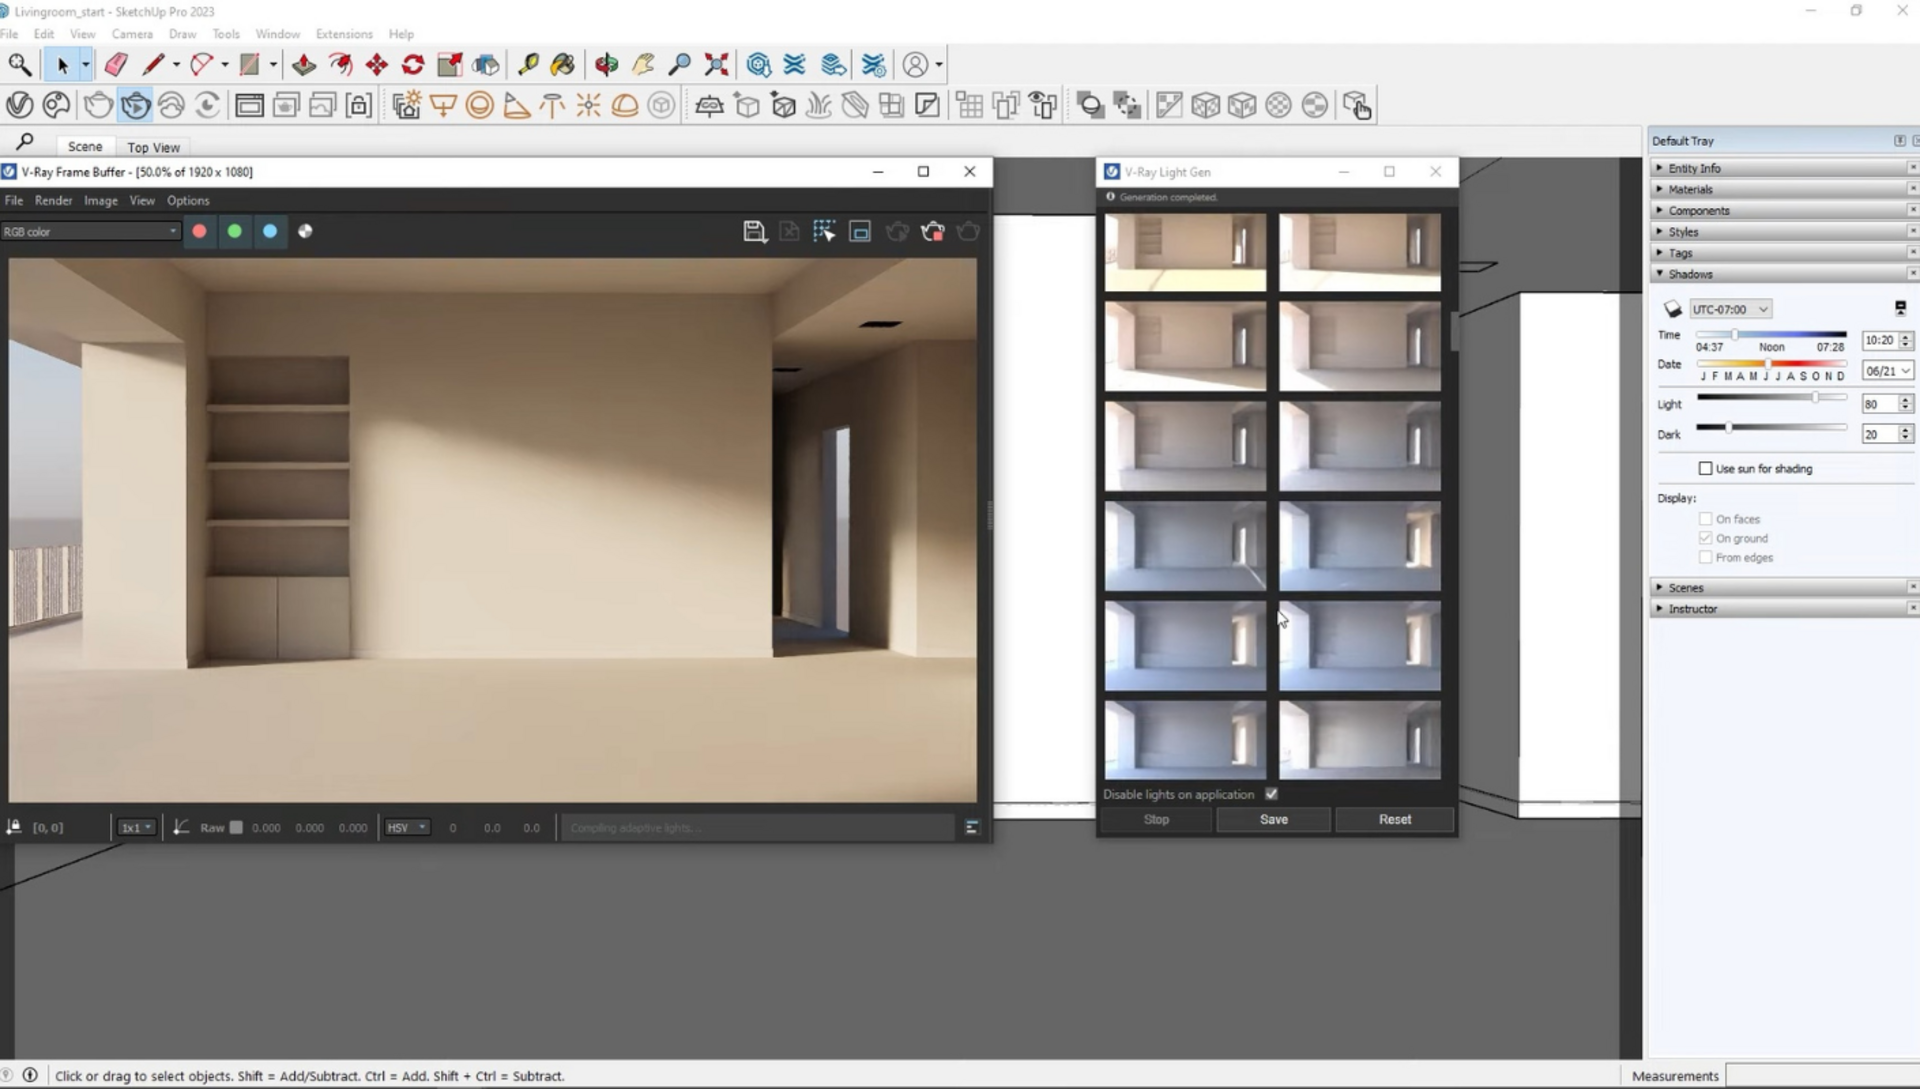
Modifying the sun's angle and shadows
Using the thumbnail previews comes in really handy when selecting which option suits your scene best. Even after applying the changes, you still have control over the setup and can further modify it. For instance, you can slightly tweak the sun's horizontal and vertical angle to create softer shadows and adjust the sun multiplier to increase the blurriness of the sun shadows.
Adding assets and materials
Let's proceed with adding some assets and materials to the scene. Utilizing the Chaos Cosmos library, we'll start by incorporating a door and windows that have been pre-downloaded. The Cosmos library offers a wide range of architectural elements, furniture, lights, vegetation, people, vehicles, and more.
After adding the assets, it's important to ensure everything renders correctly. If the light is blocked due to the override material being applied to the windows and their materials, you can locate the asset and uncheck the "Used Material Override" option to exclude the asset from being overridden.
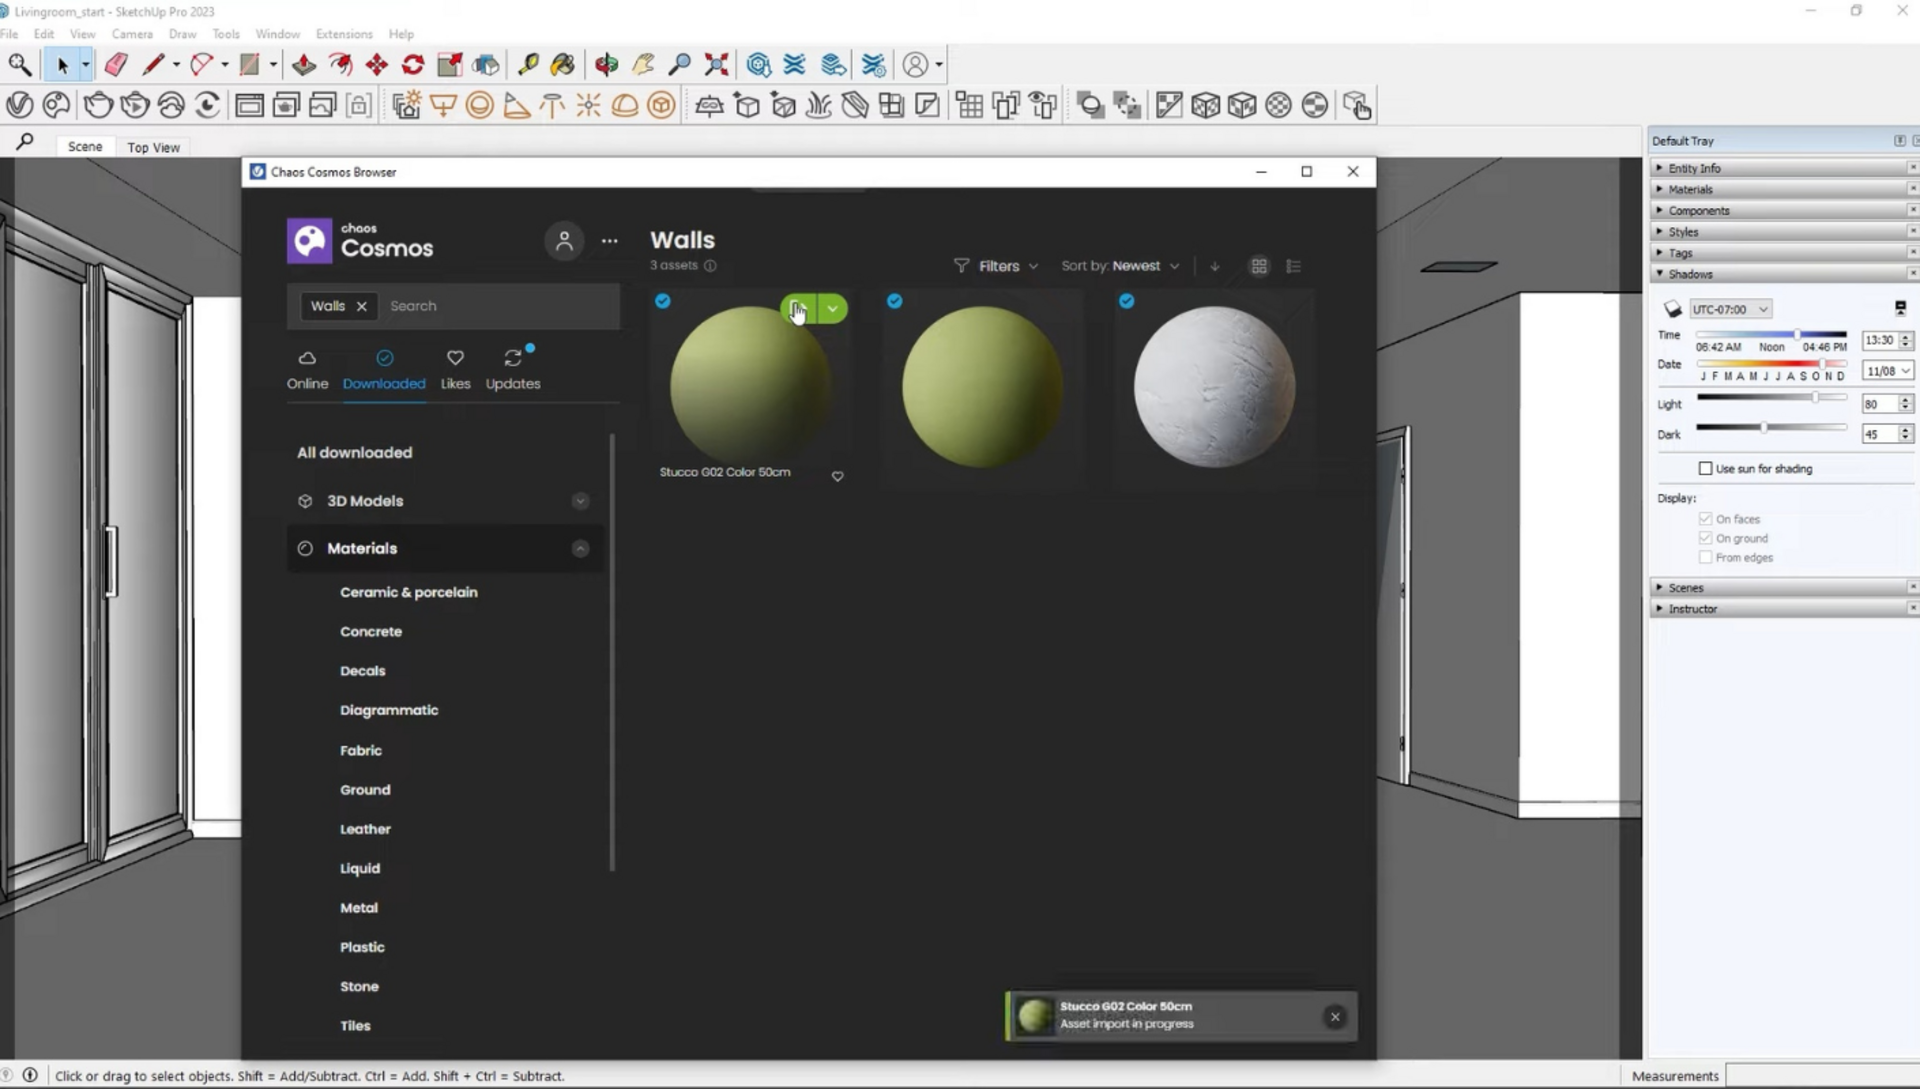
Importing and customizing materials
Now, let's import materials from the Cosmos library for the walls and floor. The library provides a variety of ready-to-use materials that are fully prepared for use or can be modified as needed. For the walls, import your material of choice. The stucco looks nice for this scene, don’t you think? For the floor, Anastasia has chosen to import the wooden Herringbone Elm material. Apply the stucco material to the walls and the ceiling, and do the same with the floor geometry.
Before rendering, disable “Override Material.” Then, adjust the color of the walls to your preference. Additionally, you can modify the orientation of the floor planks by rotating them, affecting all maps used in the shader simultaneously. This approach allows for easy customization and scaling of assets to fit any scene.
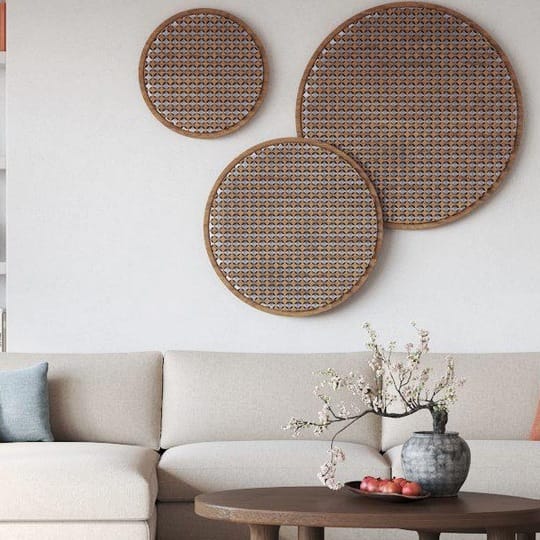
It's worth noting that all assets in the room were added from Cosmos, except for the wall art, which has a similar version in the library. Similar to the shaders, you can use the assets as they are or adjust and replace their materials. To do this, merge the asset to gain access to the assigned materials, which can then be modified or completely replaced.
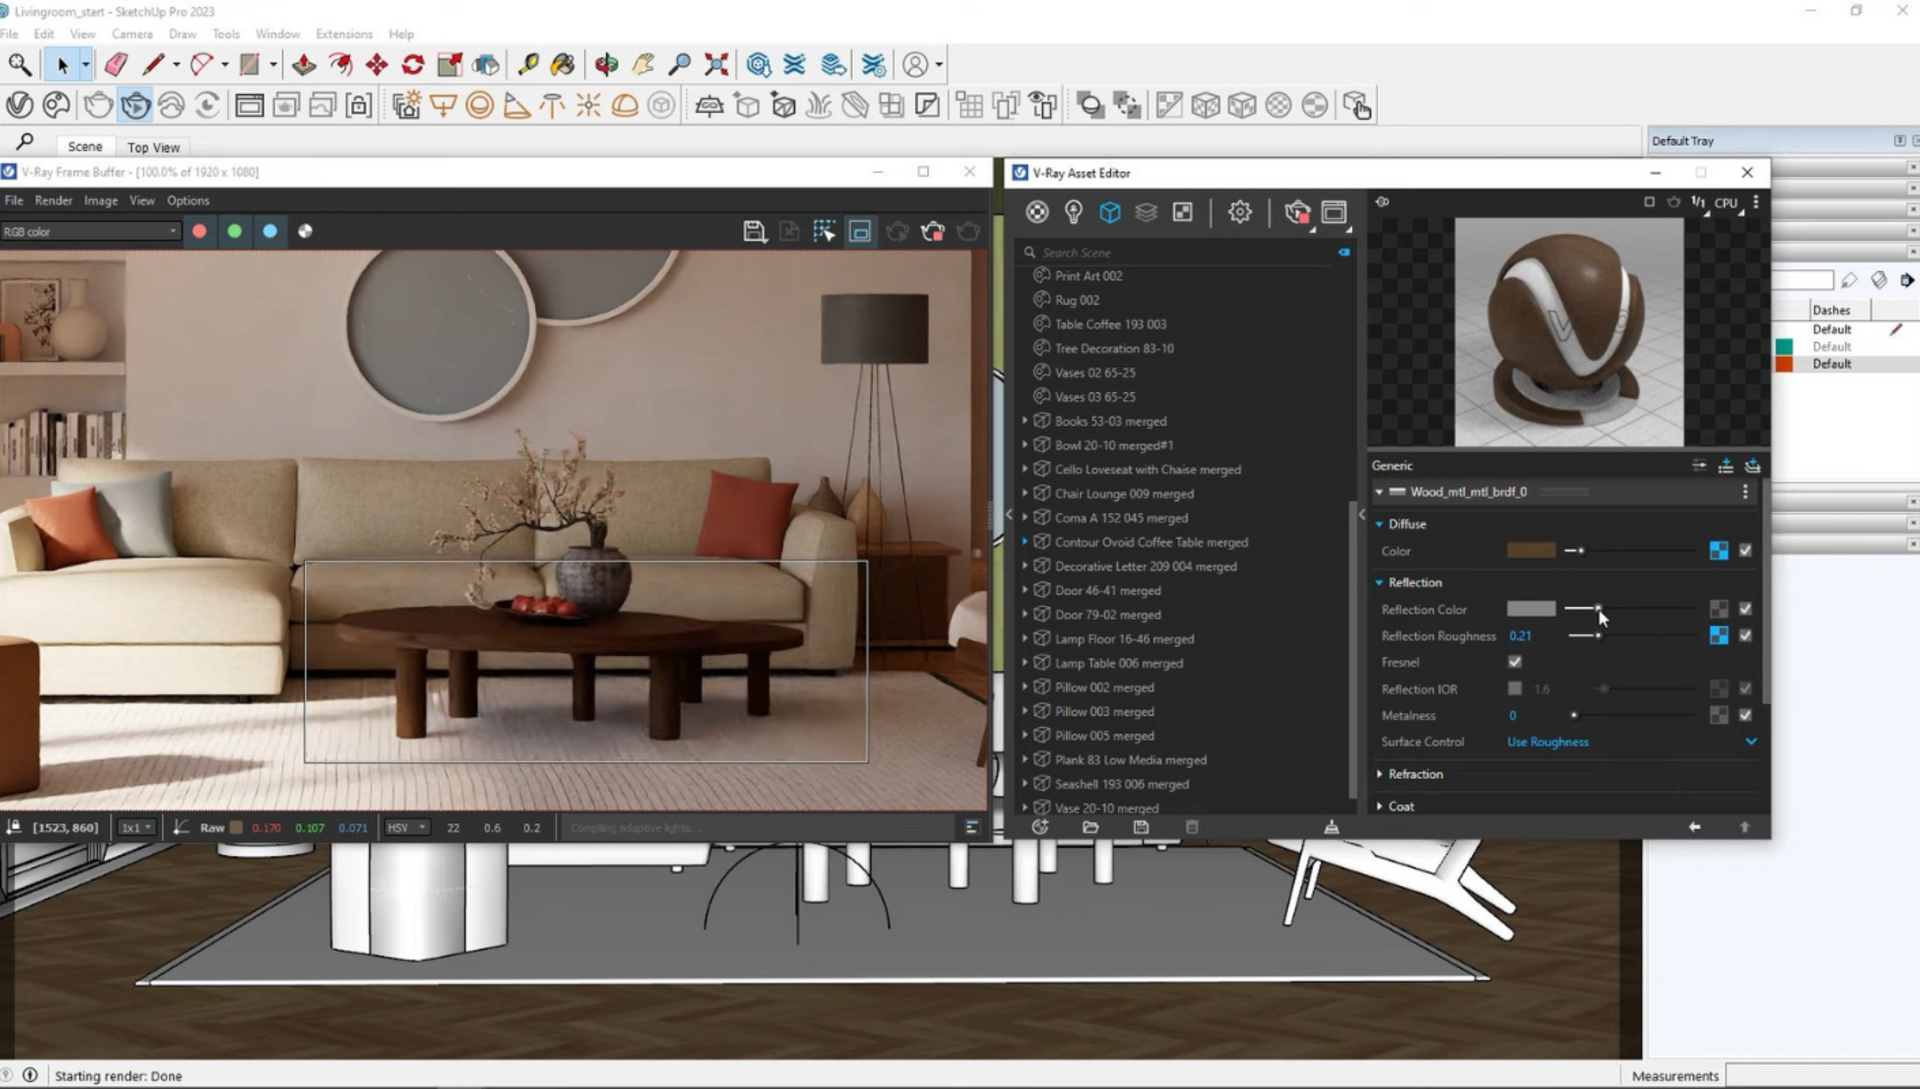
Fine-tuning material properties
To further enhance the material properties, you can add another fabric material from Cosmos and replace the current sofa material with it. Simply select the material from the drop-down menu or drag and drop it over the current one.
After merging the coffee table, you can edit its material to make it more reflective by adjusting the reflection color and adding more reflection. To adjust the sofa's color, wrap the diffuse texture in a color correction map and slightly tweak the saturation and hue. For a softer fabric appearance, switch to advanced settings and adjust parameters like sheen, which adds softness to the fabric.
Creating rounded corners and adding detail
To create rounded corners without modifying the geometry, focus on the stucco material of the wall and add a round effect to the edges using the edge's texture in the bump rollout of the material. By increasing the width, you can see the effect immediately. Additionally, you can specify where to apply the effect to both convex and concave edges or to one of them specifically. To add detail to the artwork on the wall, apply a material downloaded from Cosmos and use V-Ray and Enmesh to make the details stand out more.
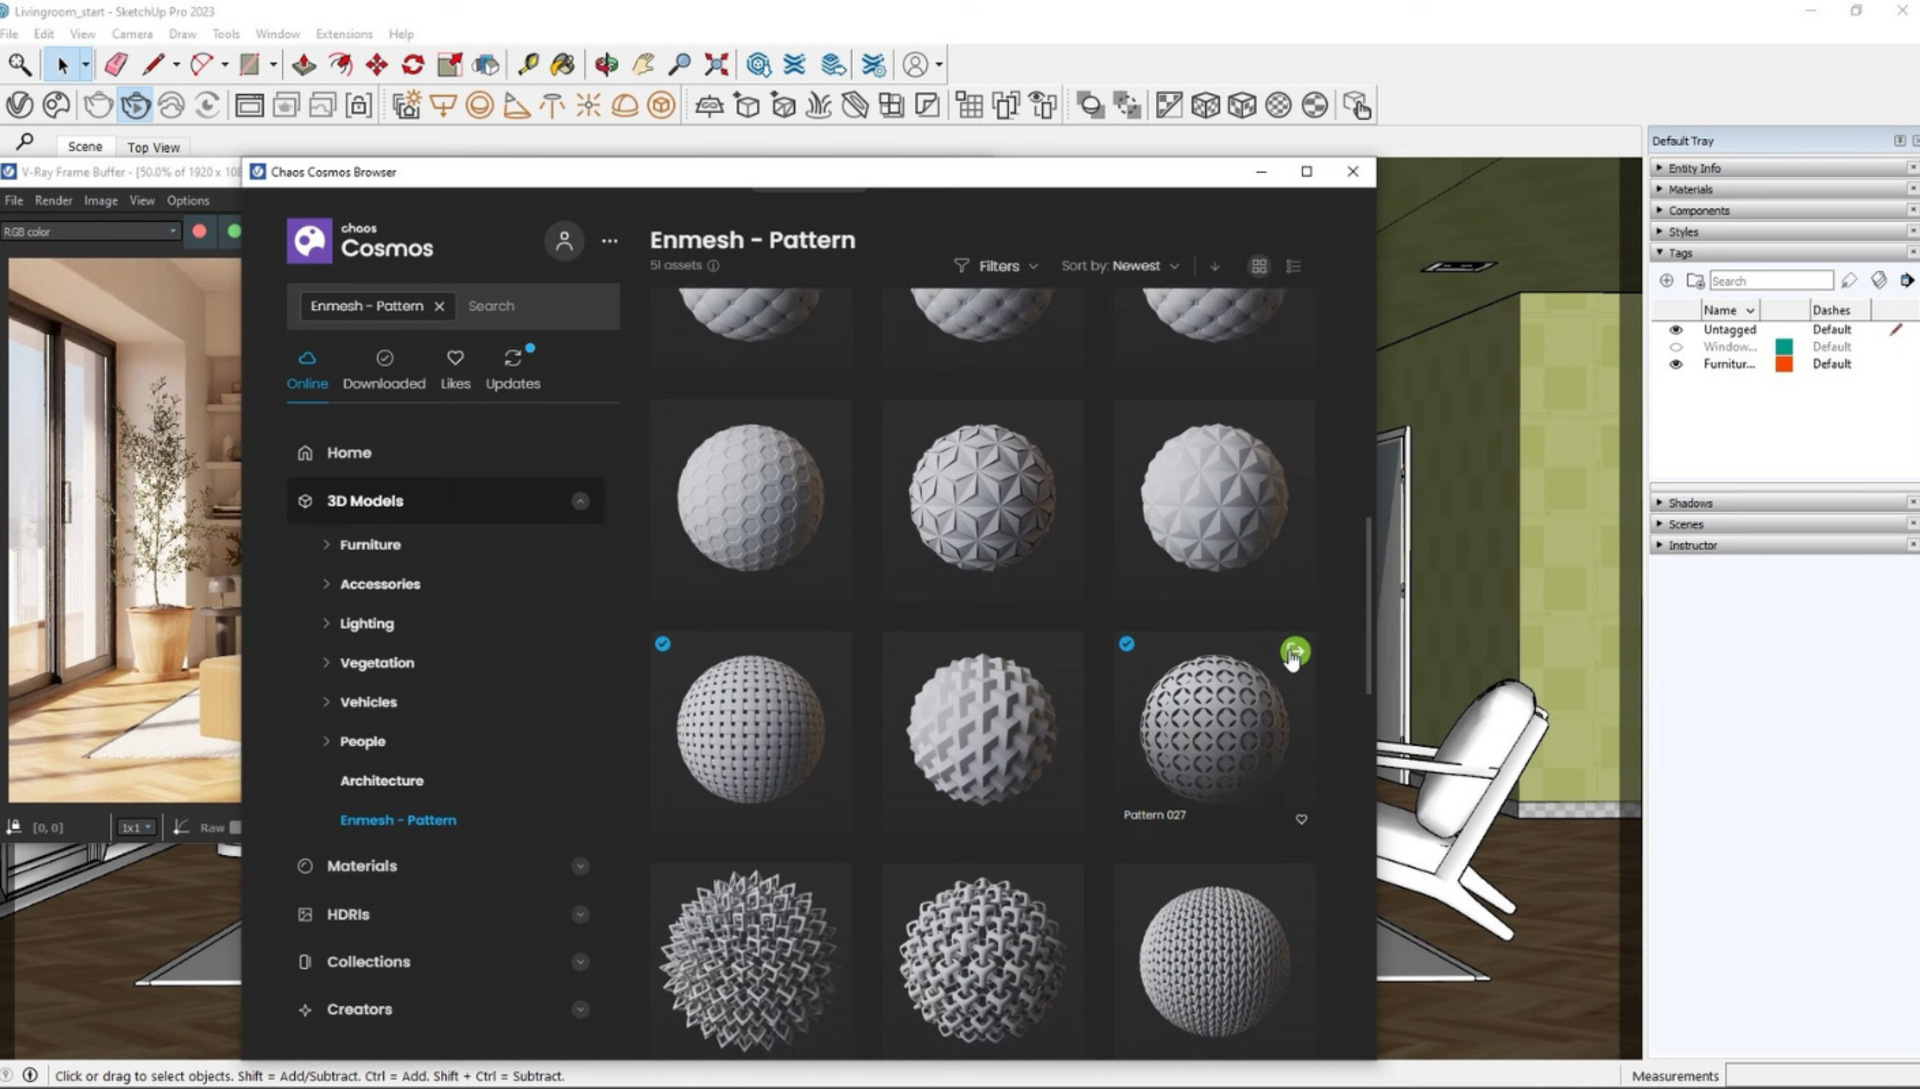
Adding patterns and lights
To add patterns and lights, select the central part of the artwork and choose the pattern from Cosmos' Enmesh category. Upon importing, V-Ray will automatically apply it to the selected object and create a complete setup. Adjust its styling height or offset from the original surface as needed. The Enmesh modifier coats an object surface with a repeating pattern of rendered geometry, following the UVW space of that geometry, providing additional detail without the need to modify geometry or tweak materials.
To adjust the lighting, consider enhancing the effect by adding a rectangular light to address any dark areas. Adjust the multiplier and possibly add a cool tint to the light for optimal results. Additionally, you can add IES lights and a sphere light for the floor lamp, adjusting their properties to your liking.
Setting up for production rendering
To set up the scene for production rendering, unhide the layer with trees placed outside to add greater detail and photorealism to the scene. Then, configure the settings for production rendering, including adding a Light Mix render element, a Back to Beauty render element, and a Cryptomatte render element. Set the quality preset to high, switch the denoiser to V-Ray, and since frequent updates of the denoiser are not necessary, set it to “at the end.” You’re now ready to start the production rendering process!
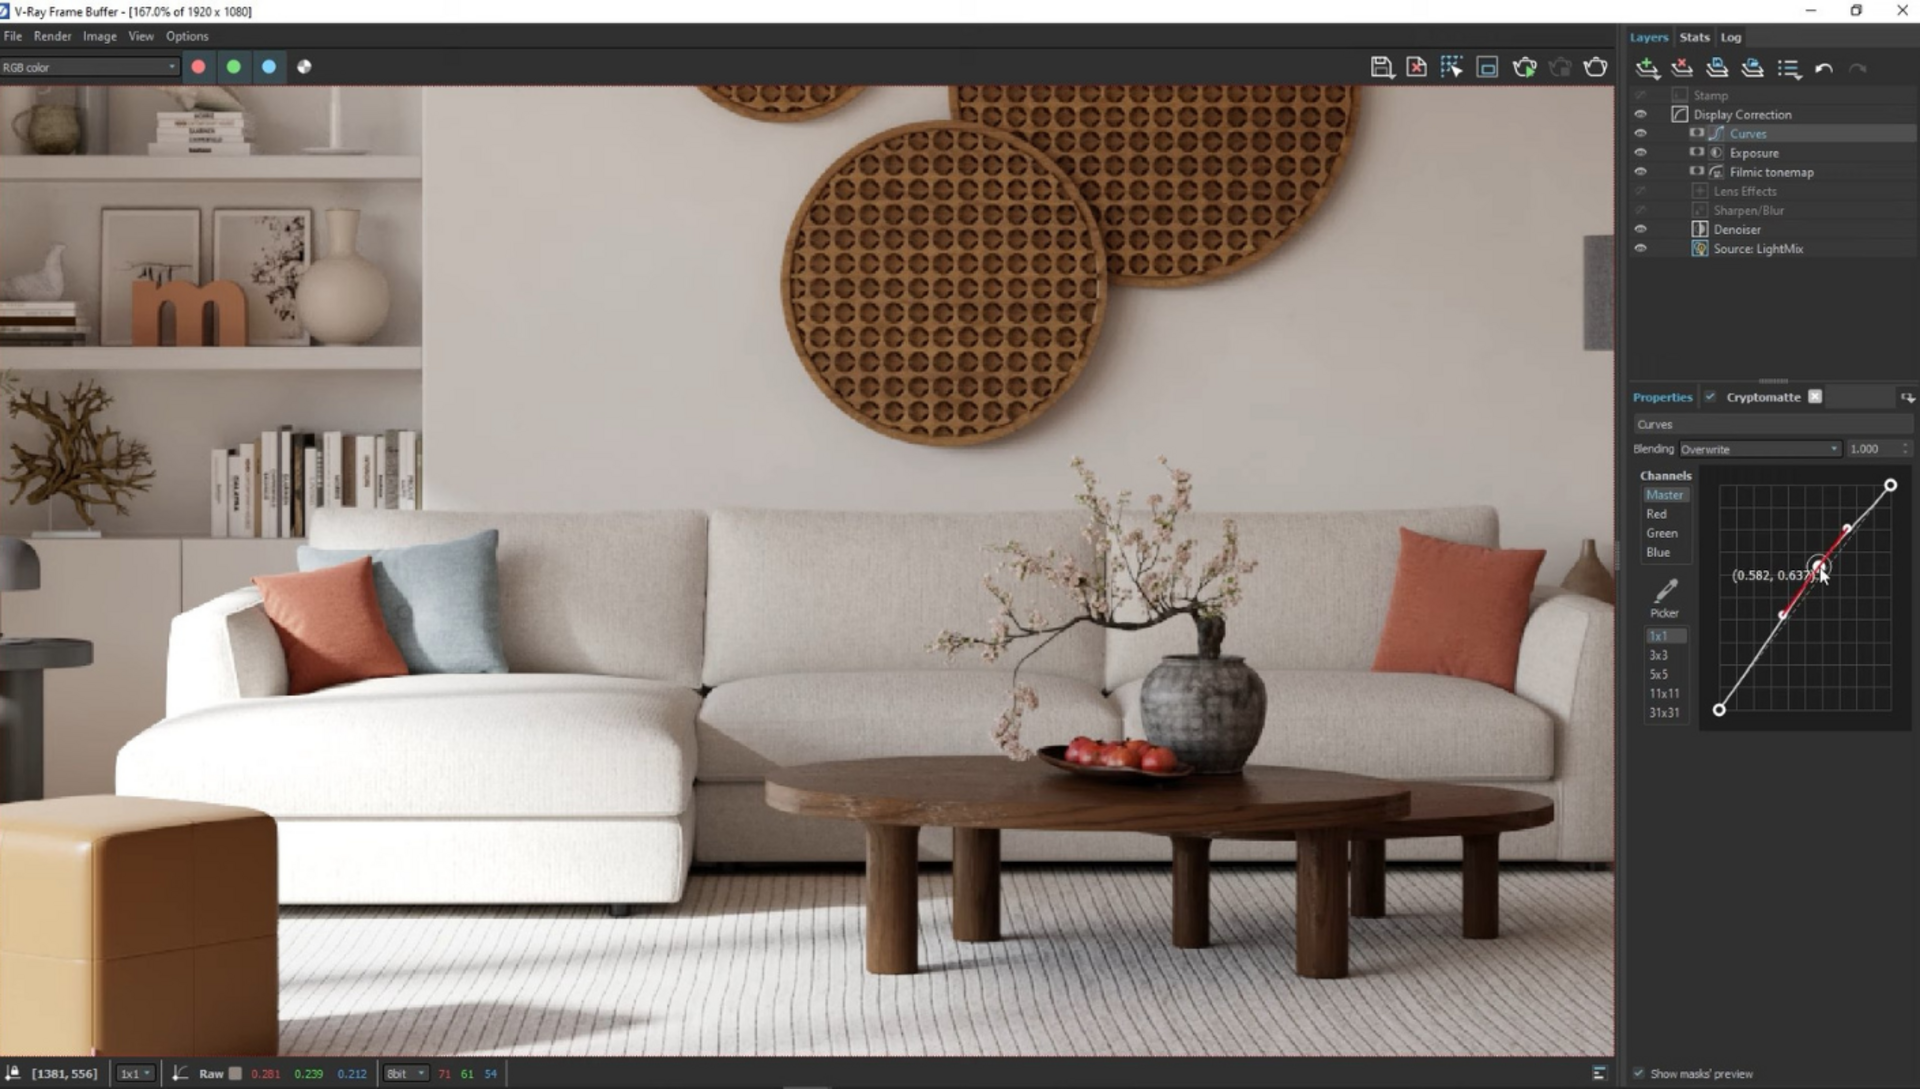
Finishing touches
Let's make some adjustments to the lights and do some color correcting. First, consider switching off the sphere light in the floor lamp and dimming down the IES lights. You can also increase the strength of the dome light with the sky to brighten the image.
Moving on to color corrections, if the filmic tone map appears too strong in the bright area of the sofa, you can edit it separately. Use a mask to exclude the sofa from the filmic tone map, and then adjust the exposure layer and the midtones to achieve the desired effect. Additionally, you can adjust the white balance, add a bit of magenta tint, and modify the saturation of the artwork to enhance the overall image.
The kitchen scene is now complete! We hope you found the tutorial helpful and that it has inspired you to explore new ways to express your creativity in V-Ray for SketchUp. To stay informed about upcoming archviz tutorials led by our 3D artist team, consider subscribing to our blog newsletter. Happy rendering!