
Follow these 3 easy steps to go from static images to an interactive experience with V-Ray for Unreal
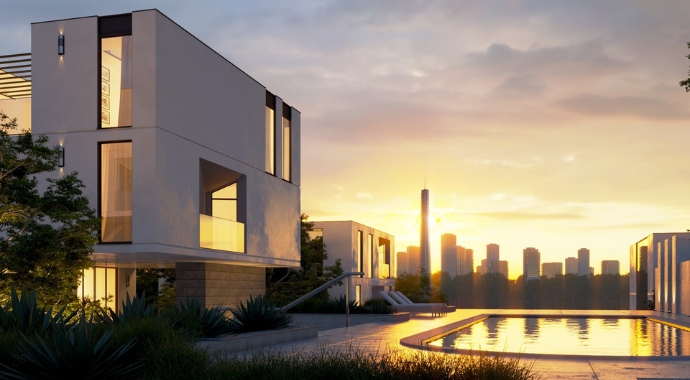
Step 1. Create your scene as usual — but bear these things in mind when setting it up for VR and realtime:
People will be able to peek behind the sofa.
In VR, you can’t control where people look. Make sure you take care of all details and design your scene to look perfect from any point of view.
VR is better on GPU.
If you’re already working with Unreal Engine, chances are you’ve invested in some heavy-duty GPUs since real-time can put a strain on your graphics cards. V-Ray for Unreal is designed with that in mind, so you can keep enjoying the benefits of your hardware investment. When creating your scene with V-Ray for 3ds Max, Maya or SketchUp, make sure you render with V-Ray GPU – what you see is what you get with V-Ray for Unreal.
Don’t be scared, be prepared.
At the moment, ray-trace to real-time migration is more of a hike in the woods than a walk in the park, but a little preparation can go a long way. Set up your scene with real-time in mind, choose the proper maps and shaders, and it will look exactly the same when imported to Unreal Engine. You can learn more about this step by watching our video tutorials and reading our quick-start guides.
Step 2. Import your scene in Unreal Editor
This one is easy; more or less a click of a button. If you have followed our recommendations, your scene will be preserved and presented in a familiar V-Ray environment within the Unreal Editor. Your materials and lights will be converted automatically into their real-time equivalents.
Once imported, all you need to do to start exploring your scene in real-time is to bake the lighting.
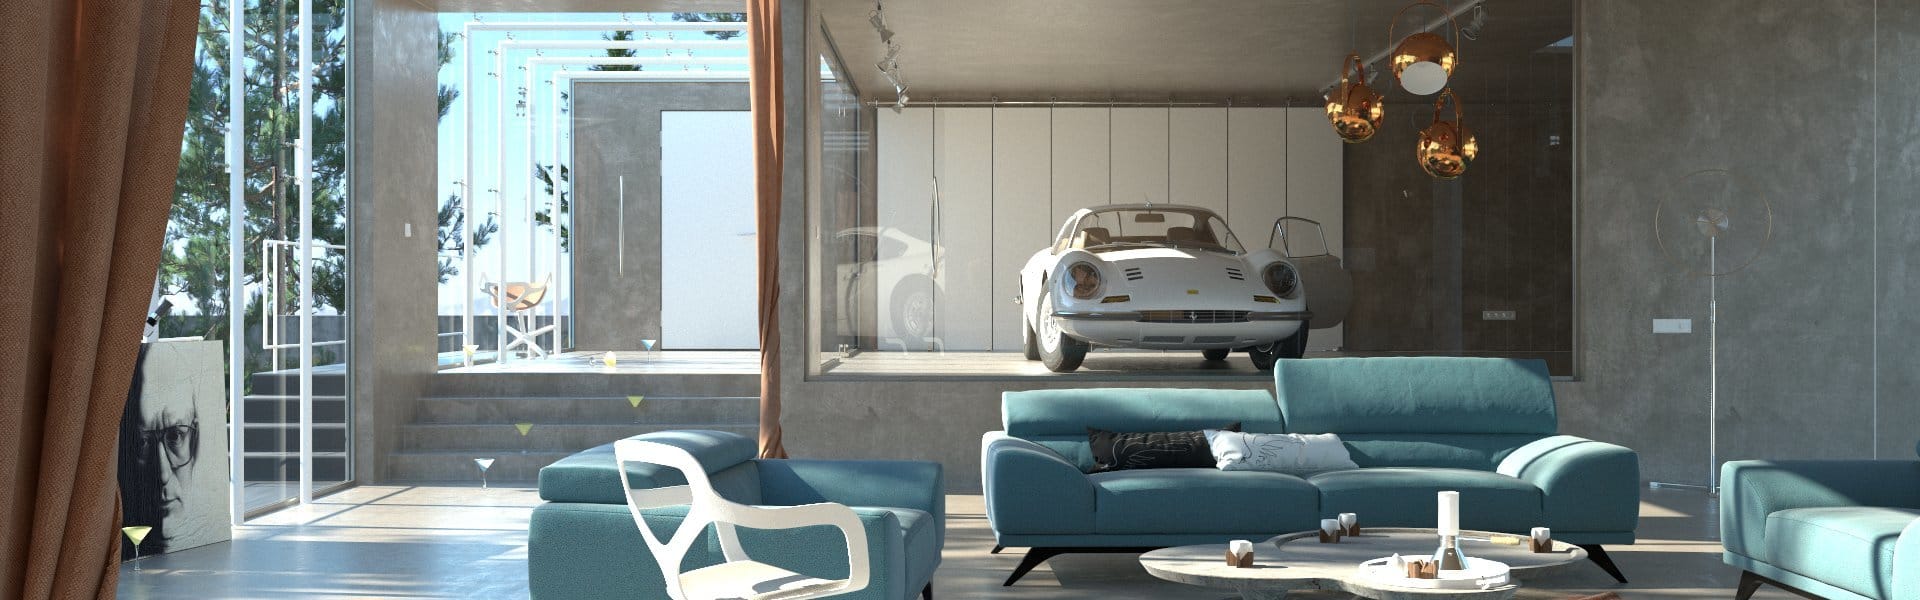
Step 3. Experience your scenes in real time
You’ve made it to the top of the staircase and what awaits you here is the Holy Grail: a great-looking real-time experience and ray traced renders — all from a single, shared workflow.
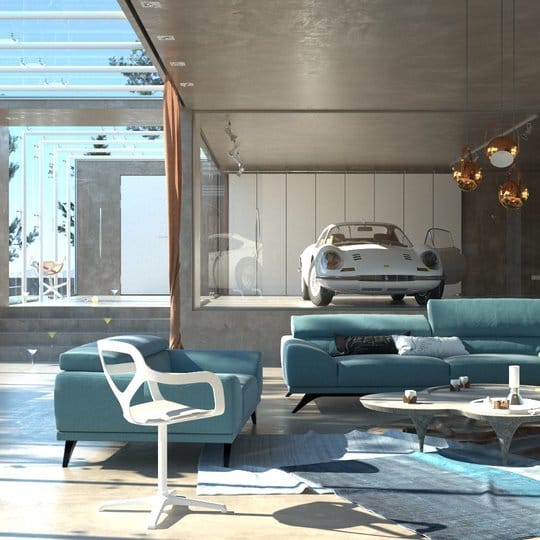
One of the benefits of using V-Ray for Unreal is that you can leverage your existing V-Ray knowledge and jumpstart your projects in real-time, without the need to learn new concepts. You don’t have to be a game expert to apply creative changes as you walk through your scene.
With V-Ray for Unreal you can work collaboratively and explore creative variations within the Unreal Editor. You can then get immediate design validation with photorealistic quality, as your materials are linked, and changes are applied consistently to achieve great visual parity.